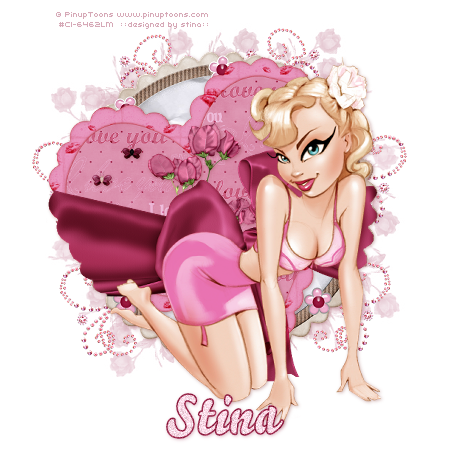
Supplies
"With Love" scrapkit by Pimp'd Dezigns
This kit is a freebie and can be found on her blog Pimp Your Tags
Tube of choice - I used the artwork of Rion Vernon of PinUpToons
which can be purchased at CILM
**PLEASE DO NOT USE WITHOUT THE APPROPRIATE LICENCE**
WSL_Mask226 by Chelle (supplied)
Font is Bello Script (supplied)
No filters or plugins required for this tutorial
My Supplies here
~ Step 1 ~
Open mask and font and minimise for later
Open a new blank canvas 600 x 650 flood-filled white
Paste Tag-Back as new layer and resize by 70%
Paste Heart-Frame01 as new layer
Resize by 80%
Position centrally over Tag-Back
With your magic wand click inside the heart
Selections / Modify / Expand by 10
Add new raster layer and move below frame
Open PP07 and copy then Paste into Selection
Hide your background layer
Layers / Merge / Merge Visible
~ Step 2 ~
Paste Puffy-Bow as new layer
Resize by 72%
Position across the frames
Using your magic wand click the area around the tag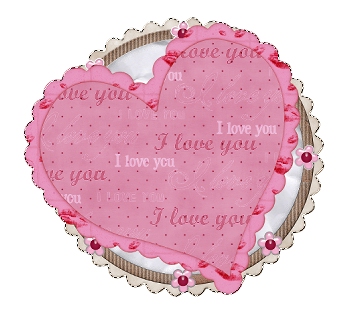
Selections / Modify / Feather by 2
Activate your Puffy Bow layer and with your eraser erase the overhanging ends of the bow
DO NOT HIT DELETE OR THIS WILL ALSO DELETE THE BOTTOM OF THE BOW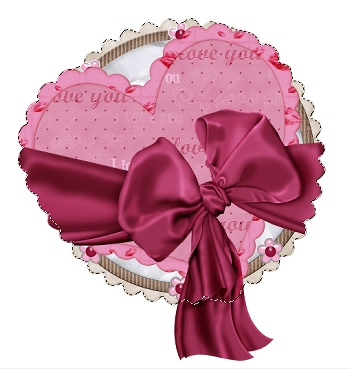
Paste your tube as a new layer and resize if necessary
Position to your liking
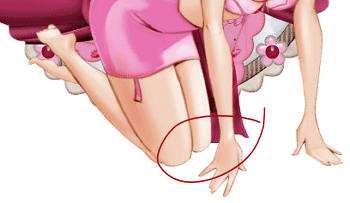
You may find the bow overhangs your tube a little in which case use your eraser to carefully erase part of the bow. Set your Hardness to 100 to give it that hard edge
Paste Bling Swirl Pink as new layer
Resize by 30 - 35% (to your liking)
Position in the lower right corner and move to bottom layer
Duplicate then Image / Mirror
Duplicate again then Image / Flip
Duplicate once more then Image / Mirror
Carefully arrange Bling Swirls behind your tag
Add any other elements you wish to personalise your creation, giving each of them a drop shadow of your choice
Crop and resize tag
~ Step 3 ~
Paste PP03 as new layer
Layers / Arrange / Send to Bottom
Layers / New Mask Layer / From Image
Locate WSL_Mask226 in the drop down
Source luminance checked
Invert Mask Data UNchecked
OK
Layers / Merge / Merge Group
Image / Mirror
Lower opacity of this layer to 35
Select your Text Tool
Foreground - #98274a
Background - #fadae6
Stroke width - 2.0
Font - Bello Script
Type out your name
Add any effects you wish, such as Noise, then apply a drop shadow
I used:
H & V - 1
Opacity - 30
Blur - 5.00
Colour - #98274a
Add your © copyright, licence and watermark and you're done!
Thanks for trying my tutorial
::st!na::
©Tutorial written by Stina on 9th February 2009
All rights reserved

No comments:
Post a Comment