Supplies
Scrap kit of choice - I am using "Days Gone By" by Babycakes Scraps which can be purchased from Creative Scraps, Cotton Candy Kreations, Aussie Scraps with more listed on her blog
Image of choice or the one I have supplied
SabreL_BraveheartScrapKitMask1 by Sabre (supplied)
Fonts of choice - I am using 2Peas Rennaisance and Baker Script (pay fonts)
Xero Improver and Xero Radiance (supplied)
Penta.Com Colour Dots
My Supplies here
~ Step 1 ~
Open Mask and fonts and minimise for later
Open a new blank canvas 600 x 600 flood filled white
Select a paper of choice from the scrap kit (I'm using Love Paper Rust)
Open and minimise it
Select your Preset Shape Tool on Ellipse
In your Materials Palette:
Foreground - paper of choice
Background - null
Set the properties for the paper as following:
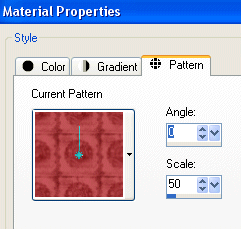
Holding your shift key down draw out a circle with your Preset Shape Tool then release
Your paper should be centred in the circle
If slightly off centre use the nodes to adjust the size
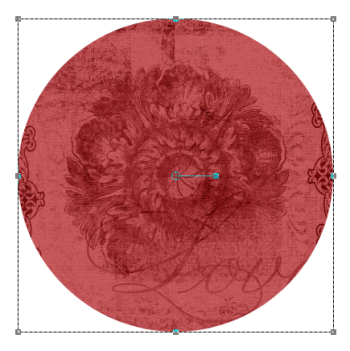
Once satisfied go to
Objects / Align / Centre in Canvas
Convert to raster layer
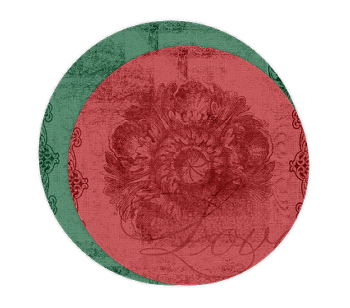
Choose another paper of choice (I used Love Paper Green) and follow the same steps as above, making the circle slightly larger
Move it to the layer below your first circle to get a better idea
Use the nodes to adjust the size and
Objects / Align / Centre in Canvas
each time you make an adjustment
Once satisfied and circle is centred, convert to raster layer
Move background circle up slightly
~ Step 2 ~
Paste Paper Frame (or frame of choice) as new layer
Resize by 35%
Image / Rotate by 10 to the right
Position slightly to the right
Choose an image of choice or use the one supplied and paste as new layer
Resize if necessary
(If using the image supplied you do not need to resize)
Activate the frame layer and with your magic wand click outside the frame
Selections / Modify / Expand by 10
Activate the image layer again
Delete
Deselect
Duplicate the image layer
On duplicate go to
Effects / Plugins / Xero / Improver with the following settings:
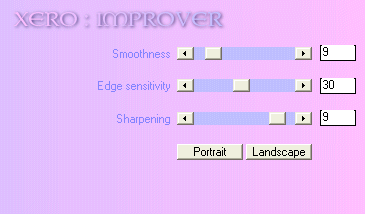
On the same layer
Effects / Plugins / Xero / Radiance with the following settings:
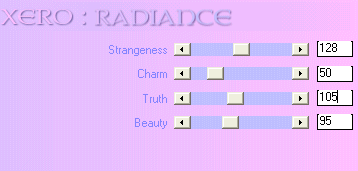
Then reduce the opacity of this layer to 80
Hide your Background and two circle layers then go to
Layers / Merge / Merge Visible
Unhide all layers
Paste Rose Cluster as new layer
Image / Mirror and resize by 30%
Position in the left corner of frame
Paste Envlope as new layer
Image / Rotate by 10 to the left then resize by 40%
Position in lower left beneath the Rose Cluster
Paste Paper as new layer
Image / Rotate by 10 to the left
Resize by 25% and position tucked behind frame
Duplicate and then Image / Rotate by 10 to the left and move slightly down
Paste Flower as new layer and resize by 25%
Paste Torn Flower as new layer and resize by 35% then position over Flower
Layers / Merge / Merge Down
Position in top left corner
Duplicate and move up slightly
Image / Rotate 20 to the right
Position flowers to your liking
Paste Rust Lace as new layer
Resize by 20%
Position at the top of the frame
With your Freehand Tool draw around the bottom of part of the lace then Delete
Now it will look as though it is tucked behind and over the frame
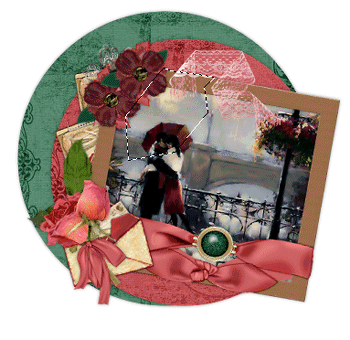
Adjust / Hue & Saturation / Colourise
Hue - 20
Saturation - 65
Adjust / Brightness & Contrast / Brightness/Contrast:
Brightness - 15
Contrast - 0
Paste Rusty String as new layer
Resize by 25% and position at the lower right of frame
Paste Filigree Flower as new layer
Resize by 50%
Adjust / Brightness & Contrast / Clarify
Strength of Effect - 5.0
Duplicate and set blend mode to Soft Light
Crop and resize
Add a drop shadow to your element layers:
H & V - 0
Opacity - 30
Blur - 5.00
Colour - #000000
~ Step 3 ~
Activate Background layer
Paste Rust Swirl Paper as new layer
Resize by 65%
Layers / New Mask Layer / From Image
Locate SabreL_BraveheartScrapkitMask
Source Luminance checked
OK
On same layer
Effects / Plugins / Penta.Com / Colour Dot
Default settings
Repeat
Select your Preset Shape Tool to Ellipse
In your Materials Palette set your Foreground to #000000 and your Background to null
Draw out a circle around the larger circle and position it evenly
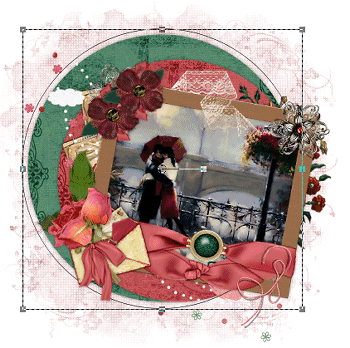
Then select your Text Tool with your font of choice
Set your Foreground to null and your Background to one of papers of choice (I used the same paper as my background circle)
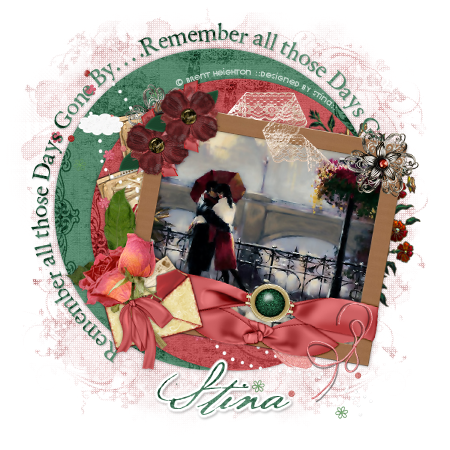
Type out the words "Remember all those Days Gone By…Remember all those Days Gone By" or a phrase of your choice
In your layer palette click on the + to open your Vector layer and hide the Ellipse
Convert to Raster Layer
Add a slight drop shadow
Type out your name in a Script font of choice
Add your ©copyright, licence and watermark and you're done!
Thank you for trying my tutorial
::st!na::
©Tutorial written by Stina on 13th February 2009
All rights reserved

No comments:
Post a Comment