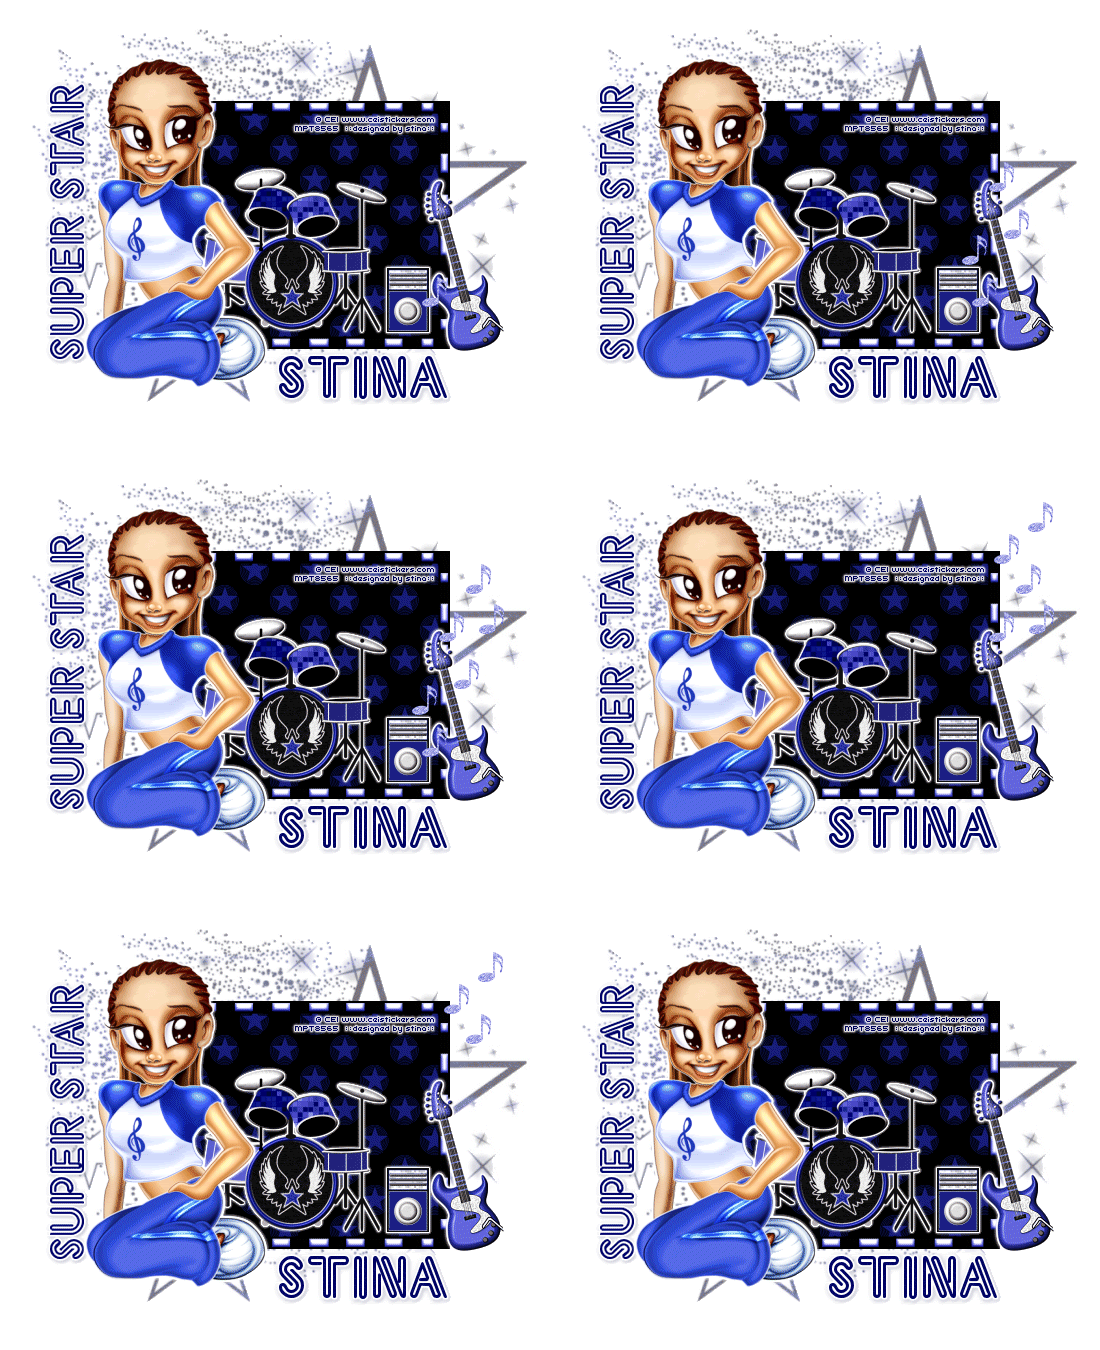
Supplies
Scrap kit of choice - I am using "Sweet Rock" by Wicked Princess available from Twilight Scraps and Paradise4Scrappers
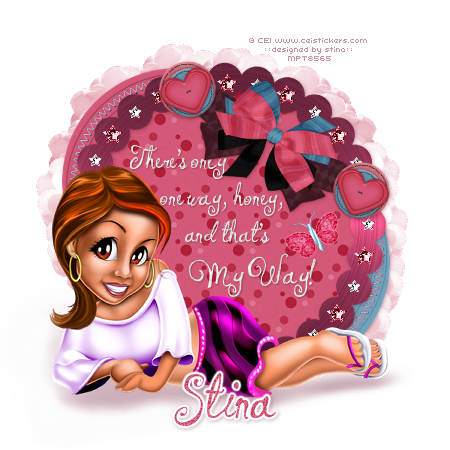
Tube of choice - I am using the delightful artwork of CEI which is available with a licence through CILM
**PLEASE DO NOT USE ARTWORK WITHOUT THE APPROPRIATE LICENCE**
**PLEASE DO NOT USE ARTWORK WITHOUT THE APPROPRIATE LICENCE**
tde_maske17 here
Font of choice - NeonThick
Plugin: Eye Candy 4000 Gradient Glow
Let's begin...
Open a new 700 x 550 canvas flood-filled white
Paste a Frame as new layer
Resize by 50%
Resize by 50%
Select the inside with your Magic Wand
Selections > Modify > Expand by 10
Add new raster layer
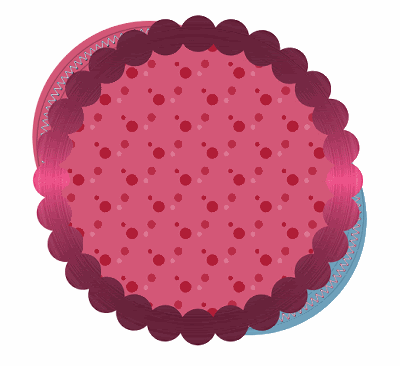
Paste Paper of choice INTO selection
Deselect
Selections > Modify > Expand by 10
Add new raster layer
Paste Paper of choice INTO selection
Deselect
Activate top layer
Paste Drums as new layer
Resize by 35%
Position in centre
Resize by 35%
Position in centre
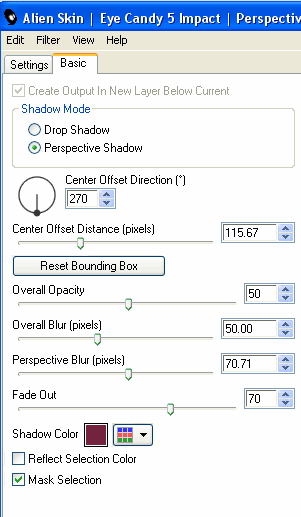
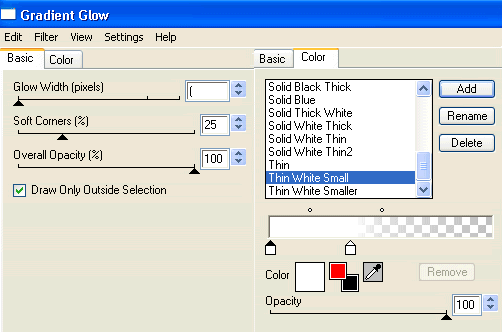
Effects > Plugins > Eye Candy 4000 > Gradient Glow with the following settings:
Paste SpeakerAmp as new layer
Resize by 15%
Position to the right inside Frame
Apply the same Gradient Glow as above
Resize by 15%
Position to the right inside Frame
Apply the same Gradient Glow as above
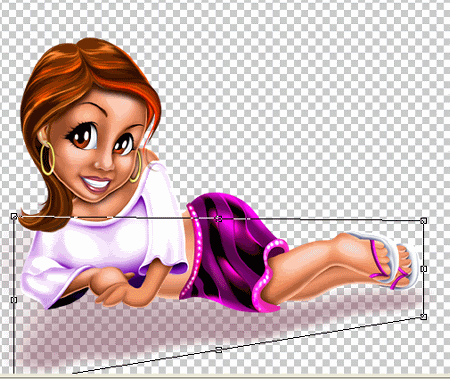
Paste Tube of choice as new layer
Resize as necessary
Position to the left
Apply same Gradient Glow as above
Resize as necessary
Position to the left
Apply same Gradient Glow as above
Paste Guitar as new new layer
Image > Rotate by 15 to the left
Resize by 30%
Position to the right leaning against Frame
Image > Rotate by 15 to the left
Resize by 30%
Position to the right leaning against Frame
Adjust > Sharpness > Sharpen
Apply same Gradient Glow as above
Paste a MusicNote as new layer
Resize by 10%
Place alongside and in front of speaker
Duplicate several times and position each in an upward motion
Resize by 10%
Place alongside and in front of speaker
Duplicate several times and position each in an upward motion
I used 8
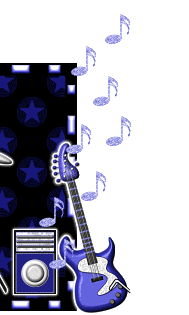
Rename each of these layers Musicnote1, Musicnote2, Musicnote3 etc.
(We'll come back to these layer)
(We'll come back to these layer)
Paste a Paper of choice as new layer
Layers > Arrange > Send to Bottom
Layers > Arrange > Send to Bottom
Layers > New Mask Layer > From Image
Apply tde_maske17
OK
Apply tde_maske17
OK
Layers > Merge > Merge Group
Resize layer by 80%
Lower opacity to 60
Resize layer by 80%
Lower opacity to 60
Crop and resize
Select Text Tool and font of choice
I am using NeonThick
Text colour of choice
I am using NeonThick
Text colour of choice
Type out text of choice
Convert to raster layer
Image > Rotate by 90 to the left
Convert to raster layer
Image > Rotate by 90 to the left
Apply a slight Gradient Glow and/or drop shadow of choice
Select another font of choice
I am using the same
Same Text colour
Same Text colour
Type out your name and position
Convert to raster layer
Apply any effect or drop shadows as necessary to your liking
Convert to raster layer
Apply any effect or drop shadows as necessary to your liking
Finally, add your © copyright, licence and watermark, then save as a GIF or JPG and you're done!
** IF YOU WISH TO ANIMATE PLEASE FOLLOW THESE NEXT STEPS **
Activate your Musicnote1 layer and hide each of the other Musicnotes
Edit > Copy Merged
Edit > Copy Merged
Open Animation Shop
Edit > Paste as New Animation
Edit > Paste as New Animation
Back to PSP
Now unhide MusicNote2
Edit > Copy Merged
Now unhide MusicNote2
Edit > Copy Merged
In Animation Shop
Edit > Paste AFTER Current Frame
Edit > Paste AFTER Current Frame
Back to PSP
Unhide MusicNote3
Edit > Copy Merged
Unhide MusicNote3
Edit > Copy Merged
In Animation Shop
Edit > Paste AFTER Current Frame
Edit > Paste AFTER Current Frame
Back to PSP
Unhide MusicNote4
Edit > Copy Merged
Unhide MusicNote4
Edit > Copy Merged
In Animation Shop
Edit > Paste AFTER Current Frame
Edit > Paste AFTER Current Frame
Back to PSP
Unhide Musicnote5
Edit > Copy Merged
Unhide Musicnote5
Edit > Copy Merged
In Animation Shop
Edit > Paste AFTER Current Frame
Edit > Paste AFTER Current Frame
Back to PSP
Unhide Musicnote5
Edit > Copy Merged
Unhide Musicnote5
Edit > Copy Merged
In Animation Shop
Edit > Paste AFTER Current Frame
Back to PSP
Unhide MusicNote6
Edit > Copy Merged
Unhide MusicNote6
Edit > Copy Merged
In Animation Shop
Edit > Paste AFTER Current Frame
Edit > Paste AFTER Current Frame
Back to PSP
Hide Musicnote1 and unhide MusicNote7
Edit > Copy Merged
Hide Musicnote1 and unhide MusicNote7
Edit > Copy Merged
In Animation Shop
Edit > Paste AFTER Current Frame
Edit > Paste AFTER Current Frame
Back to PSP
Hide Musicnote2 and unhide MusicNote8
Edit > Copy Merged
Hide Musicnote2 and unhide MusicNote8
Edit > Copy Merged
In Animation Shop
Edit > Paste AFTER Current Frame
Edit > Paste AFTER Current Frame
Back to PSP
Hide Musicnote3
Edit > Copy Merged
Hide Musicnote3
Edit > Copy Merged
In Animation Shop
Edit > Paste AFTER Current Frame
Edit > Paste AFTER Current Frame
Back to PSP
Hide Musicnote4
Edit > Copy Merged
Hide Musicnote4
Edit > Copy Merged
In Animation Shop
Edit > Paste AFTER Current Frame
Edit > Paste AFTER Current Frame
Back to PSP
Hide Musicnote5
Edit > Copy Merged
Hide Musicnote5
Edit > Copy Merged
In Animation Shop
Edit > Paste AFTER Current Frame
Edit > Paste AFTER Current Frame
Back to PSP
Hide Musicnote6
Edit > Copy Merged
Hide Musicnote6
Edit > Copy Merged
In Animation Shop
Edit > Paste AFTER Current Frame
Edit > Paste AFTER Current Frame
Back to PSP
Hide Musicnote7
Edit > Copy Merged
Hide Musicnote7
Edit > Copy Merged
In Animation Shop
Edit > Paste AFTER Current Frame
Edit > Paste AFTER Current Frame
Back to PSP
Hide Musicnote8
Edit > Copy Merged
Hide Musicnote8
Edit > Copy Merged
In Animation Shop
Edit > Paste AFTER Current Frame
Edit > Paste AFTER Current Frame
You should have a total of 14 Frames
Now Select All and set your Frame Properties to 20
Save as a GIF and you're done!
Save as a GIF and you're done!
Thanks for trying my tutorial!
::st!na::
Here is a non-animated version:
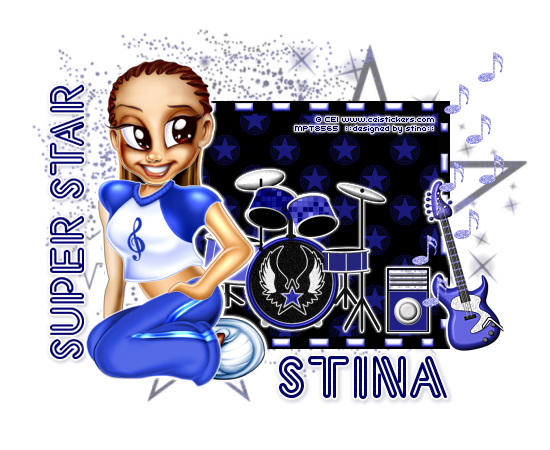
© Tutorial written by Stina on 4thJuly 2009
All rights reserved