Supplies
Scrap kit of choice - I am using "Flirting with Elias" by Kissed by Pix available from Scraps with Attitude, TKO Scraps and The Creativity Box
Tubes of choice - I am using the gorgeous artwork of Elias Chatzoudis available with a licence from My PSP Tubes
Template #192 by Missy available from her blog
Fonts of choice - I am using Impact and Sincerely
Plugins: Xero > Fritillary
Eye Candy 4000 > Gradient Glow
**This is similar to the other tut using this same kit - just simpler as it uses a template**
Let's begin....
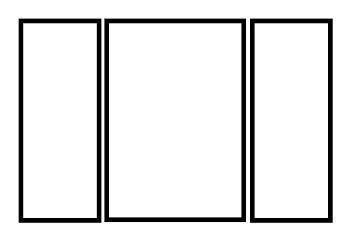
Open Missy's Template #192 and duplicate
Close off original
Delete copyright layer
Delete copyright layer
Select CIRCLE layer (raster 1) with your Magic Wand
Selections > Modify > Feather by 2
Press delete a couple of times to remove colour
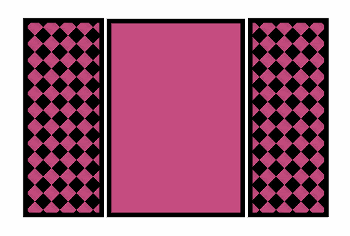
Paste Paper of choice INTO selection
Deselect
Selections > Modify > Feather by 2
Press delete a couple of times to remove colour
Paste Paper of choice INTO selection
Deselect
Activate Rectangle layer and select with Magic Wand'
Paste Paper of choice as new layer
Selections > Invert
Delete then deselect
Layers > Merge > Merge Down
Paste Paper of choice as new layer
Selections > Invert
Delete then deselect
Layers > Merge > Merge Down
Select Thin Rectangle2
Flood-fill with a colour matching your tube
Deselect
Flood-fill with a colour matching your tube
Deselect
Select Thin Rectangle1
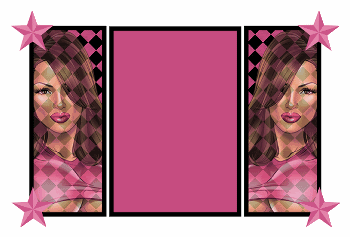
Paste a Tube of choice as new layer
Resize as necessary and position within selection
Selections > Invert
Delete then deselect
Paste a Tube of choice as new layer
Resize as necessary and position within selection
Selections > Invert
Delete then deselect
Lower opacity of Tube to 60
Select Thin Rectangle3
Repeat above step with another Tube of choice
Repeat above step with another Tube of choice
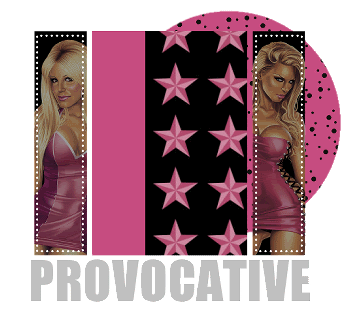
Select your WordArt and flood-fill with a colour of your choice
OR
Select Text Tool (I used Impact)
Type out some Text of your choice and position
Convert to raster layer
Type out some Text of your choice and position
Convert to raster layer
Paste your main Tube of choice as new layer
Resize as necessary and position over text
Add drop shadow of choice
Resize as necessary and position over text
Add drop shadow of choice
Crop and resize
Activate top layer
Select your Text Tool again and another font of choice
I am using Sincerly
Colour - #c64d80 (or colour of choice)
I am using Sincerly
Colour - #c64d80 (or colour of choice)
Type out your name
Objects > Align > Horizontal Centre in Canvas
Convert to raster layer
Apply a Gradient Glow in white and drop shadow of choice
Objects > Align > Horizontal Centre in Canvas
Convert to raster layer
Apply a Gradient Glow in white and drop shadow of choice
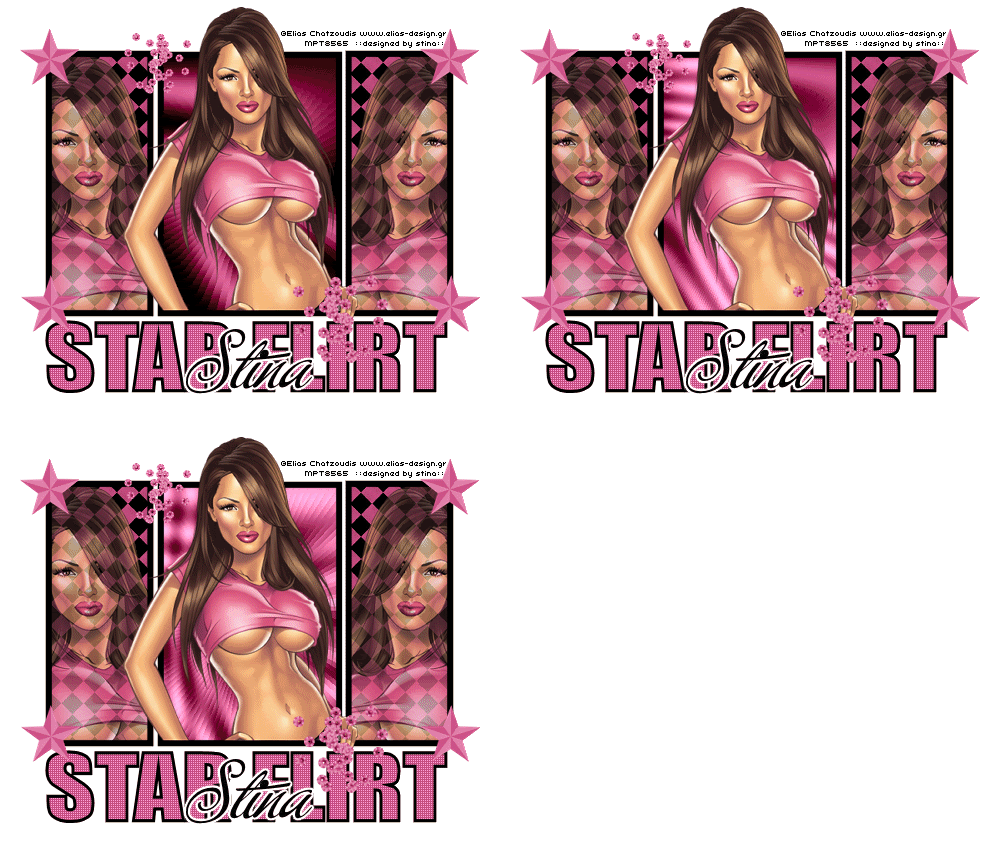
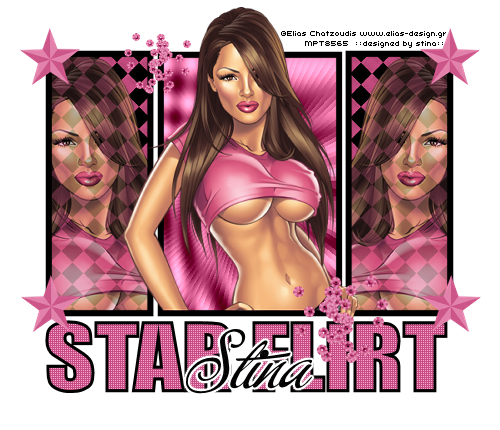
Finally, add your © copyright, licence and watermark, then save as a GIF or JPG and you're done!
** IF YOU WISH TO ANIMATE PLEASE FOLLOW THESE NEXT STEPS **
Activate your ThinRectangle2 layer (flood-filled rectangle)
Select with your Magic Wand
Duplicate twice and rename Fritillary1, Fritillary2 and Fritillary3
Select with your Magic Wand
Duplicate twice and rename Fritillary1, Fritillary2 and Fritillary3
Activate Fritillary1
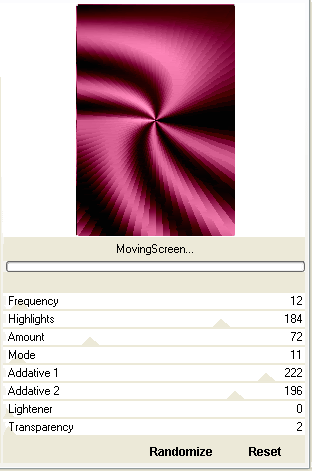
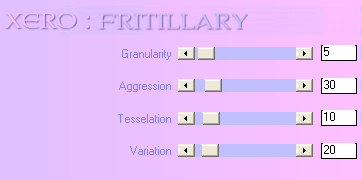
Effects > Plugins > Xero > Fritillary with the following settings:
Effects > Plugins > Xero > Fritillary with the following settings:
Hide Fritillary1 and activate Fritillary2
Apply the Fritillary adjusting only the Variation
Apply the Fritillary adjusting only the Variation
Hide Fritillary2 and activate Fritillary3
Apply the Fritillary once again and adjust the Variation once more
Apply the Fritillary once again and adjust the Variation once more
Now to animate!
Activate Fritillary1 and hide Fritillary2 and Fritillary3
Edit > Copy Merged
Edit > Copy Merged
Open Animation Shop
Edit > Paste as New Animation
Edit > Paste as New Animation
Back to PSP
Hide Fritillary1 and activate Fritillary2
Edit > Copy Merged
Hide Fritillary1 and activate Fritillary2
Edit > Copy Merged
In Animation Shop
Edit > Paste After Current Frame
Edit > Paste After Current Frame
Back to PSP
Hide Fritillary2 and activate Fritillary3
Edit > Copy Merged
Hide Fritillary2 and activate Fritillary3
Edit > Copy Merged
In Animation Shop
Edit > Paste After Current Frame
Edit > Paste After Current Frame
Select All and change Frame Properties to 20
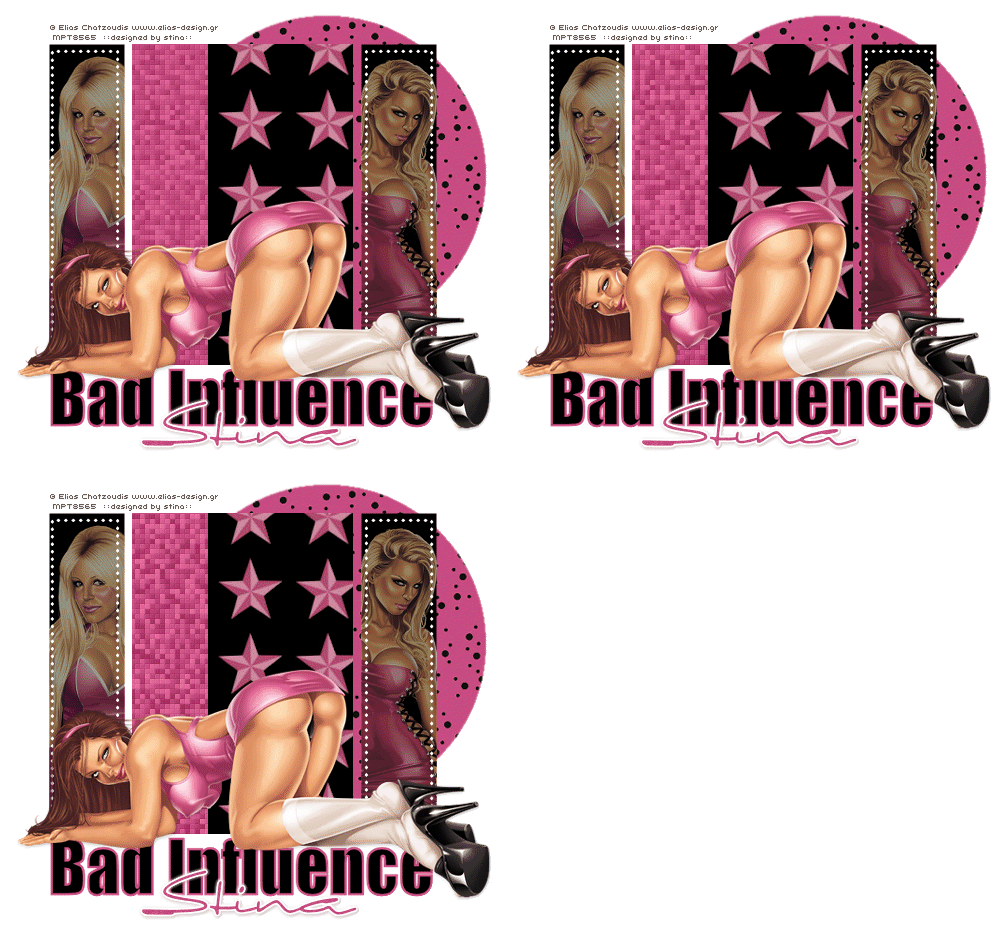
Now save as a GIF and you're done!
Now save as a GIF and you're done!
Thanks for trying my tutorial!
::st!na::
Here is a non-animated version:
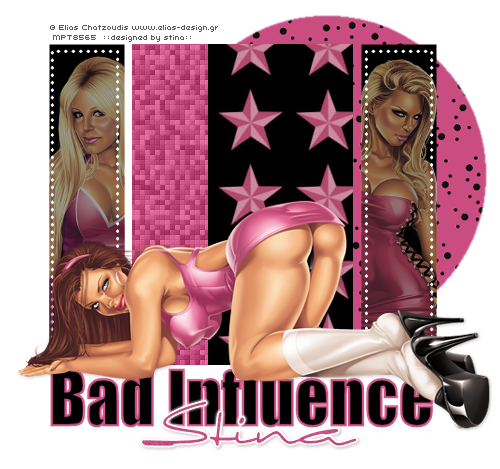
© Tutorial written by Stina on 4th August 2009
All rights reserved