Please email me designed.by.stina@gmail.com with your creations. I'd love to see them.

Showing posts with label Seachell Scrapz. Show all posts

Friday, March 16, 2012

Spring Dreams

Supplies

Scrap kit of choice - I am using "Beautiful Day" by Seachell Scrapz which is FTU
Tube of choice - I am using Josephine Wall who is FTU
Plugins:
Xero / Porcelain
Gradient Glow (optional)


Open BD_Element25 and duplicate it
Close off your original

Image / Canvas Resize
Placement:
Top - 150
Bottom - 0
Left and Right - 50

Canvas should now be 600 x 650

Paste a paper of your choice as new layer
Resize by 50%
Move to layer beneath Frame

Open your tube of choice
Resize as necessary
(Tube is STILL below the Frame)

Effects / Plugins / Xero / Porcelain with default settings

With your Selection Tool set to Point to Point
Make a selection of your Tube around the top of the Frame:

Selections / Promote Selection to Layer
Deselect
Move Selection to layer ABOVE Frame

It should now look something like this:

Paste one of Ribbons (Element31 - 34) as new layer
Resize by 65% (you may need to widen your canvas to 550)
Duplicate layer
Set Blend Mode to Soft Light and duplicate again

Choose three flowers and paste them as new layers
Resize first one by 25%
Resize second one by 30%
Resize third one by 35%
Position them to your liking

Paste Elements 22 and 23 as new layers
On first one, Image / Free Rotate to the right
Resize by 15% and position
On second one, Image / Free Rotate to the left
Resize by 15% and position

Now add a new raster layer and move to the bottom
Flood fill with black (for now)

Paste BD_Element27 as new layer
Position behind tag toward the top (or to your liking)
Duplicate, then Image / Flip, then Image / Mirror
Move the duplicate to the layer below

On the first layer, choose your Manual Colour Correction
(you may have to go into View / Customise / Unused Commands, locate Manual Colour Correction and drag it to somewhere on your Toolbar or menu)
Use similar settings to this:
(I used my dropper tool to select the colours - left click for Source and right click for Target)

Apply Manual Colour Correction again WITH SAME SETTINGS!

Now on the second (bottom) layer, apply Manual Colour Correction with these or similar settings:

Using your Eraser tool erase any excess protruding at the top

Delete your background layer as you no longer need it

Activate top layer and add your credits and your name
Save as a PNG and you're done!

Thank you for trying my tutorial!

Tag for Josephine Wall:

© Tutorial written by Stina on 16th March 2012

Tuesday, September 15, 2009

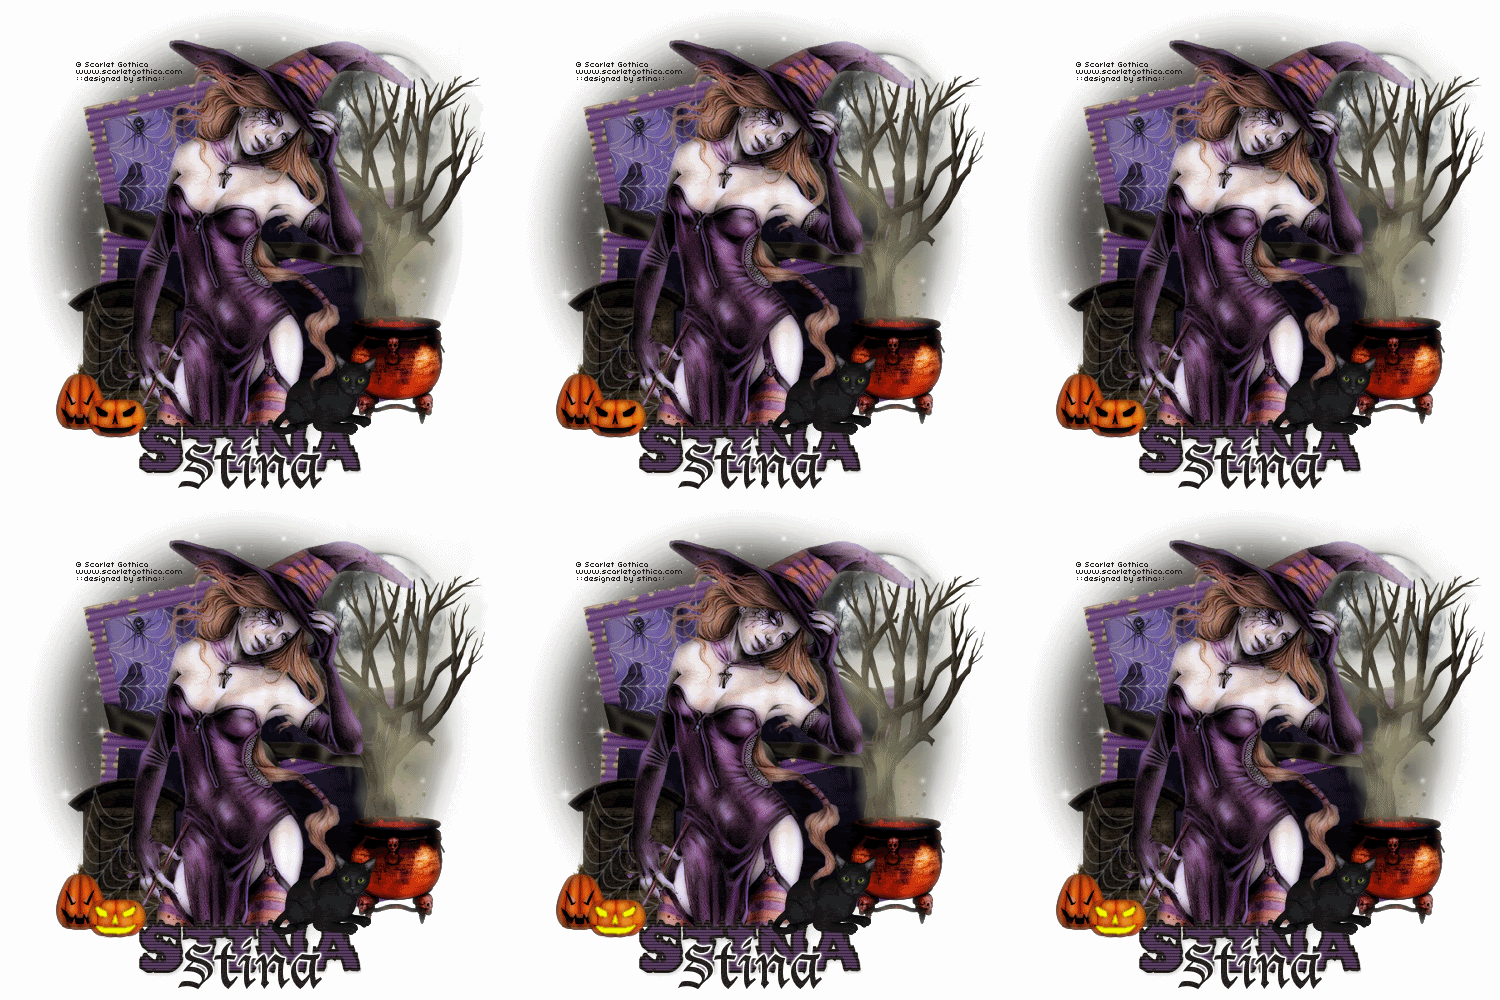
Witching Hour


Supplies

Scrap kit of choice - I am using "Spookylicious" by Seachell available from Twilight Scraps
Tube of choice - I am using the FTU artwork of Scarlet Gothica available here
DBV_Mask_02 here
Fonts of choice - I am using Firestarter and Lucida Blackletter
Plugins: Xero > Porcelain
PhotoEffex > Scanlines
Eye Candy 5: Nature > Smoke
Eye Candy 4000 > Gradient Glow


Let's begin...


Open a new 600 x 600 blank canvas flood-filled white

Paste Element14 (Frame) as new layer
Resize by 50%

Select inside the Frame with your Magic Wand
Selections > Modify > Expand by 10
Paste Paper of choice as new layer
Resize by 60%
Adjust > Blur > Gaussian Blur with a Radius of 10.00
Selections > Invert
Delete
Layers > Arrange > Move Down

KEEP SELECTED!!

Paste a background image of choice and resize as necessary
Delete then deselect
Lower opacity to around 60
Layers > Merge > Merge Down

Activate top layer

Paste Element 18 (Moon) as new layer
Resize by 40%
Layers > Arrange > Move Down (below tube)
Position in upper right

Paste Element10 (Tree) as new layer
Resize by 45%
Position to the right

With your Freehand Tool draw around the bottom part of the Tree along the inside of the Frame
Selections > Modify > Feather by 2
Delete then deselect

Paste Element8 (Cauldron) as new layer
Resize by 20%
Position at base of Tree
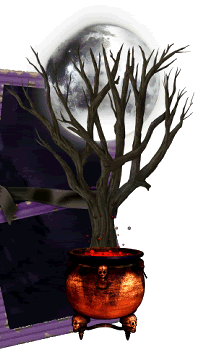


Effects > Plugins > Xero > Porcelain with default settings

Paste Element9 (GraveStone) as new layer
Resize by 15%
Position to the lower left

Paste Tube of choice as new layer
Resize as necessary

With your Freehand Tool draw a selection along the edge of the bottom of the Frame and GraveStone
(you may need to lower the opacity of the tube to see where to draw)
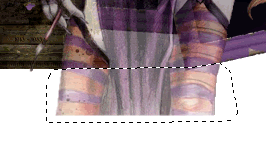


Selections > Modify > Feather by 2
Delete then deselect

Effects > Plugins > Xero > Porcelain with default settings

Paste Element3 (BlackCat) as new layer
Image > Rotate by 12 to the left
Resize by 20%
Position to liking

Paste Element1 (SpiderWeb) as new layer
Resize by 40%
Position in upper left Frame beneath Frame layer
Select inside Frame with Magic Wand
Selections > Modify > Expand by 10
Selections > Invert
Delete then deselect
Lower opacity to 55

Paste Element1 again
Image > Rotate by 12 to the right
Resize by 50%
Position over corner of GraveStone

With your Freehand Tool make a selection along the edge of the web to your liking
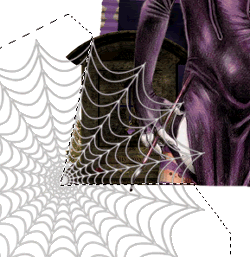


Delete then deselect
Move behind Tube layer
Lower opacity to 35

Paste Element7 (Pumpkin) as new layer
Resize by 20%
Position lower left by GraveStone

Paste Element2 (Spider) as new layer
Resize by 5%
Position in upper left on Web

Apply the Porcelain filter to each of your elements to your liking

Paste Paper of choice as new layer
Layers > Arrange > Send to Bottom

Layers > New Mask Layer > From Image
Apply DBV_Mask_02
OK
Layers > Merge > Merge Group
Move up slightly

Crop and resize to liking

Select Text Tool and font of choice
I am using Firestarter
Foreground - #000000
Background - #4d3454
Stroke width - 3.0

Type out your text of choice (or your name, as I have done)
Objects > Align > Horizontal Centre in Canvas

Effects > Plugins > PhotoEffex > Scanlines with default settings

Apply a drop shadow of choice

Select another font of choice
I am using Lucida Blackletter
Text colour BLACK
Objects > Align > Horizontal Centre in Canvas
Convert to raster layer
Apply Gradient Glow and drop shadow of choice

Finally, add your © copyright, licence and watermark, then save as a GIF or JPG and you're done!


** IF YOU WISH TO ANIMATE PLEASE FOLLOW THESE NEXT STEPS **

Activate your Cauldron layer
Add three new raster layers and name them Cauldron1, Cauldron2 and Cauldron3

With your Freehand Tool draw a selection around the top of your Cauldron where you want it "bubbling"
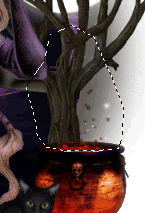


Activate Cauldron1

Effects > Plugins > Alien Skin Eye Candy 5: Nature > Smoke with the following setting:
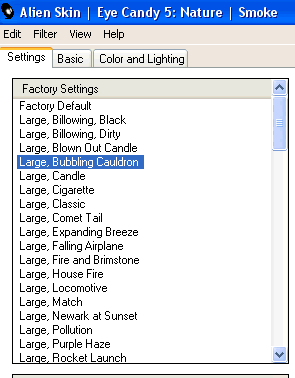


Hide Cauldron1 and activate Cauldron2
Repeat Smoke, adjusting Random Seed

Hide Cauldron2 and activate Cauldron3
Repeat Smoke again, adjusting Random Seed

**I couldn't decide whether to animate the pumpkins or not...so I've included this next step for those who may want to**

Activate one of the Pumpkins
With your Magic Wand, select the Eyes, nose and mouth of the Pumpkin
Selections > Modify > Feather by 2


Add new raster layer and name LIGHTING
Flood fill are with Yellow

Now to animate!

Activate Cauldron1 and LIGHTING layers
Edit > Copy Merged

Open Animation Shop
Edit > Paste as New Animation

Hide Cauldron1 and activate Cauldron2
(keep LIGHTING visible also)
Edit > Copy Merged

Open Animation Shop
Edit > Paste as New Animation

Hide Cauldron2 and activate Cauldron3, with LIGHTING still visible
Edit > Copy Merged

Open Animation Shop
Edit > Paste as New Animation

Activate Cauldron1 and hide LIGHTING layer
Edit > Copy Merged

Open Animation Shop
Edit > Paste as New Animation

Hide Cauldron1 and activate Cauldron2
(keep LIGHTING off)
Edit > Copy Merged

Open Animation Shop
Edit > Paste as New Animation

Hide Cauldron2 and activate Cauldron3
(LIGHTING still off)
Edit > Copy Merged

Open Animation Shop
Edit > Paste as New Animation

Select all and change Frame Properties to 20
Now save as a GIF and you're done!

Thanks for trying my tutorial!

::st!na::


Here is a non-animated version:
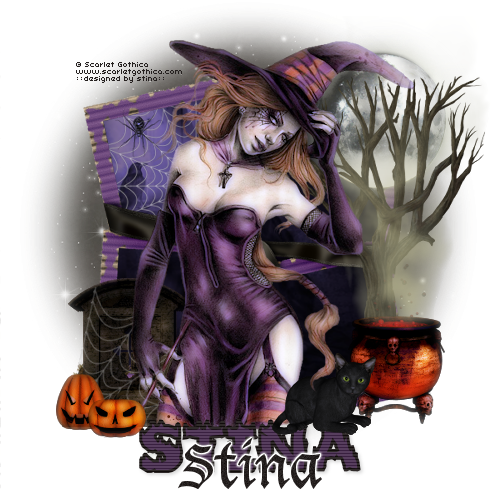


© Tutorial written by Stina on 15th September 2009
All rights reserved

Thursday, June 18, 2009

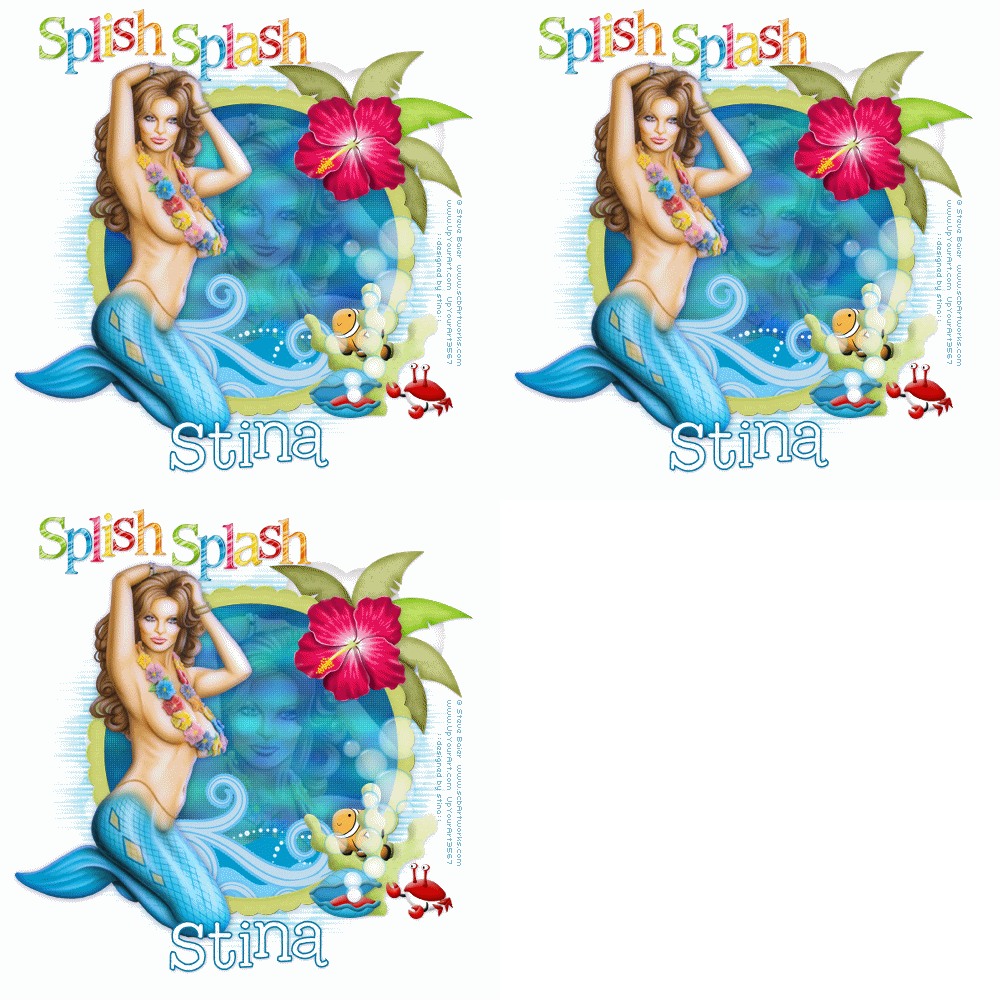
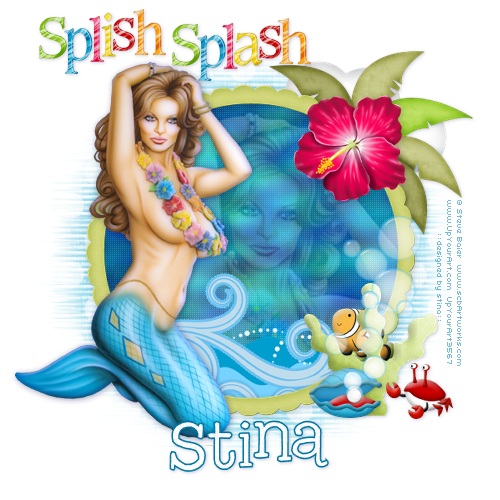
Splish Splash


Supplies

Scrap kit of choice - I am using "Splish Splash Splosh" by Seachell Scrapz which is a freebie on her blog
Tube of choice - I am using the lovely artwork of Steve Baier available with a licence from UpYourArt
**PLEASE DO NOT USE HIS ARTWORK WITHOUT THE APPROPRIATE LICENCE**
Splish Splash WordArt from "Splish Splash Splosh" by Creative Intentionz available from Twilight Scraps
WSL_Mask216 by Chelle available from her blog
Font of choice - I am using 2Peas High Tide
Plugins: Penta.com Color Dot
Xero Porcelain
Eye Candy 4000 HSB Noise


Ready? Let's begin....


Open a new 600 x 600 blank canvas flood-filled white

Paste Element53 Frame as new layer
Resize by 50%

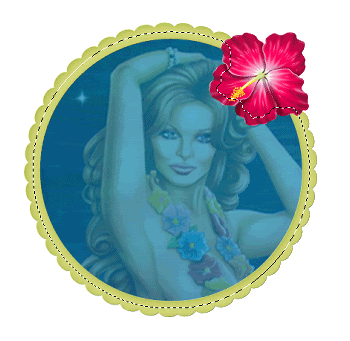
Select the inside of your Frame with Magic Wand
Selections > Modify > Expand by 10
Add new raster layer
Paste Paper2 (or one of choice) INTO selection
Layers > Arrange > Move Down

Effects > Plugins > Penta.com > Color Dot with default settings

KEEP SELECTED!!

Paste Tube or Image of choice as new layer
Resize UP as necessary
I used the image supplied with my Tube and resized by 150%
Position to liking
Selections > Invert
Delete
Lower opacity to 30


STILL SELECTED!!

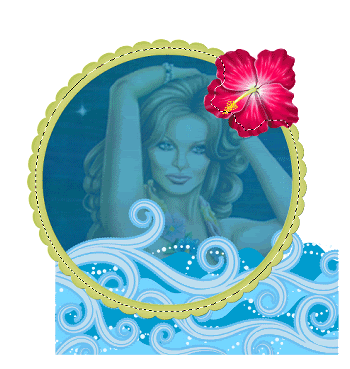
Paste Element20 (Waves) as new layer
Resize by 40%
Position in Frame to liking


Delete then deselect

Paste Tube as new layer
Layers > Arrange > Bring to Top
Resize as necessary and position to the left

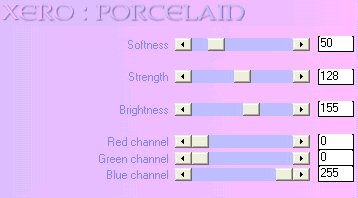
Effects > Plugins > Xero > Porcelain with the following settings:


Paste Element17 (Coral) as new layer
Resize by 20%
Position in lower right

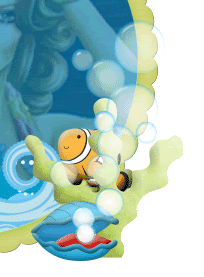
Paste Element 10 (Fish in Coral) as new layer
Resize by 15%
Position behind Coral so that it is "peeking out" *g*
Use your Eraser to erase any excess around it

Paste Element1 (Clam with Pearl) a new layer
Resize by 12%
Position alongside Coral

Paste Element22 (Bubbles) as new layer
Image > Mirror, then
Image > Rotate by 30 to the left
Resize by 40%
Position with the bottom bubble over the Pearl


Paste any other elements you wish to your liking

Now paste Element (PalmTree) as new layer
Resize by 35%
Position in the upper right behind Flower, then
Layers > Arrange > Send to Bottom

Open Element23 (Clouds) and make a selection around one of the clouds
Edit > Copy
Paste as new layer and position behind Palm Tree in upper right


Paste Paper of choice as new layer (I used Paper7)
Resize by 75%
Layers > Arrange > Send to Bottom

Layers > New Mask Layer > From Image
Apply WSL_Mask216

DO NOT MERGE!!

Open Layer Palette and activate Mask layer
Resize by 110%
Layers > Merge > Merge Group
Lower opacity to 45

Apply drop shadows of choice to your elements

Paste a WordArt of choice or two as new layers
I am using two WordArts from Creative Intentionz's "Splish Splash Splosh" kit
Resize as necessary and position to liking

Crop and resize tag

Select your Text Tool and font of choice
I am using 2Peas High Tide
Foreground - #0176a2
Background - #FFFFFF
Stroke width - 1.5

Type out your name
Objects > Align > Horizontal Centre in Canvas
Convert to raster layer
Apply drop shadow of choice

Finally, add your © copyright, licence and watermark, then save as GIF or JPG and you're done!


** IF YOU WISH TO ANIMATE PLEASE FOLLOW THESE NEXT STEPS **

Activate your Frame Background layer
Duplicate twice and rename Water1, Water2 and Water3

Activate Water1 and hide Water2 and Water3

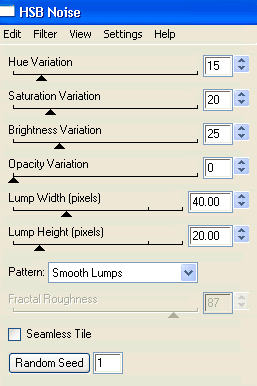
Effects > Plugins > Eye Candy 4000 > HSB Noise with the following settings:


Hide Water1 and activate Water2
Repeat HSB Noise again adjusting the Random Seed

Hide Water2 and activate Water3
Repeat HSB Noise once again, adjusting the Random Seed

Activate Water1 and hide Water2 and Water3
Edit > Copy Merged

Open Animation Shop
Edit > Paste as New Animation

Back to PSP
Hide Water1 and activate Water2
Edit > Copy Merged

In Animation Shop
Edit > Paste after Current Frame

Back to PSP
Hide Water2 and activate Water3
Edit > Copy Merged

In Animation Shop
Edit > Paste after Current Frame

Select All and change the Frame Properties to 20
Now save as a GIF and you're done!

Thanks for trying my tutorial!

::st!na::


Here is a non-animated version:


© Tutorial written by Stina on 17th June 2009
All rights reserved

Monday, March 9, 2009

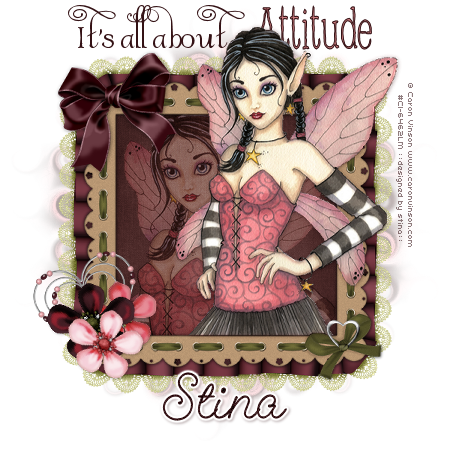
The Attitude Fairy

 
Supplies
 
"Cherry Love" scrap kit by Seachell Scrapz which is a freebie available on her blog
Tube of choice - I am using the lovely work of Caron Vinson which can be purchased from CILM
**PLEASE DO NOT USE HER ARTWORK WITHOUT THE APPROPRIATE LICENCE**
WSL_Mask133 by Chelle (supplied)
Fonts of choice - I am using Albemarle Swash (supplied), 2Peas Frazzled (pay to use) and GeeohHmk (supplied)
Plugin: Xero / Soft Mood (supplied)
Plugin: Eye Candy 4000 Gradient Glow (optional)
 
My Supplies here
 
 
~ Step 1 ~
 
Open a new 600 x 600 blank canvas flood-filled white
 
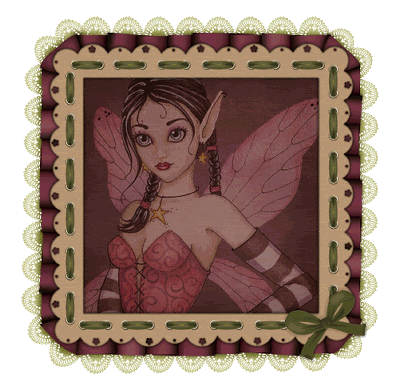
Paste Element17 (Frame) as new layer
Resize by 75%
Paste Element14 (Frame) as new layer
Resize by 75%
Position centrally over first frame
 
Add a drop shadow to top frame
H & V – 1
Opacity – 50
Blur – 5.00
Colour - #000000
Repeat Drop Shadow changing the H & V to -1
Layers / Merge / Merge Down
 
With your Magic Wand click inside the frame
Selections / Modify / Expand by 15
Add a new raster layer
Layers / Arrange / Move Down
Copy Paper2 and Paste into Selection
 
KEEP SELECTED
 
Open your tube and paste as new layer
Resize larger is necessary
Position in frame
Selections / Invert
Delete
 
Set blend mode of layer to Soft Light


~ Step 2 ~
 
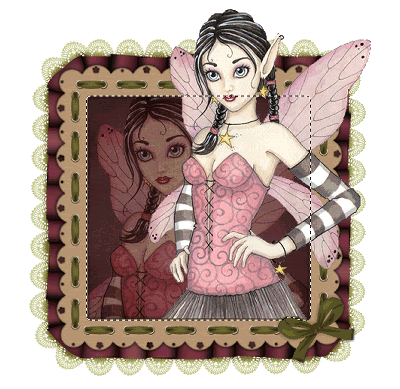
Paste your new as new layer once again
Position to the right (or left – depending on the tube you use)
Then click inside the Frame with your Magic Wand again
Selections / Modify / Expand by 8
Selections / Invert
Selections / Modify / Feather by 2
Then using your Eraser carefully erase along the bottom of the tube where it meets the Frame
Deselect
 
 
Duplicate layer and set blend mode to Multiply
Lower opacity to 50
 
Still on same layer
Effects / Plugins / Xero / Soft Mood with default settings
 
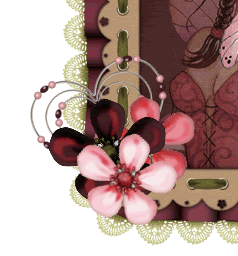
Paste Element2 (Dark Flower) as new layer
Resize by 35%
Position to the lower left of the Frame
 
Paste Element3 (Light Pink Flower) as new layer
Resize by 30%
Position alongside first flower
 
Paste Element5 (Beaded Heart) as new layer
Image / Rotate by 20 to the left
Resize by 35%
Position behind flowers to the left
 
 
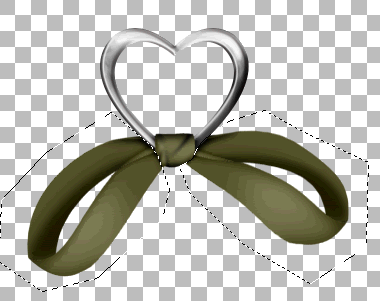
Open Element22 and duplicate it (Shift D), and close off original
Using your Freehand Tool draw around the Ribbon on either side
Press delete
 
 
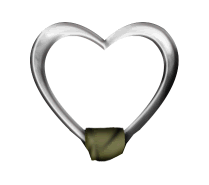
Now your heart should look like this:
 
 
Paste it as a new layer to your working canvas
Resize by 30%
Position over the centre of the Green bow in the lower right of the Frame
 
Paste Element11 (Burgundy bow) as new layer
Image / Mirror
Resize by 40%
Position in the upper left corner
 

~ Step 3 ~
 
Activate your Background layer
Paste Paper4 as new layer
Resize by 70%
Layers / Load/Save Mask / Load Mask from Disk
Locate WSL_Mask133
Source Luminance
Fit to Layer
OK
Layers / Merge / Merge Group
Lower opacity to 40
 
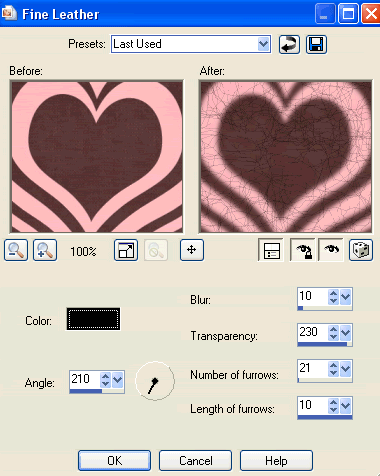
Effects / Texture Effects / Fine Leather with the following settings:


Repeat Fine Leather
 
Effects / Distortion Effects / Curlicues with default settings
 
Crop and resize
 
 
~ Step 4 ~
 
Choose two colours from your tube and/or scrap kit and set them as your Background and foreground colours in your Materials Palette
 
Foreground - #d28184
Background - #341215
 
Turn your foreground off to null for the moment and type out the words:
"It's All About" or "Love My"
 
Now turn the visibility back on the Foreground and toggle the colours so they are now the other way around
Foreground - #341215
Background - #d28184
 
Choose another font slightly bolder (but not too much, though it is entirely up to you) and type the word:
"Attitude"
 
Your text should now read "It's All About Attitude" or "Love My Attitude"
 
Change to another font, or one of those you have already used, and type out your name
Add any effects you wish to make your name stand out
Then apply a slight drop shadow
 
Finally add your © copyright, licence and watermark
Then save as a GIF or JPG and you're done!
 
Thanks for trying my tutorial
 
::st!na::
 

©Tutorial written by Stina on 8th March 2009
All rights reserved