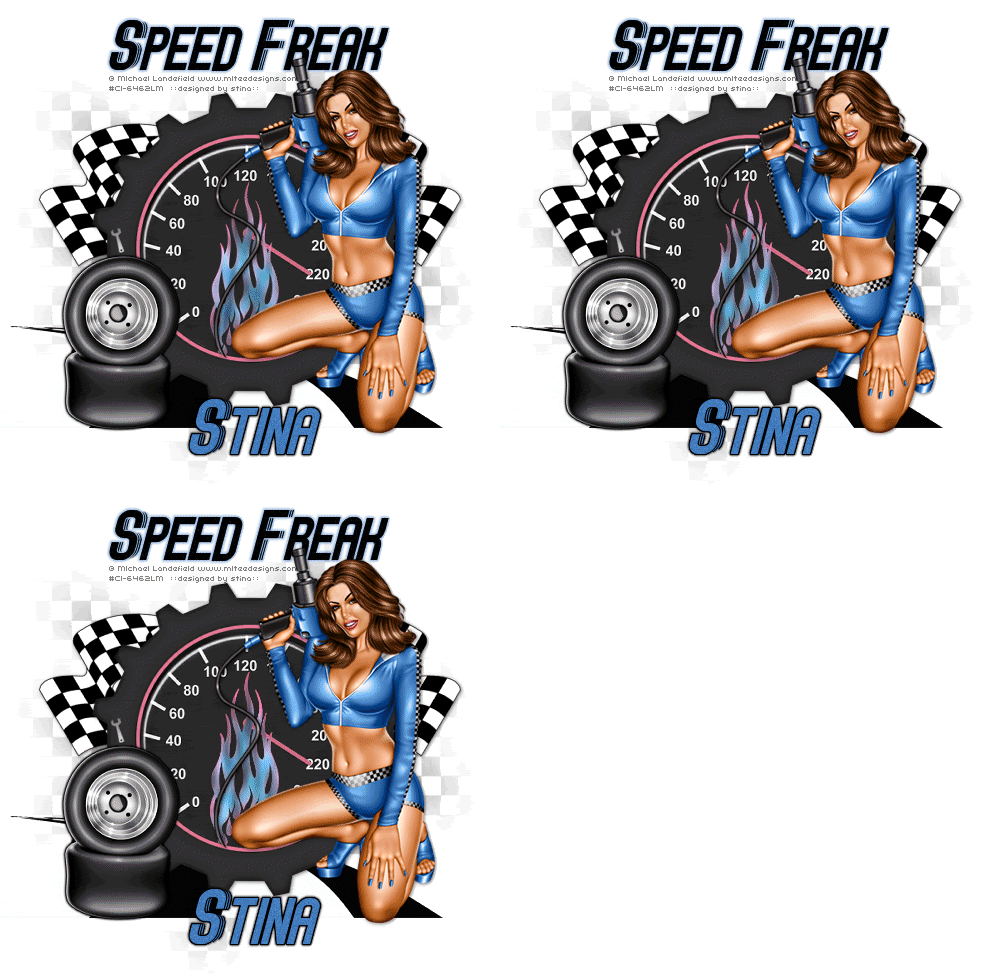
Supplies
Scrap kit of choice - I am using "I Can't Drive 55 (Girl)" by Kristi Westling available from The Scrapping Divaz Designz and Sunshine Studio Scraps
Tube of choice - I am using the artwork of Michael Landefield which is available with a licence through CILM
**PLEASE DO NOT USE HIS ARTWORK WITHOUT THE APPROPRIATE LICENCE**
WSL_Mask7 by Chelle available from her blog
Font of choice - I am using Speed+
Plugins: Eye Candy 4000 HSB Noise and Gradient Glow
Ready? Let's begin...
Open a new 600 x 600 blank canvas flood-filled white
Paste Speedometer as new layer
Resize by 75%
Resize by 75%
LEAVE IN POSITION!!
Paste GearFrame02 as new layer
Position over Speedometer
Position over Speedometer
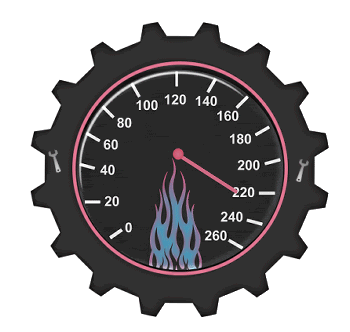
Paste Flags as new layer
Layers > Arrange > Send to Bottomw
Position to the left
Layers > Arrange > Send to Bottomw
Position to the left
Duplicate, then Image > Mirror
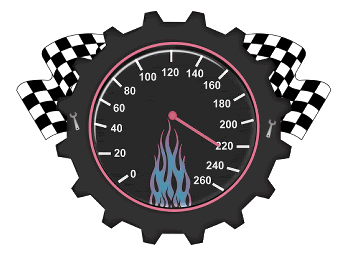
Paste Road2 as new layer
Position along bottom of Frame
Position along bottom of Frame

Paste Tyres as new layer
Resize by 40%
Position to the lower left
Resize by 40%
Position to the lower left
Activate Speedometer layer
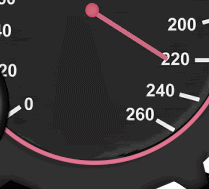
With your Clonde Brush carefully clone portions of the black/dark section of the Speedo with the area over the Flame
It doesn't have to be perfect because we will be covering it anyway
When you have cloned the area it should look like this:
Now paste one of the Flames of choice as new layer
Image > Rotate by 90 to the left
Resize by 40% position WHERE the original flame was (only this one is BIGGER)
Image > Rotate by 90 to the left
Resize by 40% position WHERE the original flame was (only this one is BIGGER)
Paste your Tube as new layer
Resize as necessary
Postion to the right
Resize as necessary
Postion to the right
Paste Paper of choice as new layer
Layers > Arrange > Send to Bottom
Layers > Arrange > Send to Bottom
Layers > New Mask Layer > From Image
Apply WSL_Mask7
OK
Layers > Merge > Merge Group
Apply WSL_Mask7
OK
Layers > Merge > Merge Group
Crop and resize
Select your Text Tool and font of choice
I am using Speed+
Text colour is black
I am using Speed+
Text colour is black
Type out Text of choice
Objects > Align > Horizontal Centre in Canvas
Convert to raster layer
Convert to raster layer
Effects > Plugins > Eye Candy 4000 > Gradient Glow on the THIN setting
Change colour to one to match your tube
Change colour to one to match your tube
Select another font of choice
I am using the same
Text colour set to one that matches your tube
I am using #447dbe
I am using the same
Text colour set to one that matches your tube
I am using #447dbe
Type out your name
Objects > Align > Horizontal Centre in Canvas
Convert to raster layer
Add some Noise
Apply a Gradient Glow with a THIN BLACK setting
Objects > Align > Horizontal Centre in Canvas
Convert to raster layer
Add some Noise
Apply a Gradient Glow with a THIN BLACK setting
Finally, add your © copyright, licence and watermark, then save as GIF or JPG and you're done!
** IF YOU WISH TO ANIMATE PLEASE FOLLOW THESE NEXT STEPS **
Activate your Flame layer (the one we added earlier)
Duplicate twice and rename Flame1, Flame2 and Flame3
Duplicate twice and rename Flame1, Flame2 and Flame3
Activate Flame1 and hide Flame2 and Flame3
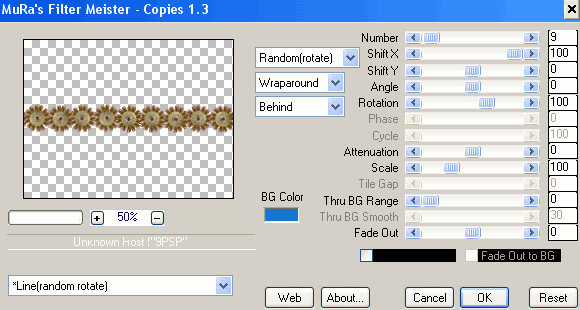
Effects > Plugins > Eye Candy 4000 > HSB Noise with the following settings:
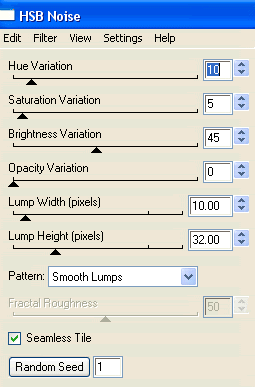
Hide Flame1 and activate Flame2
Repeat HSB Noise again adjusting the Random Seed
Repeat HSB Noise again adjusting the Random Seed
Hide Flame2 and activate Flame3
Repeat HSB Noise once again, adjusting the Random Seed
Repeat HSB Noise once again, adjusting the Random Seed
Activate Flame1 and hide Flame2 and Flame3
Edit > Copy Merged
Edit > Copy Merged
Open Animation Shop
Edit > Paste as New Animation
Edit > Paste as New Animation
Back to PSP
Hide Flame1 and activate Flame2
Edit > Copy Merged
Hide Flame1 and activate Flame2
Edit > Copy Merged
In Animation Shop
Edit > Paste after Current Frame
Edit > Paste after Current Frame
Back to PSP
Hide Flame2 and activate Flame3
Edit > Copy Merged
Hide Flame2 and activate Flame3
Edit > Copy Merged
In Animation Shop
Edit > Paste after Current Frame
Edit > Paste after Current Frame
Now save as a GIF and you're done!
Thanks for trying my tutorial!
::st!na::
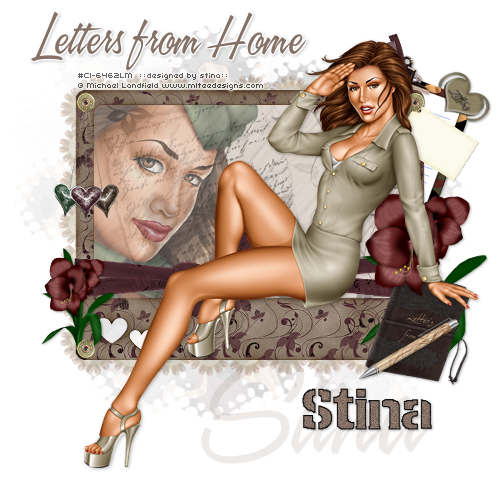
Here is a non-animated version:
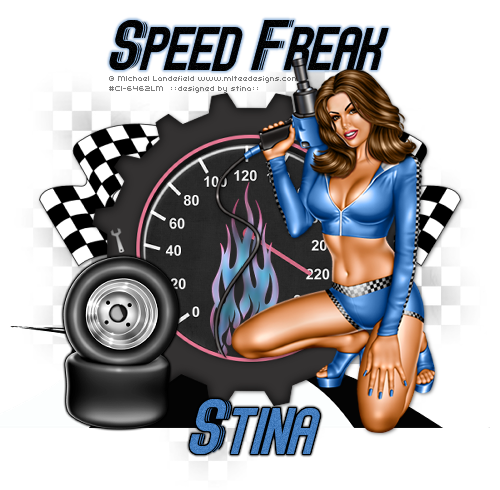
© Tutorial written by Stina on 14th June 2009
All rights reserved
All rights reserved