
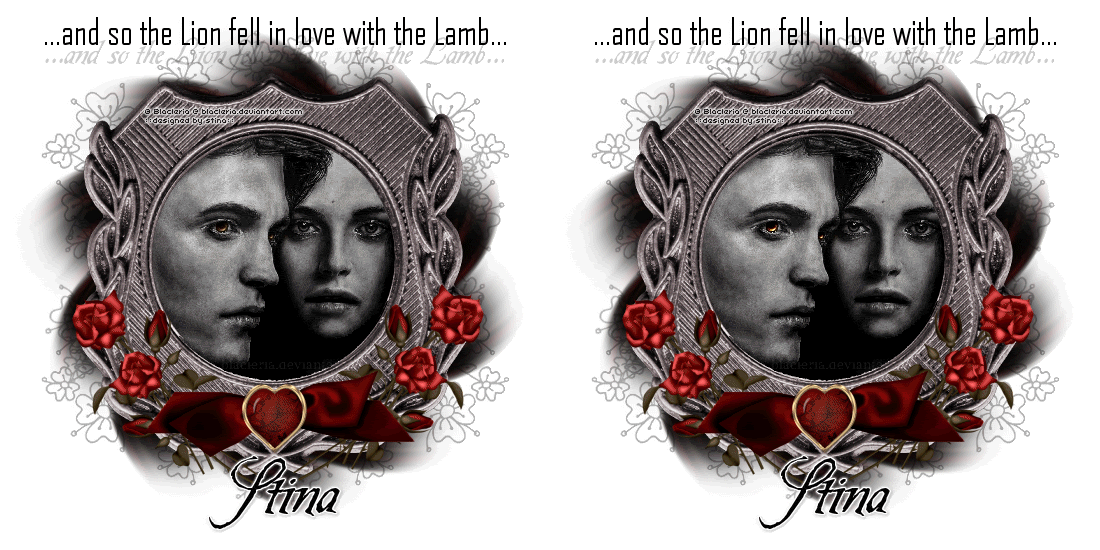
Supplies
Scrap kit of choice - I am using "In Love with Twilight" by Laura's Designs available from Stargazer Scraps
Image of choice - I am using the artwork of Blacleria from whom I gained permission to use
Fonts - I am using AgencyFB and Be Safe (Camilla)
Plugins: Simple Top Left Mirror
Let's begin...
Open a new 700 x 600 blank canvas flood-filled white
Paste a Paper Flower of choice a new layer
Resize by 80%
Resize by 80%
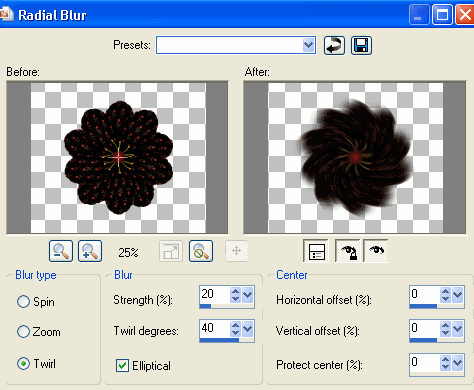
Adjust > Blur > Radial Blur with the following settings:
Paste Frame2 as new layer
Resize by 70%
Duplicate
Resize by 70%
Duplicate
Adjust > Hue & Saturation > Colourise
Hue - 0
Saturation - 0
Lower opacity to around 60
Layers > Merge > Merge Down
Hue - 0
Saturation - 0
Lower opacity to around 60
Layers > Merge > Merge Down
Select inside the Frame with your Magic Wand
Selections > Modify > Expand by 10
Selections > Modify > Expand by 10
Paste an image of choice as new layer
Resize as necessary and position within Frame
Selections > Invert
Delete and deselect
Resize as necessary and position within Frame
Selections > Invert
Delete and deselect
Activate top layer
Paste a TiedKnot as new layer
Resize by 40%
Position in lower centre of Frame
Resize by 40%
Position in lower centre of Frame
Using your Freehand Tool draw two selections of choice around the ends of the Ribbon
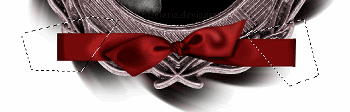
Selections > Modify > Feather by 2
Press delete twice
Deselect
Press delete twice
Deselect
Duplicate and set blend mode to Multiply
Layers > Merge > Merge Down
Layers > Merge > Merge Down
Paste HeartBrad as new layer
Resize by 20%
Position in lower centre of Frame
Resize by 20%
Position in lower centre of Frame
Paste Rose as new layer
Image > Rotate by 30 to the right
Resize by 40%
Position to the lower right of Frame
Image > Rotate by 30 to the right
Resize by 40%
Position to the lower right of Frame
Paste Rose again as a new layer
Image > Mirror
Image > Rotate by 55 to the right
Resize by 35%
Position over first rose
Image > Mirror
Image > Rotate by 55 to the right
Resize by 35%
Position over first rose

Layers > Merge > Merge Down
Duplicate, then Image > Mirror
Position on opposite side
Duplicate, then Image > Mirror
Position on opposite side
Paste a DoodleFlower as new layer
Image > Mirror, then resize by 50%
Postion in upper left corner
Layers > Arrange > Send to Bottom
Image > Mirror, then resize by 50%
Postion in upper left corner
Layers > Arrange > Send to Bottom
Effects > Plugins > Simple > Top Left Mirror
Lower opacity to 30
Image > Canvas Resize 550 x 550
Apply any drop shadows of choice to your tube and elements
Select your Text Tool and font of choice
I am using Agency
Text colour of choice - I am using Black
I am using Agency
Text colour of choice - I am using Black
Type out your text of choice
Objects > Align > Horizontal Centre in Canvas
Convert to raster layer
Apply any drop shadow of choice
Objects > Align > Horizontal Centre in Canvas
Convert to raster layer
Apply any drop shadow of choice
Select another font of choice
I am using Be Safe (Edward's handwriting)
Same text colour
I am using Be Safe (Edward's handwriting)
Same text colour
Type out your name
Objects > Align > Horizontal Centre in Canvas
Convert to raster layer
Apply a Gradient Glow and drop shadow of choice
Objects > Align > Horizontal Centre in Canvas
Convert to raster layer
Apply a Gradient Glow and drop shadow of choice
Finally, add your © copyright, licence and watermark, then save as a GIF or JPG and you're done!
** IF YOU WISH TO ANIMATE PLEASE FOLLOW THESE NEXT STEPS **
Activate your Image layer
Using your Freehand Tool draw around Edward's eyes
Layers > Promote Selection to Layer
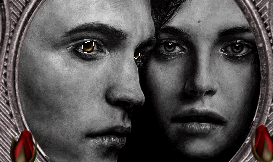
Duplicate and rename Image to Glow1 and promoted layer to Glow2
Leave Glow1 (Image) as is and activate Glow2, then
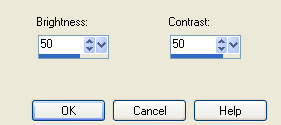
Adjust > Brightness & Contrast > Brightness/Contrast with the following settings:
Now let's animate!!!
Activate Glow1 and hide Glow2
Edit > Copy Merged
Edit > Copy Merged
Open Animation Shop
Edit > Paste as New Animation
Edit > Paste as New Animation
Back to PSP
Hide Glow1 and activate Glow2
Edit > Copy Merged
Hide Glow1 and activate Glow2
Edit > Copy Merged
In Animation Shop
Edit > Paste AFTER Current Frame
Edit > Paste AFTER Current Frame
Now Select All and set your Frame Properties to 50, then save as a GIF and you're done!
Thanks for trying my tutorial!
::st!na::
Here is a non-animated version:
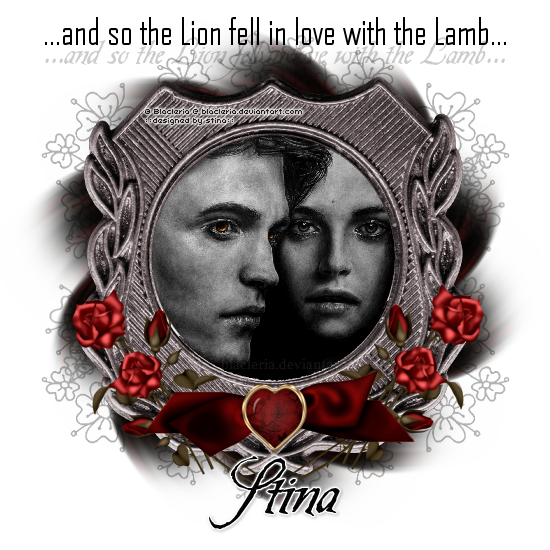
© Tutorial written by Stina on 6th July 2009
All rights reserved
