Supplies
Scrap kit of choice - I am using "Forbidden Love" by Tracey of Soxsational Scraps
Frame from "Twilight Lover" by Chaos Priestess available from Digital Chaos
WordArt from "Forbidden Love" collab by Yarrow and Grunge and Glitter Scraps available from Stargazer Scraps and Digital Chaos
Image of choice - I am using the artwork of Ffnana
WSL_Mask84 by Chelle available from her blog
Font of choice - I am using Be Safe (Edward's handwriting)
Plugin: Xenofex 2 Constellation and Eye Candy 4000 Gradient Glow (optional, for text)
Ready? Let's begin....
Open a new 700 x 600 blank canvas flood-filled white
Paste Frame of choice as new layer
(I used one from the kit "Twilight Lovers" by Chaos Priestess)
Resize to your liking
(I used one from the kit "Twilight Lovers" by Chaos Priestess)
Resize to your liking
Paste an image of choice as new layer
Resize as necessary
Layers > Arrange > Move Down
Resize as necessary
Layers > Arrange > Move Down
Select the area inside the Frame with your Magic Wand
Selections > Modify > Expand by 10
Selections > Invert
Delete
Selections > Modify > Expand by 10
Selections > Invert
Delete
KEEP SELECTED!!
Paste Starlight as new layer
Image > Flip
Position over Edward, then
Lower opacity to around 60
Image > Flip
Position over Edward, then
Lower opacity to around 60
STILL SELECTED!!
Paste LightRay as new layer
Position in upper right
Position in upper right
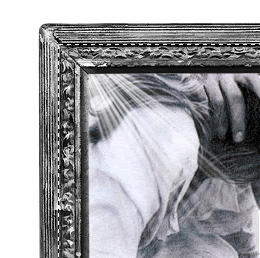
Delete then deselect
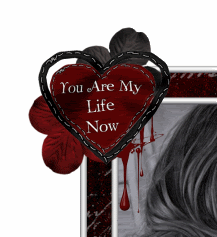
Paste RedHearts as new layer
Layers > Arrange > Move Up
Resize by 65%
Position to the left with top heart placed in upper left corner
Layers > Arrange > Move Up
Resize by 65%
Position to the left with top heart placed in upper left corner
Paste RedRose1 as new layer
Image > Rotate by 15 to the right
Resize by 45%
Position to the left
Erase excess protruding below the frame
Image > Rotate by 15 to the right
Resize by 45%
Position to the left
Erase excess protruding below the frame
Paste Edward4Bella element as new layer
Resize by 50%
Position in upper left
Resize by 50%
Position in upper left
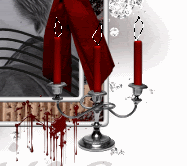
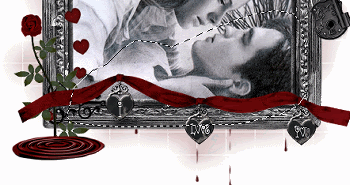
Paste Ribbon & Charms as new layer
Resize by 90%
Position along bottom of Frame
Resize by 90%
Position along bottom of Frame
Paste BloodPool as new layer
Resize by 25%
Position in lower left
Resize by 25%
Position in lower left
Paste Lock as new layer
Image > Rotate by 15 to the left
Resize by 45%
Position in upper right
Image > Rotate by 15 to the left
Resize by 45%
Position in upper right
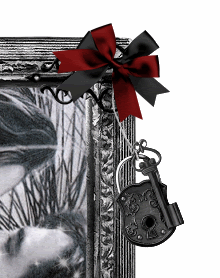
Paste Bow1 as new layer
Resize by 45%
Position in upper right securing lock to Frame
Resize by 45%
Position in upper right securing lock to Frame
Paste Bow2 as new layer
Image > Rotate by 35 to the right
Resize by 45%
Position over Bow1 in upper right
Image > Rotate by 35 to the right
Resize by 45%
Position over Bow1 in upper right
Paste Paper of choice as new layer
Layers > Arrange > Send to Bottom
Layers > Arrange > Send to Bottom
Layers > New Mask Layer > From Image
Apply WSL_Mask84
OK
Layers > Merge > Merge Group
Lower opacity to 25
Apply WSL_Mask84
OK
Layers > Merge > Merge Group
Lower opacity to 25
Paste BloodDrippings2 as new layer
Resize by 80%
Image > Mirror
Position with some of the drippings falling below Frame
Resize by 80%
Image > Mirror
Position with some of the drippings falling below Frame
Crop and resize canvas
Type your Text of choice or use an appropriate WordArt
(I am using a WordArt from "Forbidden Love" by Yarrow and Grunge & Glitter Scraps)
(I am using a WordArt from "Forbidden Love" by Yarrow and Grunge & Glitter Scraps)
Select your Text Tool and font of choice
I am using Be Safe
Text colour to match your tag - I am using #500e0f
I am using Be Safe
Text colour to match your tag - I am using #500e0f
Type out your name
Objects > Align > Horizontal Centre in Canvas
Convert to raster layer
Apply any effects and drop shadow of your choice
Objects > Align > Horizontal Centre in Canvas
Convert to raster layer
Apply any effects and drop shadow of your choice
Finally, add your © copyright, licence and watermark, then save as a GIF or JPG and you're done!
** IF YOU WISH TO ANIMATE PLEASE FOLLOW THESE NEXT STEPS **
Activate your Image Layer
Duplicate three times and rename Main Image, Sparkle1, Sparkle2 and Sparkle3
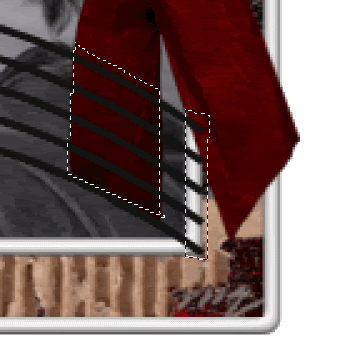
With your Freehand Tool make a selection around Edward (you will not need the Starlight layer we added for this step so you can hide it)
** IF YOU WISH TO ANIMATE PLEASE FOLLOW THESE NEXT STEPS **
Activate your Image Layer
Duplicate three times and rename Main Image, Sparkle1, Sparkle2 and Sparkle3
With your Freehand Tool make a selection around Edward (you will not need the Starlight layer we added for this step so you can hide it)
Hide Sparkle2 and Sparkle3 leaving only Sparkle1 and Main Image visible
**NOTE - MAIN IMAGE WILL REMAIN VISIBLE AT ALL TIMES**
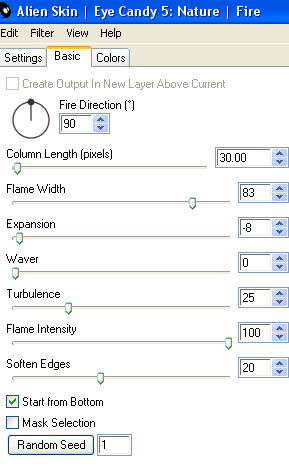
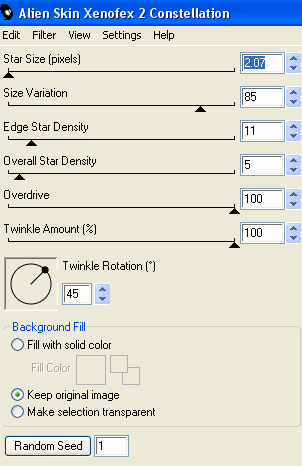
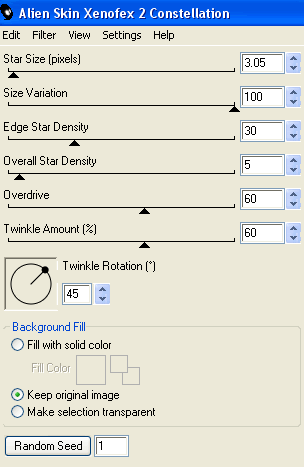
Effects > Plugins > Xenofex 2 > Constellation with the following settings:
**NOTE - MAIN IMAGE WILL REMAIN VISIBLE AT ALL TIMES**
Effects > Plugins > Xenofex 2 > Constellation with the following settings:
Hide Sparkle1 and activate Sparkle2
Apply the Constellation effect, adjusting the Random Seed
Hide Sparkle2 and activate Steam3
Apply the Constellation effect again, adjusting the Random Seed once more
KEEP SELECTED!!
Now, Selections > Invert
Activate each layer - Sparkle1, Sparkle2 and Sparkle3 - respectively and hit delete ONCE
Activate each layer - Sparkle1, Sparkle2 and Sparkle3 - respectively and hit delete ONCE
Now for the animation part!
Hide Sparkle2 and Sparkle with only Sparkle1 (and Main Image) visible
Edit > Copy Merged
Open Animation Shop
Edit > Paste as New Animation
Back to PSP
Hide Sparkle1 and activate Sparkle2
Edit > Copy Merged
In Animation Shop
Edit > Paste AFTER Current Frame
Back to PSP
Hide Sparkle2 and activate Sparkle3
Edit > Copy Merged
In Animation Shop
Edit > Paste AFTER Current Frame
Go to Frame Properties and change to 15, then save as a GIF and you're done!
Thanks for trying my tutorial!
::st!na::
Hide Sparkle2 and Sparkle with only Sparkle1 (and Main Image) visible
Edit > Copy Merged
Open Animation Shop
Edit > Paste as New Animation
Back to PSP
Hide Sparkle1 and activate Sparkle2
Edit > Copy Merged
In Animation Shop
Edit > Paste AFTER Current Frame
Back to PSP
Hide Sparkle2 and activate Sparkle3
Edit > Copy Merged
In Animation Shop
Edit > Paste AFTER Current Frame
Go to Frame Properties and change to 15, then save as a GIF and you're done!
Thanks for trying my tutorial!
::st!na::
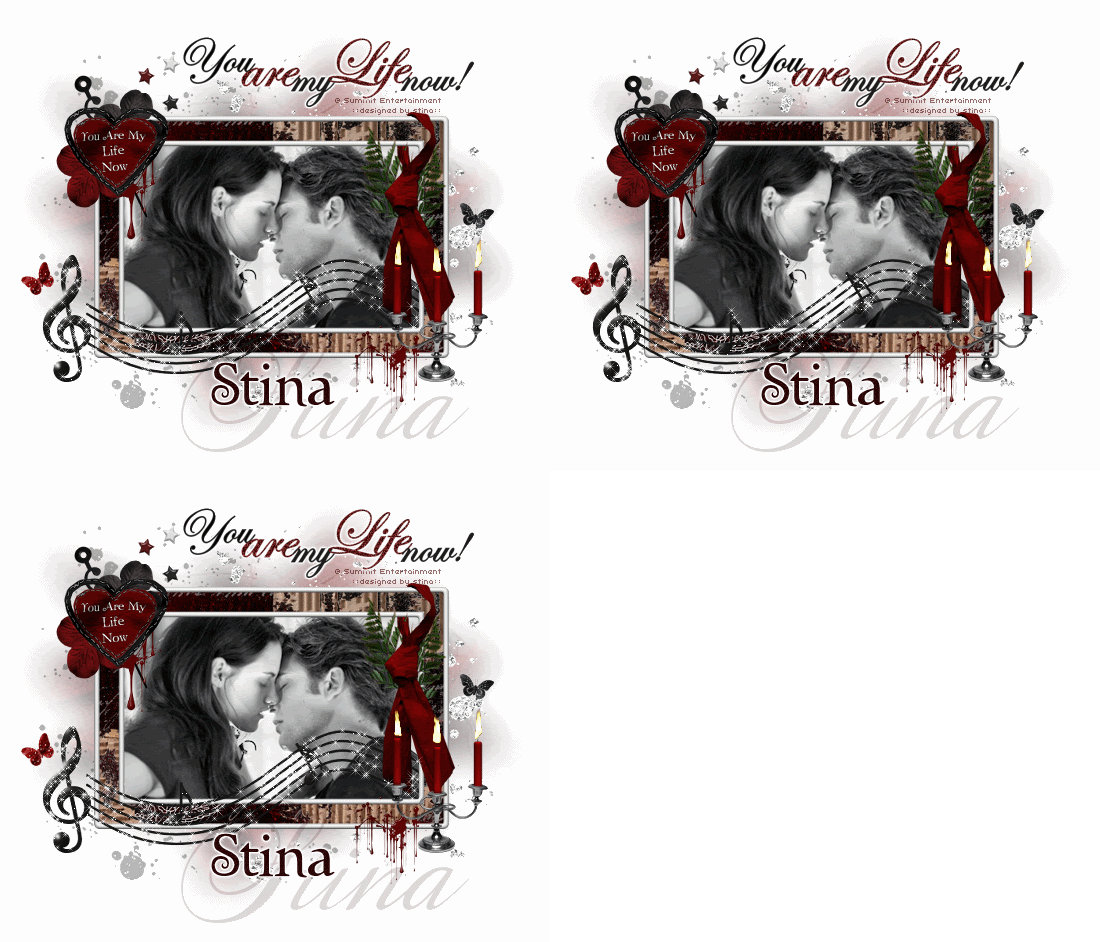
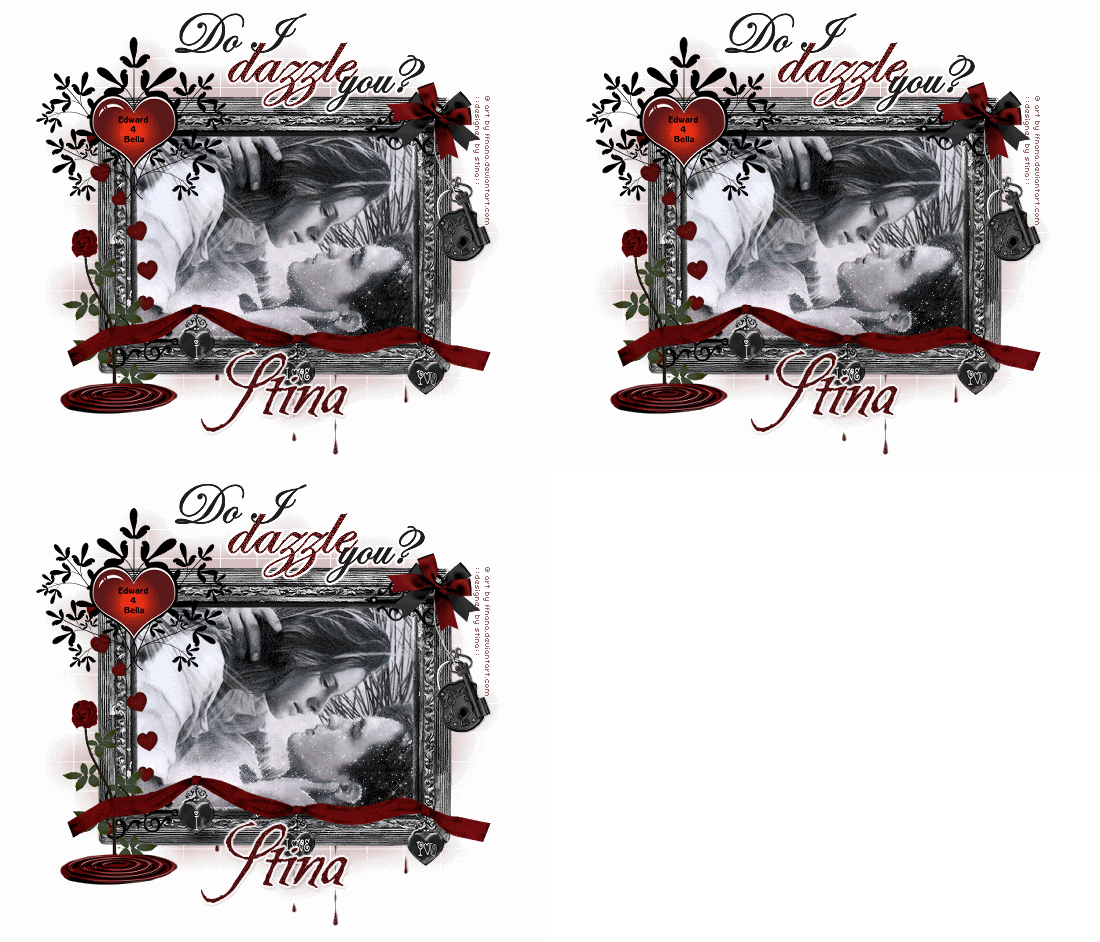
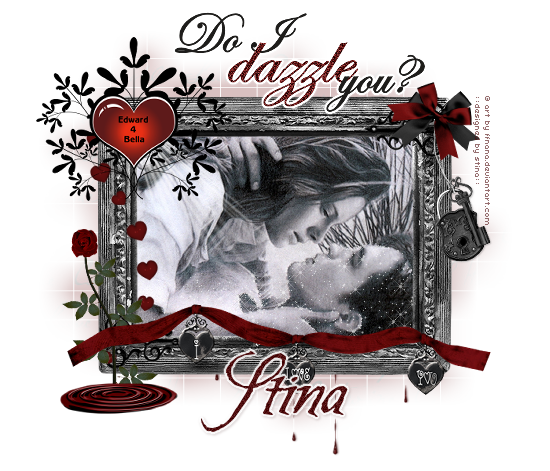
Here is a non-animated version:
© Tutorial written by Stina on 30th May 2009
All rights reserved
All rights reserved