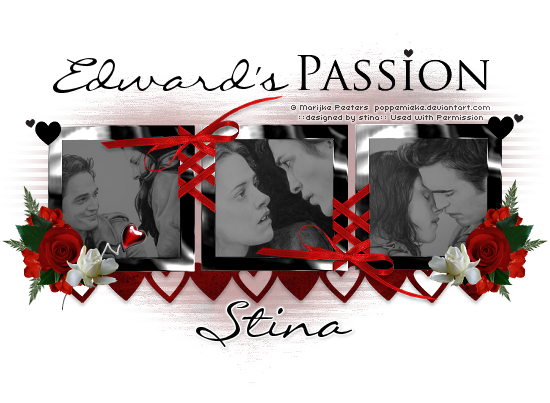
Supplies
Scrap kit of choice - I am using "First Bite" by Oopsie Daisy available from Totally Sweet Designs and Stargazer Scraps
Image of choice - I am using the lovely artwork of Marijke Peeters for which I have permission
UF Mask 4 here
Fonts of choice - I am using Bickham Script Pro Regular
Plugins: Xero > Radiance
PhotoEffex > Scanlines
Greg's Factory Output II > Pool Shadow
Let's begin...
Open a new 750 x 500 blank canvas flood-filled white
In your Materials Palette set your Foreground to #000000
Select your Selection Tool to Rounded Rectangle
Draw out a rectangle to your liking
Add a new raster layer
Flood fill with your Foreground colour
KEEP SELECTED!!
Selections > Modify > Contract by 15
Press delete then deselect
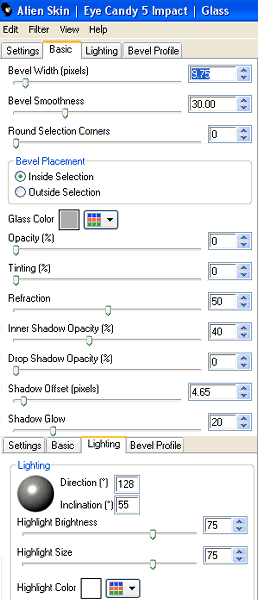
Effect > Plugins > Alien Skin Eye Candy 5: Impact > Glass with the following settings:
Select inside your new Frame with your Magic Wand
Selections > Modify > Expand by 8
Paste a paper of choice as new layer
Layers > Arrange > Move Down (below Frame)
Resize by 70%
Selections > Invert
Delete then deselect
Paste RedChromeSwirl as new layer
Resize by 50%
Position to the lower right
Duplicate then Image > Mirror
Layers > Merge > Merge Down
Paste HeartEmb3 as new layer
Image > Rotate by 30 to the left
Resize by 33%
Position at the centre of the Chrome Swirls
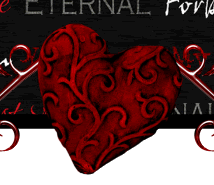
Paste RedRibbonIvy as new layer
Resize by 80%
Position slightly to the left
Select your Eraser Tool and carefully erase the excess ribbon and ivy
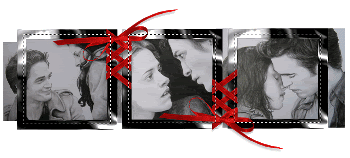
So you have something a little like this:

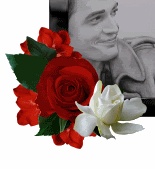
Paste Floral5 as new layer
Image > Mirror
Image > Rotate by 6 to the left
Resize by 30%
Position along the bottom of the heart, swirl and frame
Use your erase to remove excess stem
Paste Apple as new layer
Resize by 15%
Position beside heart
Paste HeartEmb1 as new layer
Image > Rotate by 5 to the right
Resize by 12%
Duplicate, then Image > Mirror
Position them in the upper right
Select inside the RibbonFrame with your Magic Wand
Selections > Modify > Expand by 2
Paste Image of choice as new layer
Resize as necessary and position
Selections > Invert
Delete excess and deselect
Duplicate layer
Effects > Plugins > Xero > Radiance with the default settings
Lower opacity to 50
Paste Paper of choice as new layer
Layers > Arrange > Send to Bottom
Layers > New Mask Layer > From Image
Apply UFMask4
OK
Layers > Merge > Merge Group
Lower opacity to 35
Effects > Plugins > PhotoEffex > Scanlines with default setting
Crop and resize to liking
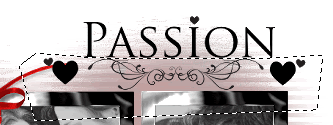
Select your Text Tool and font of choice
I am using Bickham Script Pro Regular
Text Colour to match tag - I am using #400000
Type out text of choice
Position to liking then convert to raster layer
Select another font of choice
I am using the same script
Text colour slightly lighter - #860c0e
Type out name and position
Convert to raster layer
Effects > Plugins > Greg Factory Output2 > Pool Shadow
Finally, add your © copyright, licence and watermark, then save as a GIF or JPG and you're done!
** IF YOU WISH TO ANIMATE PLEASE FOLLOW THESE NEXT STEPS **
Activate your Mask layer
Duplicate twice and name Shadow1, Shadow2 and Shadow3
Activate Shadow1
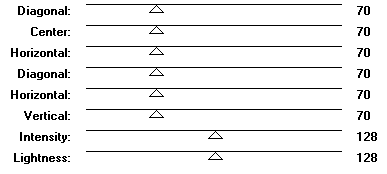
Effects > Plugins > Greg Factory Output 2 > Pool Shadow with the following settings:
Hide Shadow1 and activate Shadow2
Repeat Shadow effect, adjusting the settings from 70 to 90
Hide Shadow2 and activate Shadow3
Repeat Shadow effect, adjusting from 90 to 110
Now to animate!
Activate Shadow1 and hide the other two Shadow layers
Edit > Copy Merged
Open Animation Shop
Edit > Paste as New Animation
Back to PSP
Hide Shadow1 and activate Shadow2
Edit > Copy Merged
In Animation Shop
Edit > Paste After Current Frame
Back to PSP
Hide Shadow2 and activate Shadow3
Edit > Copy Merged
In Animation Shop
Edit > Paste After Current Frame
Select all and change Frame Properties to 30
Now save as a GIF and you're done!
Thanks for trying my turorial!
::st!na::
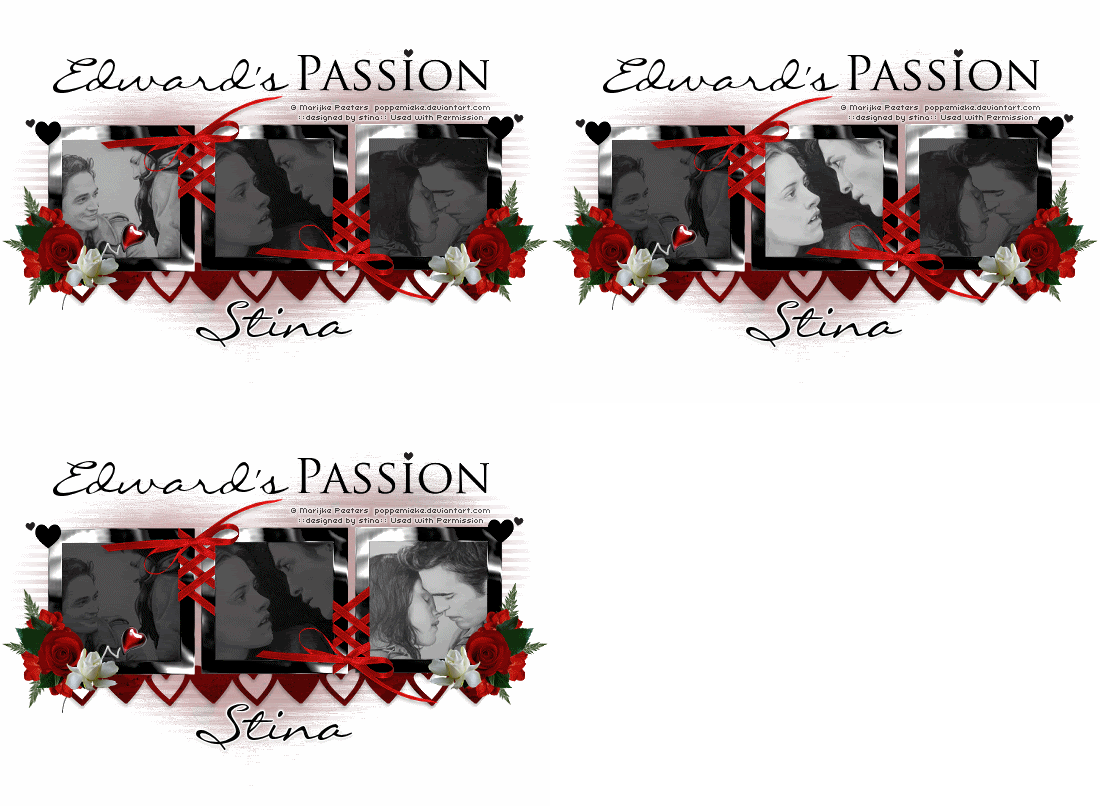
Here is a non-animated version:
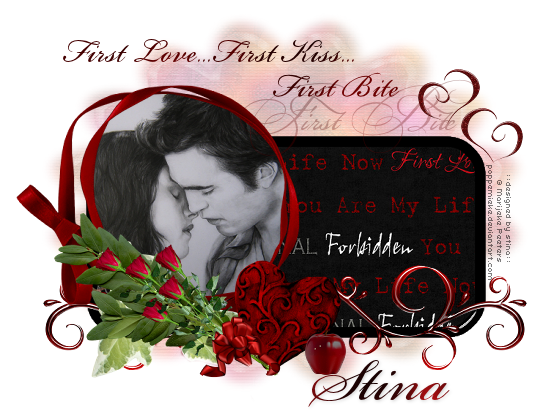
© Tutorial written by Stina on 4th September, 2009
All rights reserved