Supplies
Scrap kit of choice - I am using "Doggie Daydreams" by Tootsie's Creations available from Stargazer Scraps and Paradise 4 Scrappers
Tube of choice - I am using the artwork of Bovar, which is free to use along with credit
Other scrap pieces used are: Paper from "Pet Lovers Collab" from Ahh Scrap
Yellow Flower from "Morning Glories" by Kay Miller Designs
Pink Flower from "Tuesday's Child" by Teri Mayo and Stacey Crossley from Pretty Scrappy
Branch from "Easter Blossoms" by Mimi and Polka Dot Plum from Sunshine Scrap Studios
Fonts of choice - I am using Lainie Day and 2Peas Mister Giggles
Plugins: Screenworks Aged Mosaic and Alien Skin Xenofex 2 Constellation
Ready? Let's begin....
Open a new 600 x 600 blank canvas flood-filled white
Paste Frame of choice as new layer
Resize by 45%
Resize by 45%
Select inside the Frame with your Magic Wand
Selections > Modify > Expand by 10
Add new raster layer
Paste Paper of choice INTO selection
Deselect
Layers > Arrange > Move Down
Selections > Modify > Expand by 10
Add new raster layer
Paste Paper of choice INTO selection
Deselect
Layers > Arrange > Move Down
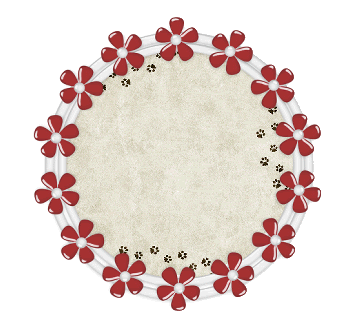
Paste a Blossom as new layer
Resize by 30%
Position to liking
Duplicate and set blend mode to Hard Light
Layers > Merge > Merge Down
Resize by 30%
Position to liking
Duplicate and set blend mode to Hard Light
Layers > Merge > Merge Down
Paste a DogDish of choice as new layer
Resize by 15%
Position over the bottom of the Flower stem
Resize by 15%
Position over the bottom of the Flower stem
Paste Hydrant as new layer
Resize by 15%
Layers > Arrange > Send to Bottom
Position in the lower left
Resize by 15%
Layers > Arrange > Send to Bottom
Position in the lower left
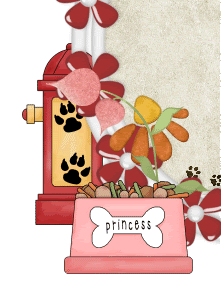
Paste Bone as new layer
Layers > Arrange > Bring to top
Image > Rotate by 30 to the left
Resize by 25%
Position on bottom of Frame to your liking
Layers > Arrange > Bring to top
Image > Rotate by 30 to the left
Resize by 25%
Position on bottom of Frame to your liking
Duplicate then Image > Rotate by 30 to the left
Layers > Arrange > Move Down
Position behind top bone
Layers > Arrange > Move Down
Position behind top bone
Paste RedRibbon as new layer
Resize by 23%
Position over Bones
Resize by 23%
Position over Bones
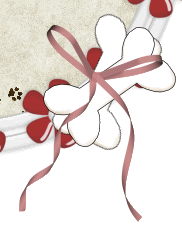
Paste PawPrint as new layer
Resize by 10%
Duplicate several times and position to your liking
Resize by 10%
Duplicate several times and position to your liking
Paste Butterfly as new layer
Image > Rotate by 30 to the left
Resize by 5%
Position in upper right
Duplicate then Image > Mirror
Resize by 65%
Position to the left
Image > Rotate by 30 to the left
Resize by 5%
Position in upper right
Duplicate then Image > Mirror
Resize by 65%
Position to the left
Activate Frame layer and duplicate
Layers > Arrange > Send to Bottom
Layers > Arrange > Send to Bottom
Adjust > Blur > Gaussian Blur with a radius of 20.00
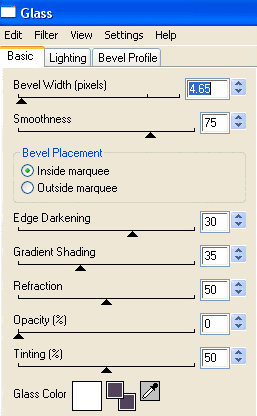
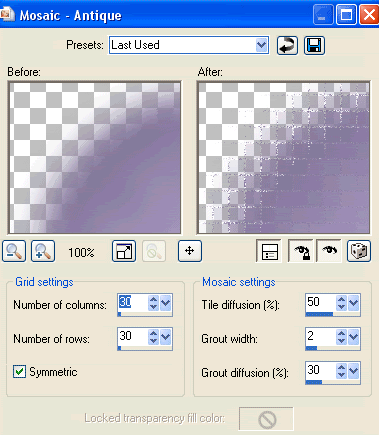
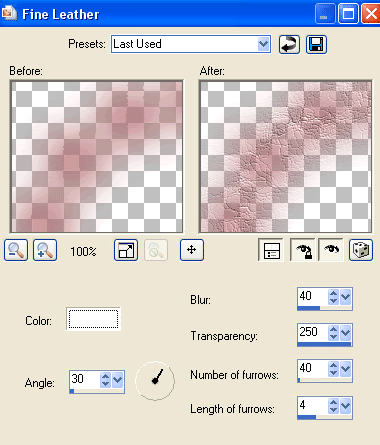
Effects > Texture Effects > Fine Leather with the following settings:
Then Effects > Plugins > Screenworks > Aged Mosaic
Lower opacity to around 75
Activate top layer
Select your Text Tool and font of choice
I am using LainieDay
Type out your text of choice, position and convert to raster layer
I am using LainieDay
Type out your text of choice, position and convert to raster layer
Select another font of choice
I am using 2Peas Mister Giggles
Text colour is #000000
I am using 2Peas Mister Giggles
Text colour is #000000
Type out your name
Objects > Align > Horizontal Centre in Canvas
Convert to raster layer
Apply a drop shadow of choice
Objects > Align > Horizontal Centre in Canvas
Convert to raster layer
Apply a drop shadow of choice
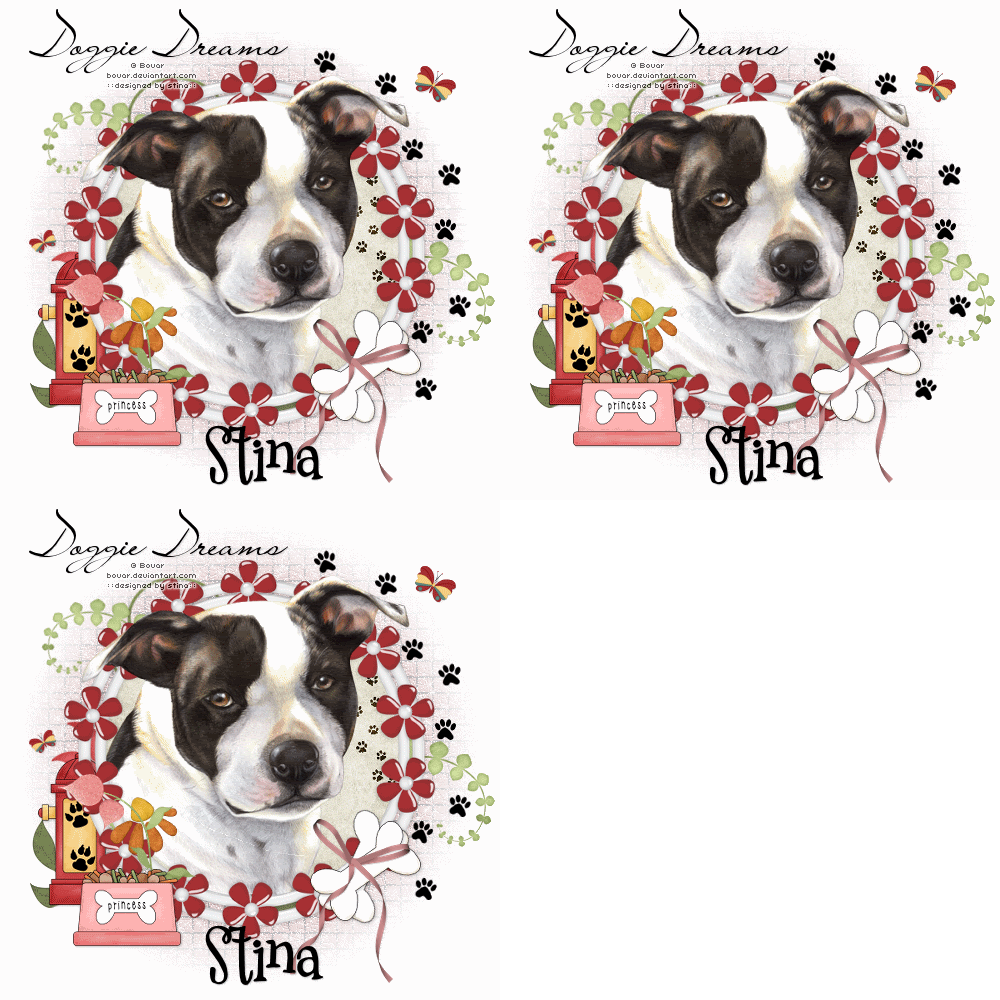
Finally, add your © copyright, licence and watermark, then save as a GIF or JPG and you're done!
** IF YOU WISH TO ANIMATE PLEASE FOLLOW THESE NEXT STEPS **
Activate the Mask Layer
Duplicate twice and rename Sparkle1, Sparkle2 and Sparkle3
Hide Sparkle2 and Sparkle3 activating only Sparkle1
Effects > Plugins > Xenofex 2 > Constellation with the following settings:
Activate the Mask Layer
Duplicate twice and rename Sparkle1, Sparkle2 and Sparkle3
Hide Sparkle2 and Sparkle3 activating only Sparkle1
Effects > Plugins > Xenofex 2 > Constellation with the following settings:
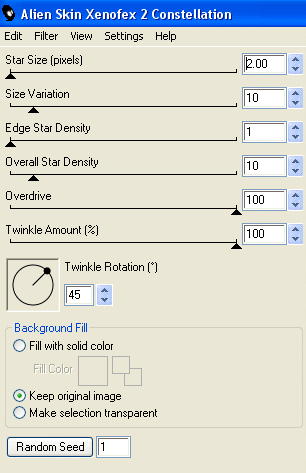
Hide Sparkle1 and activate Sparkle2
Apply the Constellation effect, adjusting the Random Seed
Hide Sparkle2 and activate Sparkle3
Apply the Constellation effect again, adjusting the Random Seed once more
Hide Sparkle2 and Sparkle3 with only Sparkle1 visible
Edit > Copy Merged
Open Animation Shop
Edit > Paste as New Animation
Back to PSP
Hide Sparkle1 and activate Sparkle2
Edit > Copy Merged
In Animation Shop
Edit > Paste AFTER Current Frame
Back to PSP
Hide Sparkle2 and activate Sparkle3
Edit > Copy Merged
In Animation Shop
Edit > Paste AFTER Current Frame
Save as a GIF and you're done!
Thanks for trying my tutorial!
::st!na::
Thanks for trying my tutorial!
::st!na::
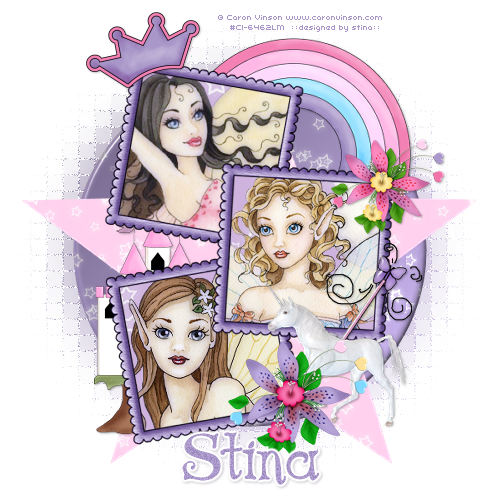
Here is a non-animated version:
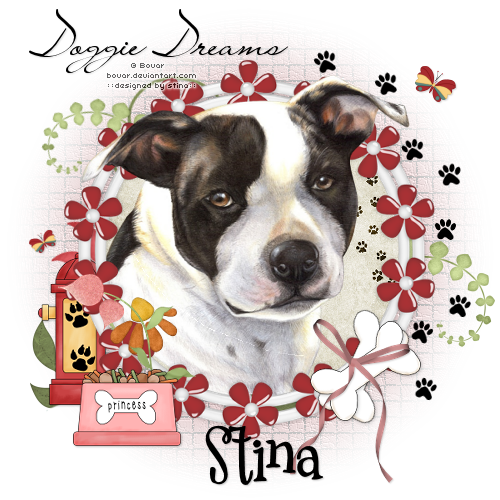
© Tutorial written by Stina on 21st May 2009
All rights reserved