Please email me designed.by.stina@gmail.com with your creations. I'd love to see them.

Friday, November 11, 2011

One Lifetime...

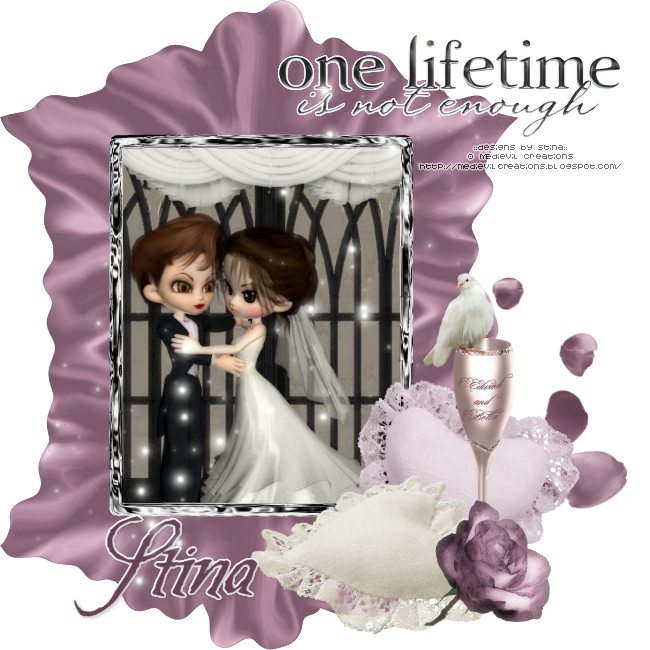
One Lifetime

Supplies

I am using my "Forever is only the Beginning" scrap kit from the "Forever Twilight Trilogy" available in all my stores, listed on my blog
Custom Posers included in kit and © Medievil Creations
Font of choice - I am using Be Safe which is Edward's handwriting
Plugins:
Xero Porcelain
Alien Skin Eye Candy 5: Impact Gradient Glow


Open DBS_Frame09 and duplicate, then close original
Image / Canvas Size
650 x 650 to the left

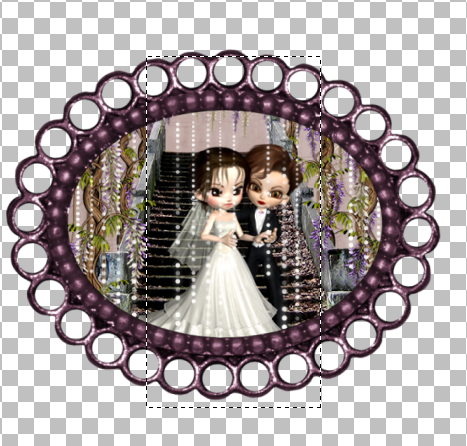
Select inside the frame with your Magic Wand
Selections / Modify / Expand by 10
Paste a paper of choice as a new layer and move to below frame
Selections / Invert
Delete

KEEP SELECTED!!

Paste a window scene as a new layer
Resize as necessary
Delete then deselect

Apply Xero / Porcelain with all channels set to 0

Activate top layer

Paste a DBS_LaceHeart as new layer
Image / Free Rotate by 20 to the right
Resize by 35%
Position to the lower right

Paste another DBS_LaceHeart as new layer
Resize by 40% and position to the lower right

Paste one of the Champagne Flutes as a new layer
Resize by around 40%
Position just behind the second Lace Heart

Paste DBS_Rose as new layer
Image / Mirror and resize by 20%
Position over the bottom of the Flute in front of the Lace Heart

Apply the Porcelain filter

Paste DBS_Dove as new layer
Image / Mirror and resize by 15%
Position sitting on top of Flute

Paste DBS_RosePetals as new layer
Image / Free Rotate by 20 to the left
Resize by 50%
Position to the lower right behind the Lace Hearts and Flute etc. on the bottom layer

Paste a Word Art of choice as a new layer
Resize by around 50% and position
Apply a slight gradient glow if you wish

On top layer again
Paste DBS_Sparkles as new layer
Resize by 88% and position over frame to your liking
Erase any excess over faces

Select a font of your choice - I am using Be Safe (Edward's handwriting)
Type out your name in a colour matching your tag - I am using #674255
Apply a drop shadow and a Gradient Glow for effect

Then add your credits, save as a PNG and you're done!

Thank you for trying my tutorial!


© Tutorial written by Stina on 11th November 2011

Forever is only the Beginning

Forever is only the Beginning
Supplies

I am using my "Forever is only the Beginning" scrap kit available from all my stores which are listed on my blog
Tube/image provided in the kit featuring custom posers by © Medievil Creations
Font of choice - I am using PegsannaHMK
Plugins:
Xero Porcelain
Alien Skin Eye Candy 5: Gradient Glow


Open a new 650 x 500 transparent canvas
Flood fill layer black and turn off visibility (we'll use it later)

Paste DBS_Frame03 as new layer
Resize by 70% and position to the left

Select the inside of your frame with your Magic Wand
Selections / Modify / Expand by 10
Paste a paper of choice as a new layer
Move to below the frame
Selections / Invert
Delete

KEEP SELECTED!!

Paste DBS_SparkleRain as new layer
Resize by 70% and position to your liking
Delete excess

KEEP SELECTED!!

Paste one of the Wisteria scenes as a new layer
Resize by around 85% and position
Delete excess, then deselect

Duplicate SparkleRain layer
Move to layer above Couple/Wisteria scene

With your Selection Tool draw a rectangle around the middle section of the Rain covering Edward and Bella
Delete

Photobucket

On the main image/tube layer
Effects / Plugins / Xero / Porcelain with all channels set to Zero

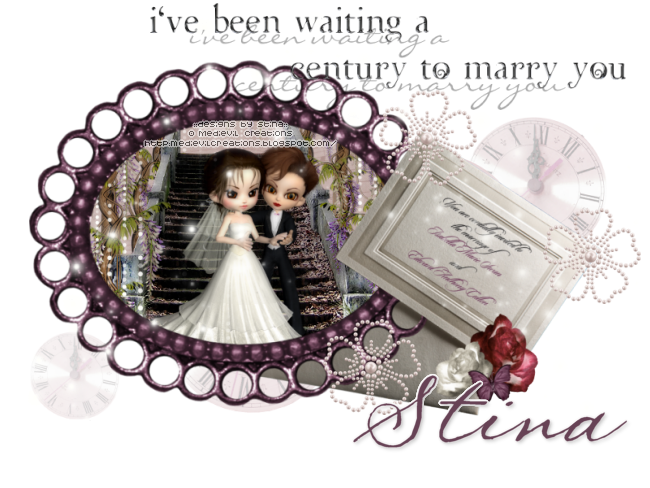
Paste DBS_WeddingInvitation as new layer
Image / Free Rotate by 10 to the right
Resize by 50%
Position to the right of the frame
Don't worry that it overlaps, we will fix that
Duplicate then move layer to the bottom

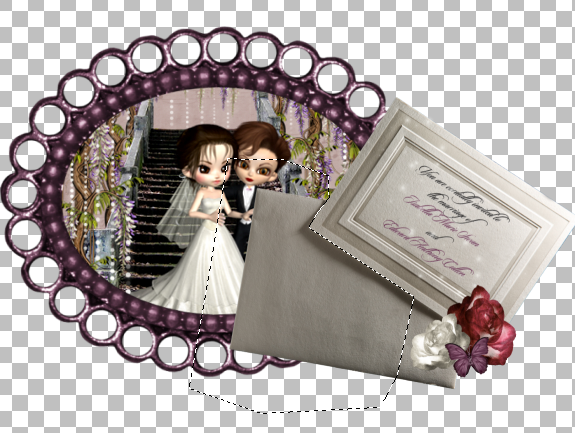
On top layer use your Freehand Selection Tool on Point to Point with no feathering
Draw along the edge of the invitation and back around the envelope

Photobucket

Then delete and deselect

Paste DBS_PearlFlower as a new layer
Resize by 17%
Duplicate twice and position around invitation

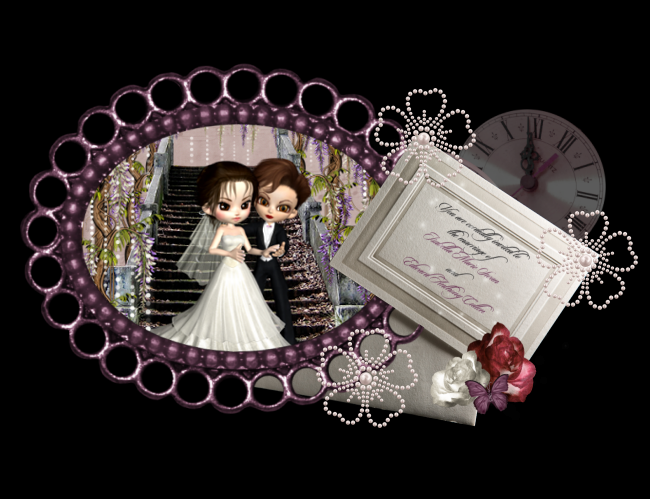
Now turn on the visibility of the black layer we flood-filled at the beginning
We're going to need it to see what we're doing next

Paste DBS_Clocks as new layer
Resize by 70%
Position so that you can see one of the clocks ONLY above the invitation
Lower opacity to around 50-55

Photobucket

Duplicate and move slightly down so that other clocks are partially visible
Then lower the opacity to around 30

Activate top layer again BUT KEEP BLACK BACKGROUND VISIBLE!

Paste DBS_Sparkles as new layer
Resize by 85% and position to the left
USe your Eraser Tool to erase any excess sparkles

Paste Sparkles as a new layer again
Image / Mirror then resize by 85%
Position to your liking to the right and lower opacity to around 75
Remove any excess of sparkles you wish

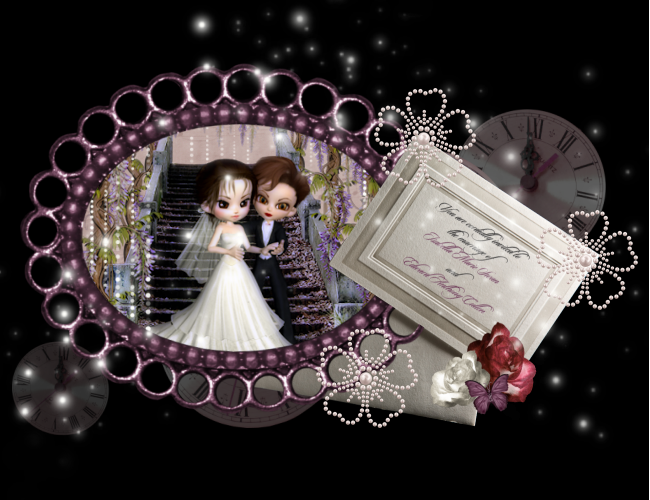
You should now have something like this:

Photobucket

Delete the black layer (we don't need it anymore)

Paste DBS_WordArt of your choice as new layer
Resize by around 65% and position above frame and clocks

Select a font of your choice - I am using PegsannaHMK
Type out your name using a matching colour - I am using #674255
Add a drop shadow

Effects / Plugins / Alien Skin Eye Candy 5: Impact / Gradient Glow with the following settings:

Photobucket

Then add your credits, save as a PNG and you're done!

Thank you for trying my tutorial!


© Tutorial written by Stina on 11th November 2011
Wednesday, November 9, 2011

I'm Just Hot!


Supplies

Scrap kit of choice - I am using my "Independent Woman" kit available from all my stores listed on my blog
Tube of choice - I am using the FTU artwork of Les Toil
Fonts of choice - I am using GeeohHmk, Gabriel and Kaxio
Plugins:
Xero Soft Mood
Alien Skin Eye Candy 5: Impact Gradient Glow
PhotoEffx Scanlines
Eye Candy 4000 HSB Noise


Open a new 600 x 300 transparent image
Selections / Select All

Paste DBS_Paper03 or one of choice as new layer
Now paste DBS_Paper05 or one of choice as new layer
Image / Crop to Selection

Selections / Select All
Selections / Modify / Contract by 5
Delete then deselect

Paste DBS_CheckeredFloor as new layer
Resize by 70% and position to lower half of canvas

Paste DBS_Swing02 as new layer
Image / Mirror
Resize by 50% and position to the far left

Paste tub of choice as new layer
Resize if necessary
Position to the far right of canvas
Duplicate
On duplicate layer apply

Effects / Plugins / Xero / Soft Mood
with default settings

Lower opacity of layer to around 60
Layers / Merge / Merge Down

Paste DBS_Lips01 as new layer
Resize by 15%
Position to your liking

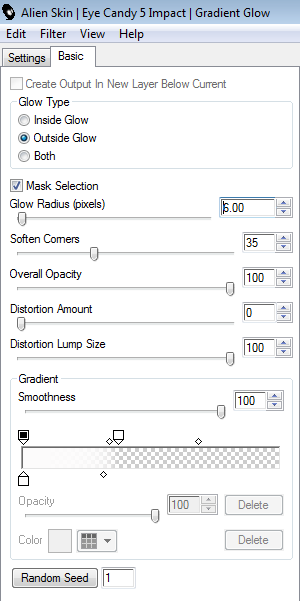
Effects / Plugins / Alien Skin Eye Candy 5: Impact / Gradient Glow
Apply a thin black glow
Duplicate, then Image / Mirror
Position below the swing in the lower left

Paste DBS_Sunglasses01 as new layer
Resize by 35% and position to your liking

Set your background in your Material Palette to a colour in contrast but matching your tag
I used #dad6bd

Select a font of your choice (I used GeeohHmk)
Type out "Thought for the Day!"

Select a print font of your choice (I used Gabriel with Kerning set to 25)
Type out:
If heat makes things expand
then I don't have a
weight problem...
I'm just"

Select another font of choice (I used Kaxio)
Type out "Hot!"

Now position all text to your liking, then
Layers / Merge / Merge Down
And repeat to merge all text layers into one

Now repeat the Black Gradient Glow effect

Now in the lower right using your Selection Tool set to rectangle
Draw out a rectangle about the width of your tube
Adjust / Blur / Gaussian Blur with a radius of 10.00

Effects / Plugins / PhotoEffx / Scanlines
With default settings

Select another font of choice (I used Kaxio again)
Type out your name
Repeat the Black Gradient Glow effect
Apply a drop shadow

Add your credits etc....


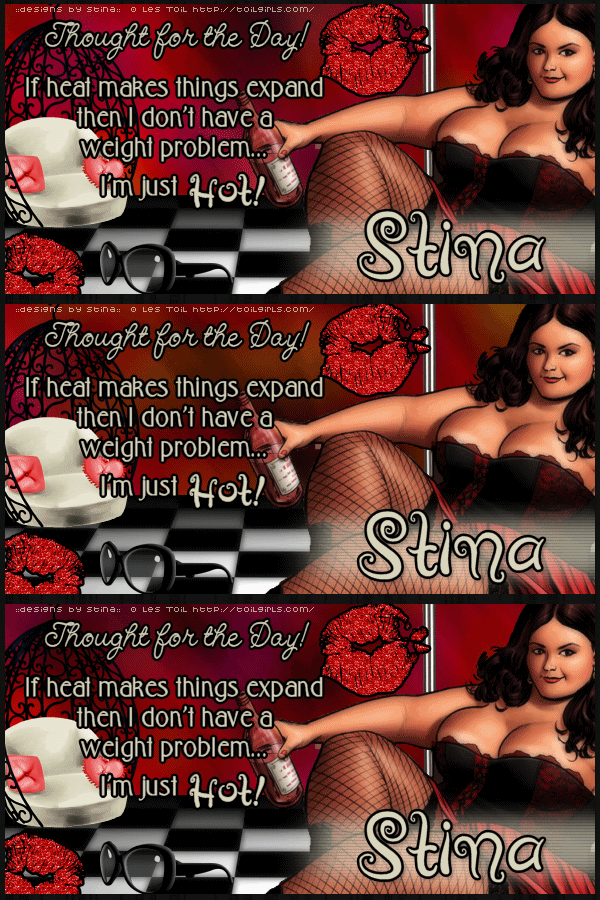
ANIMATION

Select your background layer
Duplicate twice

On your first layer
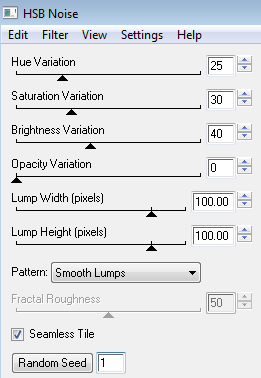
Effects / Plugins / Eye Candy 4000 / HSB Noise with the following settings:

Photobucket

Activate the second layer
Repeat the effect, adjusting the Random Seed

Activate the third layer
Repeat the effect again, adjusting the Random Seed

Hide the second and third layers and with the first layer activated
Edit / Copy Merged

In Animation Shop
Paste as new animation

In PSP
Activate second layer
Edit / Copy Merged

In Animation Shop
Paste after current frame

In PSP
Activate third layer
Edit / Copy Merged

In Animation Shop
Paste after current frame

Select All
ALT + Enter to open Frame Properties
Chaneg to 25

Save as a GIF and you're done!

Thank you for trying my tutorial!

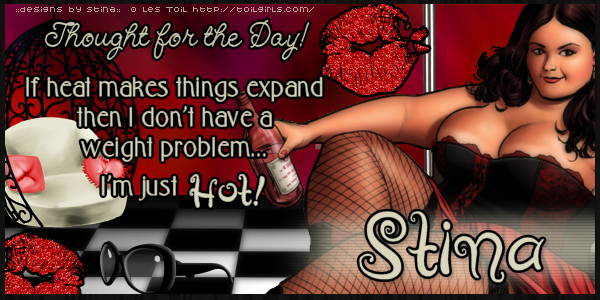
Here is a still version of the tag:
I'm Just Hot

© Tutorial written by Stina on 9th November 2011