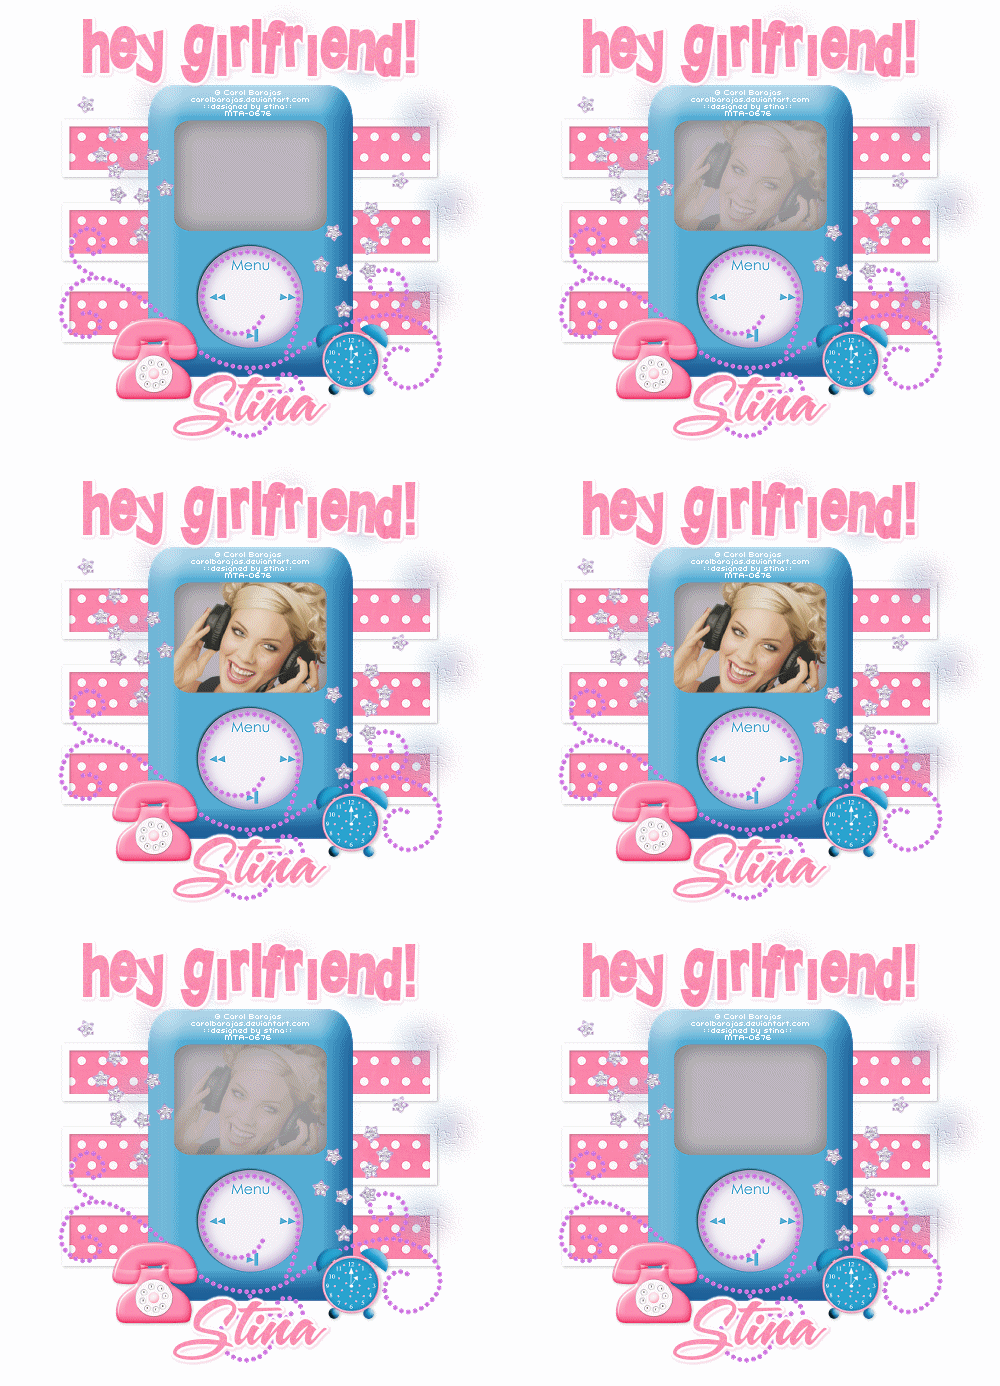
Supplies
Scrap kit of choice - I am using "No Boys Allowed" by Kristi Westling available from The Scrapping Divaz Designz and Sunshine Studio Scraps
Tube of choice - I am using the FTU artwork of Carol Barajas
Fonts of choice - I am using Tangled Up and A&S Snapper Script
Plugins: Mura Meister > Copies
Eye Candy 4000 > Gradient Glow
Let's begin...
Open a new 600 x 600 blank canvas flood-filled white
Paste IPod as new layer
Resize by 70%
Resize by 70%
Now activate your Background layer and hide the visiblity
We need it to be transparent to see what we are doing
Select your Preset Shape Tool and set to Rectangle
Foreground - #ffffff
Background - null
Width - 10.00
Foreground - #ffffff
Background - null
Width - 10.00
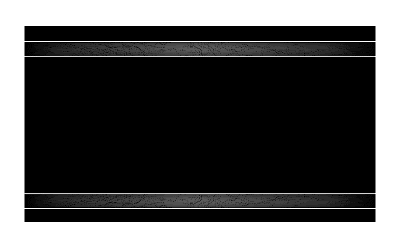
Draw out a long thing rectangle
Objects > Align > Horizontal Centre in Canvas
Convert to raster layer
Duplicate, then Image > Flip
Duplicate again and position between the top and bottom rectangles
Objects > Align > Horizontal Centre in Canvas
Convert to raster layer
Duplicate, then Image > Flip
Duplicate again and position between the top and bottom rectangles
Hide IPod
Layers > Merge > Merge Visible
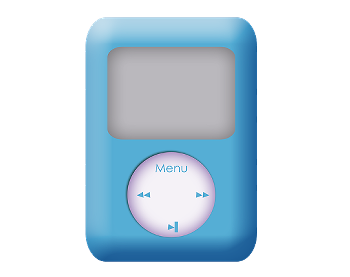
Select inside each of the rectangles with your Magic Wand
Selections > Modify > Expand by 5
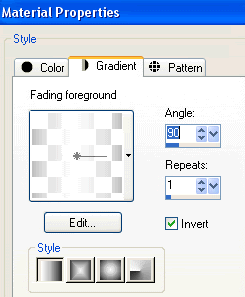
Paste Paper of choice as new layer
Resize by 70%
Selections > Invert
Delete then deselect
Layers > Merge > Merge Visible
Select inside each of the rectangles with your Magic Wand
Selections > Modify > Expand by 5
Paste Paper of choice as new layer
Resize by 70%
Selections > Invert
Delete then deselect
Apply the following drop shadow:
Vertical and Horizontal - 1
Opacity - 30
Blur - 5.00
Colour - #000000
Vertical and Horizontal - 1
Opacity - 30
Blur - 5.00
Colour - #000000
Paste a Flower of choice as new layer
Resize by 10%
Resize by 10%
Effects > Plugins > Mura Meister > Copies with the following settings:
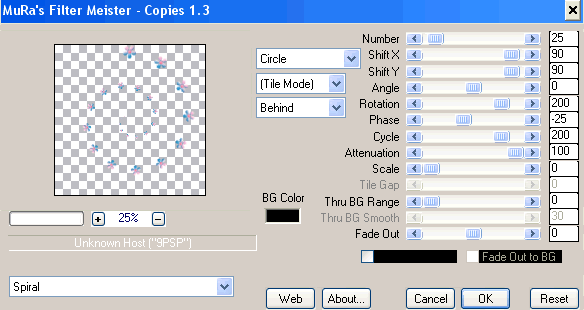
Image > Flip
Erase flowers from bottom of iPod
Image > Flip
Erase flowers from bottom of iPod
Adjust > Blur > Gaussian Blur with a radius of 15.00
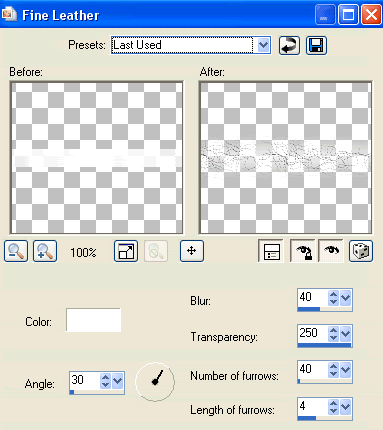
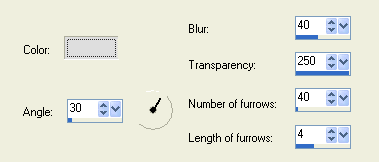
Effects > Texture Effects > Fine Leather with the following settings:
Activate top layer
Activate top layer
Paste Doodle1 as new layer
Resize by 60%
Position with the upper loop centred in the MenuPad of the iPod
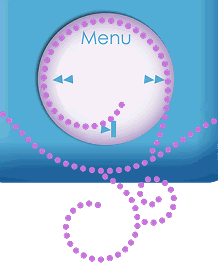
Resize by 60%
Position with the upper loop centred in the MenuPad of the iPod
Duplicate, then set blend mode to Screen
Layers > Merge > Merge Down
Layers > Merge > Merge Down
Paste StarGems as new layer
Resize by 45%
Position to liking
Resize by 45%
Position to liking
Adjust > Brightness & Contrast with the Brightness set to 30
Duplicte, then Image > Mirror
Position to liking
Position to liking
Paste Phone as new layer
Resize by 25%
Position to the lower left
Resize by 25%
Position to the lower left
Paste some other elements to your liking and position
Now activate your iPod layer
With your Magic Wand select the grey area till it is completely selected
Selections > Modify > Feather by 2
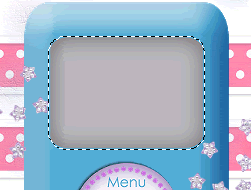
Paste Tube of choice as new layer
Resize as necessary and position
Selections > Invert

Delete then deselect
Crop and then resize
Select your Text Tool and font of choice
I am using Tangled Up
Text colour to match tag - I am using one of the papers from the kit
I am using Tangled Up
Text colour to match tag - I am using one of the papers from the kit
Type out your text
Objects > Align > Horizontal Centre in Canvas
Convert to raster layer
Objects > Align > Horizontal Centre in Canvas
Convert to raster layer
Effects > Plugins > Eye Candy 4000 > Gradient Glow set to the Fat settings and a Glow width of 3.00
Apply a drop shadow of choice
Select another font of choice
I am using A&S Snapper Script
Same text colour
I am using A&S Snapper Script
Same text colour
Type out your name
Objects > Align > Horizontal Centre in Canvas
Convert to raster layer
Apply same Gradient Glow and drop shadow of choice
Objects > Align > Horizontal Centre in Canvas
Convert to raster layer
Apply same Gradient Glow and drop shadow of choice
Finally, add your © copyright, licence and watermark, then save as a GIF or JPG and you're done!
** IF YOU WISH TO ANIMATE PLEASE FOLLOW THESE NEXT STEPS **
This is an easy animation
Activate your Tube layer and lower opacity to 0
Edit > Copy Merged
Edit > Copy Merged
Open Animation Shop
Edit > Paste as New Animation
Edit > Paste as New Animation
Back to PSP
Bring opacity up to 5
Edit > Copy Merged
Bring opacity up to 5
Edit > Copy Merged
In Animation Shop
Edit > Paste after Current Frame
Edit > Paste after Current Frame
Back to PSP
Bring opacity up to 10
Edit > Copy Merged
Bring opacity up to 10
Edit > Copy Merged
In Animation Shop
Edit > Paste after Current Frame
Edit > Paste after Current Frame
Back to PSP
Bring opacity up to 20
Edit > Copy Merged
Bring opacity up to 20
Edit > Copy Merged
In Animation Shop
Edit > Paste after Current Frame
Edit > Paste after Current Frame
Back to PSP
Bring opacity up to 40
Edit > Copy Merged
Bring opacity up to 40
Edit > Copy Merged
In Animation Shop
Edit > Paste after Current Frame
Edit > Paste after Current Frame
Back to PSP
Bring opacity up to 60
Edit > Copy Merged
Bring opacity up to 60
Edit > Copy Merged
In Animation Shop
Edit > Paste after Current Frame
Edit > Paste after Current Frame
Back to PSP
Bring opacity up to 80
Edit > Copy Merged
Bring opacity up to 80
Edit > Copy Merged
In Animation Shop
Edit > Paste after Current Frame
Edit > Paste after Current Frame
Back to PSP
Bring opacity up to 100
Edit > Copy Merged
Bring opacity up to 100
Edit > Copy Merged
In Animation Shop
Edit > Paste after Current Frame
Edit > Paste after Current Frame
You should no have EIGHT Frames
Select all then paste as new animation
Select all again then go to
Animation > Reverse Frames
Frames should still all be selected so COPY
Then on your original animation activate LAST frame, then
Paste after Current Frame
Then on your original animation activate LAST frame, then
Paste after Current Frame
You should now have a total of 16 Frames
Select All and change Frame Properties to 20
Save as a gif and you're done!
Select All and change Frame Properties to 20
Save as a gif and you're done!
Thanks for trying my tutorial!
::st!na::
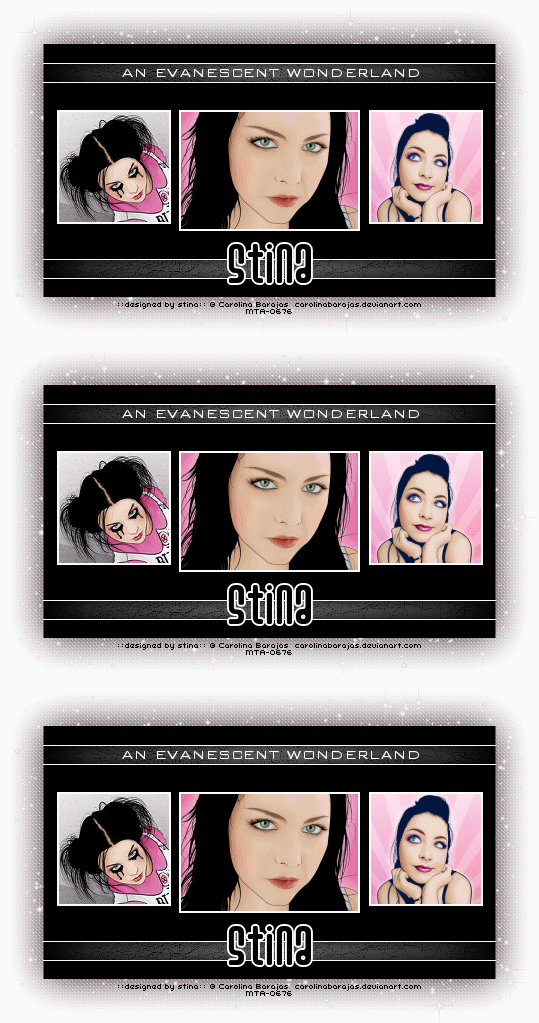
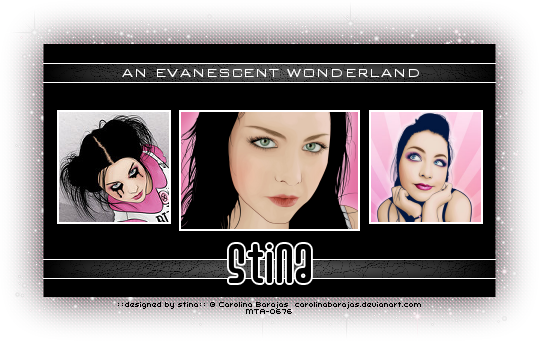
Here is a non-animated version:
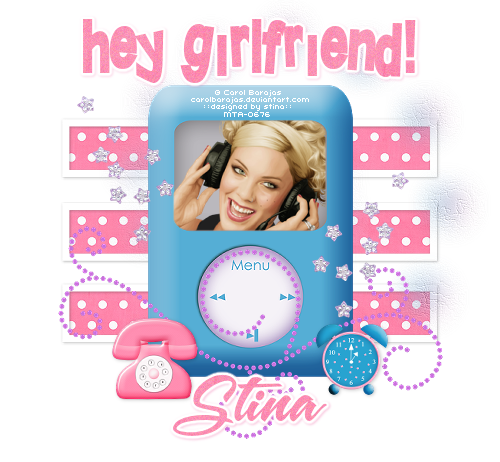
© Tutorial written by Stina on 4th September 2009
All rights reserved
© Tutorial written by Stina on 4th September 2009
All rights reserved