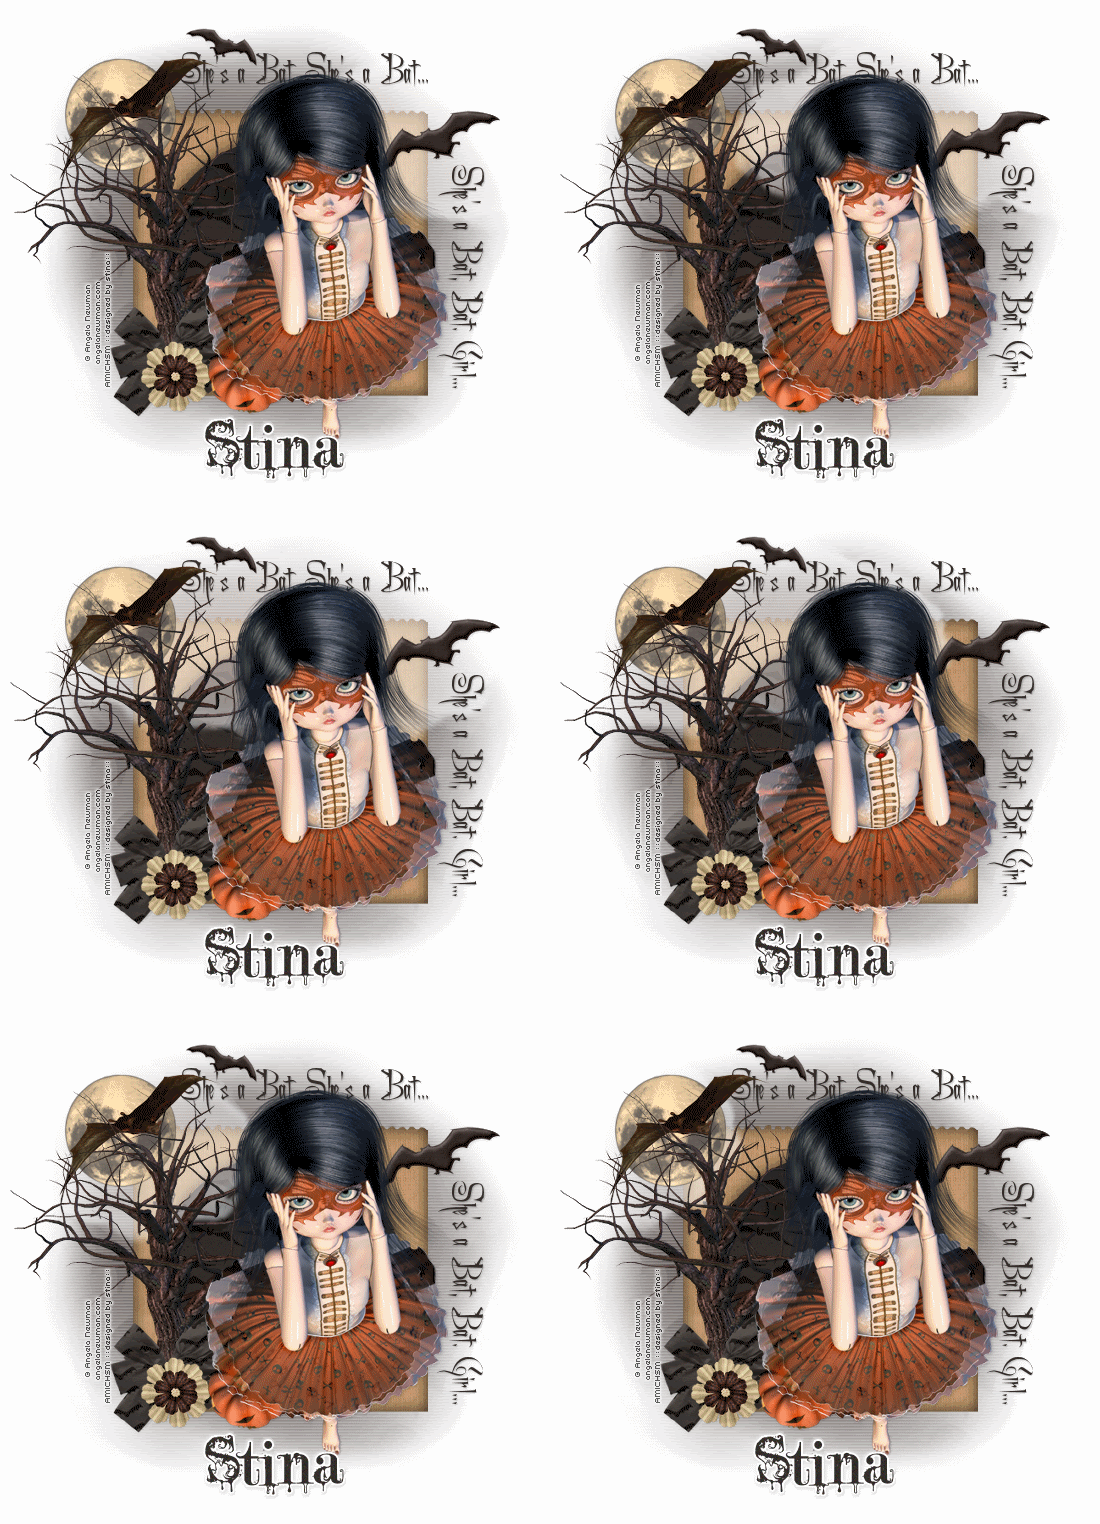
Supplies
Scrap kit of choice - I am using "I am Batty" by Sticky Kisses Designs available from Scrappin' Bratz, Twilight Scraps, Totally Sweet Designs and Paradise 4 Scrappers
Tube of choice - I am using the delightful artwork of Angela Newman which is available with a licence through Artistic Minds Inc.
vabys_foggy_mask-01 by Vaby
Fonts of choice - I am using A Charming Font and A Lolita Scorned
No plugins
Let's begin...
Open a new 650 x 600 blank canvas flood-filled white
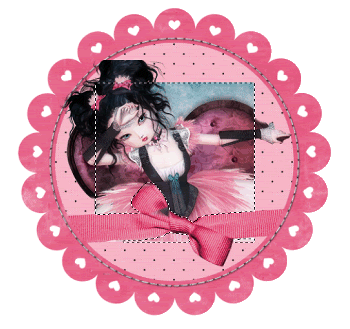
Paste Frame4 as new layer
Resize by 55%
Resize by 55%
Select inside Frame with Magic Wand
Selections > Modify > Expand by 10
Add new raster layer
Paste Paper of choice INTO selection
Deselect
Layers > Arrange > Move Down
Selections > Modify > Expand by 10
Add new raster layer
Paste Paper of choice INTO selection
Deselect
Layers > Arrange > Move Down
Activate top layer
Paste Moon as new layer
Resize by 40%
Position in upper left
Resize by 40%
Position in upper left
Paste Tree as new layer
Resize by 70%
Position to the left of Frame
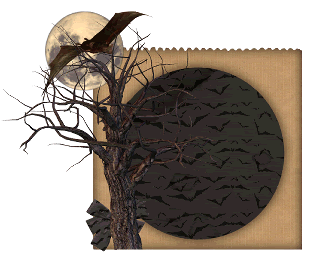
Paste Bow2 as new layer
Image > Rotate by 10 to the left
Resize by 30%
Position in lower left at base of Tree
Resize by 70%
Position to the left of Frame
Paste Bow2 as new layer
Image > Rotate by 10 to the left
Resize by 30%
Position in lower left at base of Tree
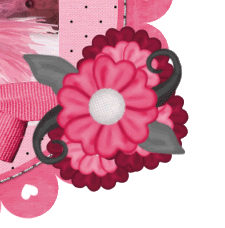
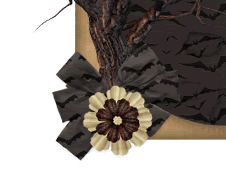
Paste Flower as new layer
Resize by 25%
Position over Bow at base of Tree
Paste Tube of choice as new layer
Resize as necessary and position
Resize by 25%
Position over Bow at base of Tree
Paste Tube of choice as new layer
Resize as necessary and position
Paste a couple of bats and resize by around 15 - 20%
Position to liking
Position to liking
Paste Cloud as new layer
Resize by 60%
Position along the top and bring above Frame
Set blend mode to Screen
Duplicate then Layers > Merge > Merge > Merge Down
Lower opacity to 85
Resize by 60%
Position along the top and bring above Frame
Set blend mode to Screen
Duplicate then Layers > Merge > Merge > Merge Down
Lower opacity to 85
Paste Paper of choice as new layer
Layers > Arrange > Send to Bottom
Layers > Arrange > Send to Bottom
Layers > New Mask Layer > From Image
Apply vabys_foggy_mask-01
Invert Mask Data
OK
Layers > Merge > Merge Group
Resize by 95%
Invert Mask Data
OK
Layers > Merge > Merge Group
Resize by 95%
Crop and then resize
Still on Mask layer
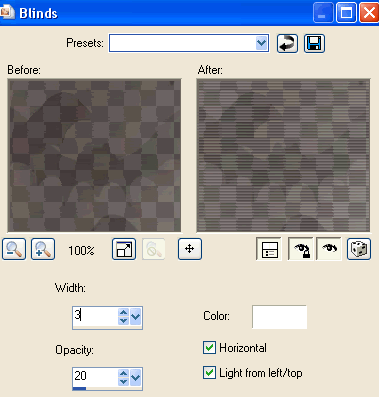
Effects > Texture Effects > Blinds with the following settings:
Select your Text Tool and font of choice
I am using A Charming Font
Text colour to match tag - I am using #332e2b
Effects > Texture Effects > Blinds with the following settings:
Select your Text Tool and font of choice
I am using A Charming Font
Text colour to match tag - I am using #332e2b
Type out your text and position along top of Frame behind Tube
Convert to raster layer
Type out some more text and convert to raster layer
Image > Rotate by 90 to the right
Position along the right side of Frame
Apply a drop shadow of choice
Convert to raster layer
Type out some more text and convert to raster layer
Image > Rotate by 90 to the right
Position along the right side of Frame
Apply a drop shadow of choice
Select another font of choice
I am using A Lolita Scorned
Same text colour
I am using A Lolita Scorned
Same text colour
Type out your name
Objects > Align > Horizontal Centre in Canvas
Convert to raster layer
Apply same Gradient Glow and drop shadow of choice
Objects > Align > Horizontal Centre in Canvas
Convert to raster layer
Apply same Gradient Glow and drop shadow of choice
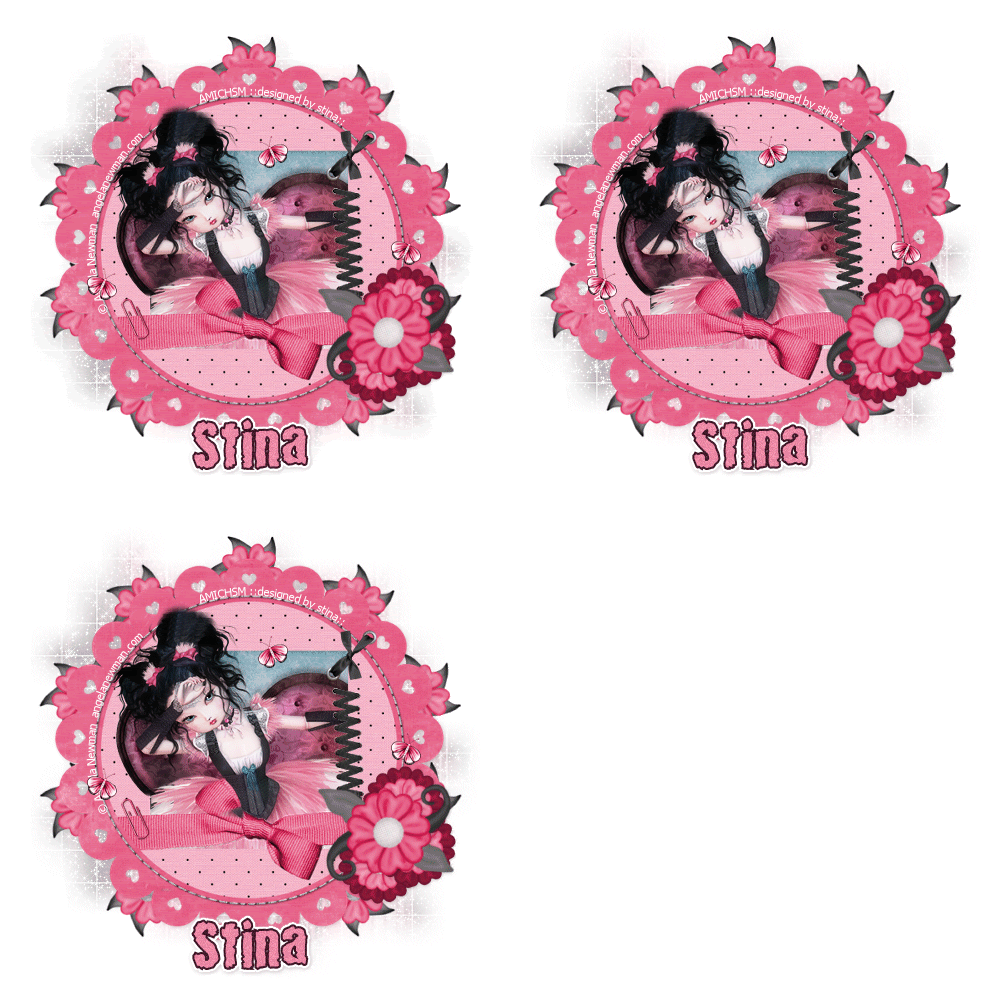
Finally, add your © copyright, licence and watermark, then save as a GIF or JPG and you're done!
** IF YOU WISH TO ANIMATE PLEASE FOLLOW THESE NEXT STEPS **
Activate your Cloud layer
Duplicate five times and rename Cloud1, Cloud2, Cloud3, Cloud4, Cloud5 and Cloud6
Duplicate five times and rename Cloud1, Cloud2, Cloud3, Cloud4, Cloud5 and Cloud6
Space each cloud evenly from right to left with Cloud1 beginning from the right
Activate Cloud1 and hide the other Clouds
Edit > Copy Merged
Edit > Copy Merged
Open Animation Shop
Edit > Paste as New Animation
Edit > Paste as New Animation
Back to PSP
Hide Cloud1 and activate Cloud2
Edit > Copy Merged
Hide Cloud1 and activate Cloud2
Edit > Copy Merged
In Animation Shop
Edit > Paste after Current Frame
Edit > Paste after Current Frame
Back to PSP
Hide Cloud2 and activate Cloud3
Edit > Copy Merged
Hide Cloud2 and activate Cloud3
Edit > Copy Merged
In Animation Shop
Edit > Paste after Current Frame
Edit > Paste after Current Frame
Back to PSP
Hide Cloud3 and activate Cloud4
Edit > Copy Merged
Hide Cloud3 and activate Cloud4
Edit > Copy Merged
In Animation Shop
Edit > Paste after Current Frame
Edit > Paste after Current Frame
Back to PSP
Hide Cloud4 and activate Cloud5
Edit > Copy Merged
Hide Cloud4 and activate Cloud5
Edit > Copy Merged
In Animation Shop
Edit > Paste after Current Frame
Edit > Paste after Current Frame
Back to PSP
Hide Cloud5 and activate Cloud6
Edit > Copy Merged
Hide Cloud5 and activate Cloud6
Edit > Copy Merged
In Animation Shop
Edit > Paste after Current Frame
Edit > Paste after Current Frame
You should now have six Frames
Select All and change Frame Properties to 30
Save as a gif and you're done!
Save as a gif and you're done!
Thanks for trying my tutorial!
::st!na::
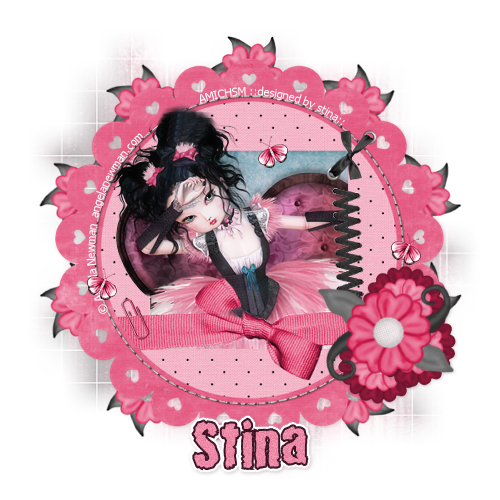
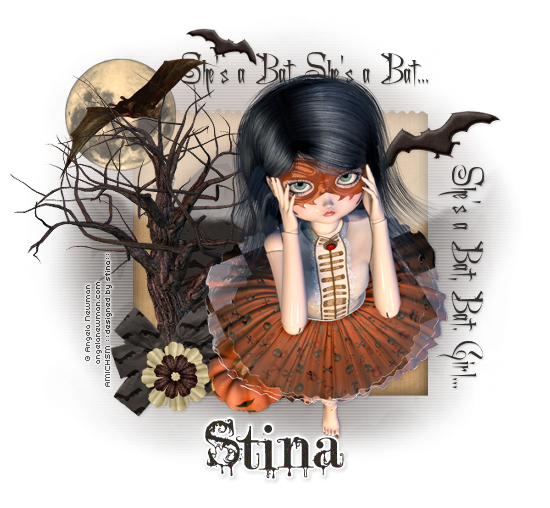
Here is a non-animated version:
© Tutorial written by Stina on 5th September 2009
All rights reserved
© Tutorial written by Stina on 5th September 2009
All rights reserved