
Supplies
Scrap kit of choice - I am using "Spookylicious" by Alyssa's Scraps and Such available from Twilight Scraps
Tube of choice - I am using images of PinUpGirl Clothing which are free to use with the proper credit and link on finished tags
CrossStitching_sandi here
Down tubes I used here and here
DBV_Mask_07 here
Fonts of choice - I am using Crucifix-S and LiorahBT
Plugins: Xero > Radiance and Porcelain
Eye Candy 4000 > Gradien Glow
Down tubes I used here and here
DBV_Mask_07 here
Fonts of choice - I am using Crucifix-S and LiorahBT
Plugins: Xero > Radiance and Porcelain
Eye Candy 4000 > Gradien Glow
Easy animation tutorial
Let's begin...
Open a new 750 x 600 blank canvas flood-filled white
Paste Frame2 as new layer
Resize by 45%
LEAVE IN POSITION!!
Paste Frame3 as new layer
Resize by 45%
Adjust > Hue & Saturation > Colourise with the following settings:
Duplicate, then set blend mode to Multiply
Lower opacity to 60
Layers > Merge > Merge Down
Now open your Layer Palette
Click ONCE on the Layer Link Toggle
Activate your first frame and click the Layer Link Toggle again
This will LOCK the layers so you can move them both together
Move layers to the left
Click Layer Link Toggle twice again on both layers to UNLOCK them
Duplicate Frame2, then Image > Mirror
Layers > Merge > Merge Down
Duplicate Frame3 and Image > Mirror also
Layers > Merge > Merge Down
Rename Frame layers PURPLE FRAMEs and ORANGE FRAMES
Hide ORANGE FRAMES and let's work with the PURPLE FRAMES
Select inside frames with your Magic Wand
Selections > Modify > Expand by 10
Add a new raster layer
Flood fill black
Layers > Arrange > Move Down
KEEP SELECTED!!
Paste a Tube of choice as new layer
Resize as necessary
Delete surrounding excess
Deselect
Effects > Plugins > Xero > Radiance with default settings
Effects > Plugins > Xero > Porcelain with default settings
Duplicate, then Image > Mirror
Activate top layer
Paste Spider as new layer
Resize by 50%
Position at the top between the Frames with the spider dangling down
This will join our Frames
Open up the CrossStitching_sandi file
Choose the stitching you wish to use and paste it as a new layer to your working canvas
Resize by 80%
Position in the join toward top of the two Frames
Duplicate three more times and position along join
Layers > Merge > Merge Down till all stitching is one layer
Paste Cat as new layer
Resize by 25%
Position between frames towards bottom
Duplicate then set blend mode to Multiply
Layers > Merge > Merge Down
Effects > Plugins > Eye Candy 4000 > Gradient Glow with the following settings:

Paste Spider as new layer
Image > Mirror
Resize by 55%
Position to the left
Duplicate, then Image > Mirror
Resize by 90%
Position directly opposite first spider
Paste another Tube of choice as new layer
Resize as necessary
Position to the right (or to liking)
Effects > Plugins > Xero > Radiance with default settings
Paste Paper of choice as new layer
Layers > Arrange > Send to Bottom
Layers > New Mask Layer > From Image
Apply DBV_Mask_07
OK
Layers > Merge > Merge Group
Use your Selection Tool to make a selection around the centre area between Frames
Delete then deselect
Crop and resize to liking
Select Text Tool and font of choice
I am using Crucifix-S
Foreground - #000000
Background - #643983
Type out text of choice
Objects > Align > Horizontal Centre in Canvas
Convert to raster layer
Apply a drop shadow of choice
Selection another font of choice
I am using LiorahBT
Text colour - #643983
Type out your name
Objects > Align > Horizontal Centre in Canvas
Convert to raster layer
Apply a slight gradient glow
Finally, add your © copyright, licence and watermark, then save as a GIF or JPG and you're done!
** IF YOU WISH TO ANIMATE PLEASE FOLLOW THESE NEXT STEPS **
Activate the PURPLE FRAMES layer
Edit > Copy Merged
Open Animation Shop
Edit > Paste as New Animation
Hide PURPLE FRAMES and activate ORANGE FRAMES
Edit > Copy Merged
Change your Frame Properties for the first Frame to 50, and to 100 for the second
Now save as a GIF and you're done!
Thanks for trying my tutorial!
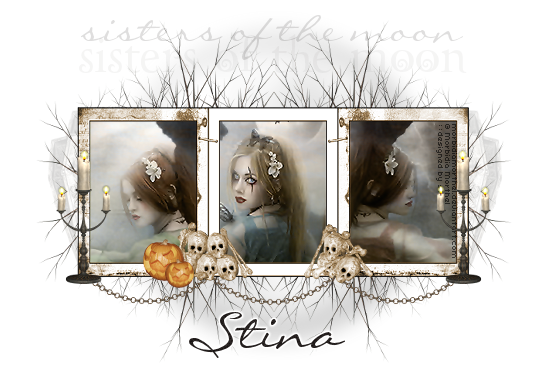
::st!na::
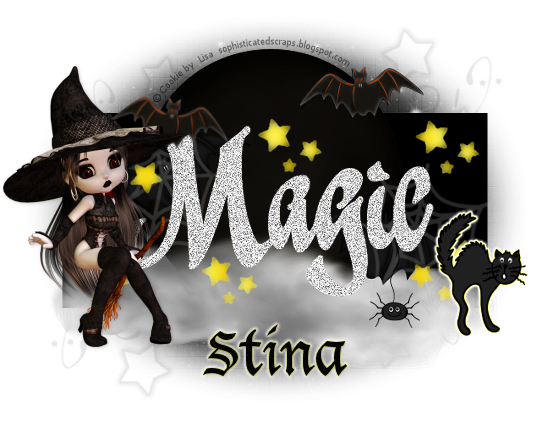
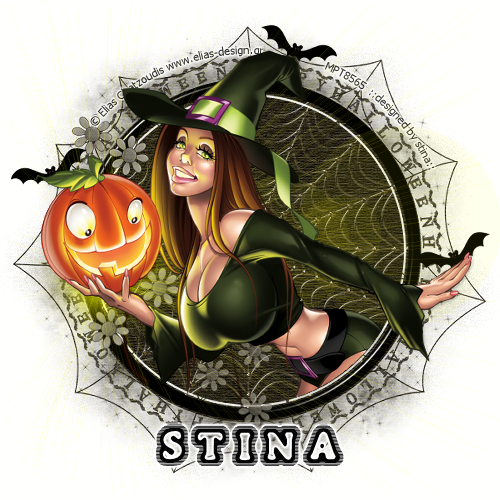
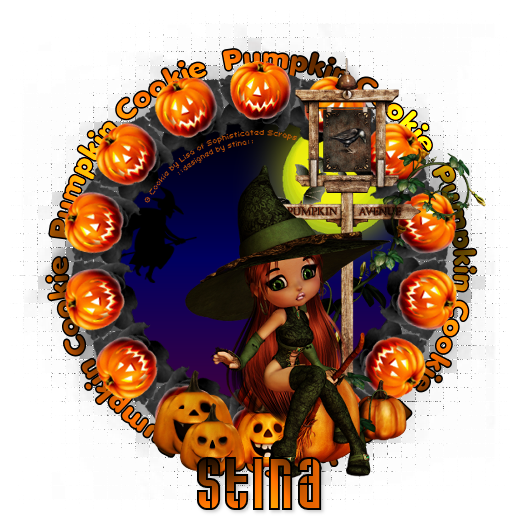
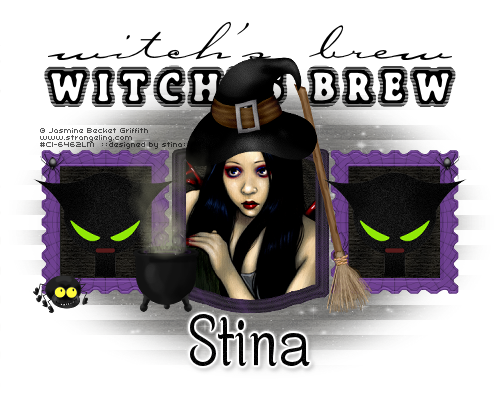
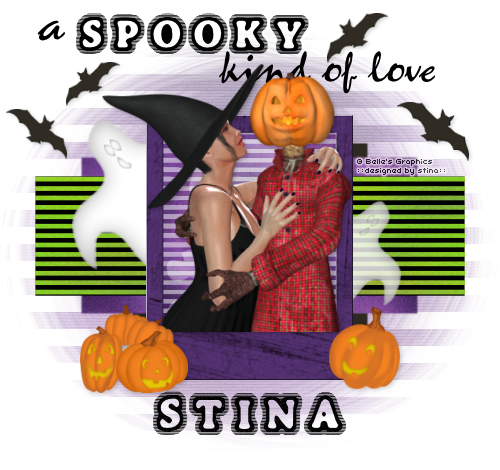
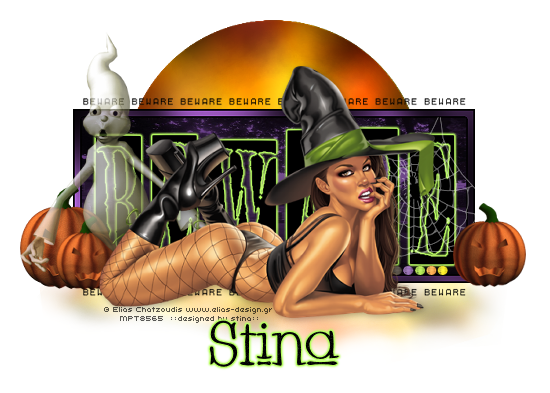
Here is a non-animated version:

© Tutorial written by Stina on 17th September 2009
All rights reserved
Let's begin...
Open a new 750 x 600 blank canvas flood-filled white
Paste Frame2 as new layer
Resize by 45%
LEAVE IN POSITION!!
Paste Frame3 as new layer
Resize by 45%
Adjust > Hue & Saturation > Colourise with the following settings:
Duplicate, then set blend mode to Multiply
Lower opacity to 60
Layers > Merge > Merge Down
Now open your Layer Palette
Click ONCE on the Layer Link Toggle
Activate your first frame and click the Layer Link Toggle again
This will LOCK the layers so you can move them both together
Move layers to the left
Click Layer Link Toggle twice again on both layers to UNLOCK them
Duplicate Frame2, then Image > Mirror
Layers > Merge > Merge Down
Duplicate Frame3 and Image > Mirror also
Layers > Merge > Merge Down
Rename Frame layers PURPLE FRAMEs and ORANGE FRAMES
Hide ORANGE FRAMES and let's work with the PURPLE FRAMES
Select inside frames with your Magic Wand
Selections > Modify > Expand by 10
Add a new raster layer
Flood fill black
Layers > Arrange > Move Down
KEEP SELECTED!!
Paste a Tube of choice as new layer
Resize as necessary
Delete surrounding excess
Deselect
Effects > Plugins > Xero > Radiance with default settings
Effects > Plugins > Xero > Porcelain with default settings
Duplicate, then Image > Mirror
Activate top layer
Paste Spider as new layer
Resize by 50%
Position at the top between the Frames with the spider dangling down
This will join our Frames
Open up the CrossStitching_sandi file
Choose the stitching you wish to use and paste it as a new layer to your working canvas
Resize by 80%
Position in the join toward top of the two Frames
Duplicate three more times and position along join
Layers > Merge > Merge Down till all stitching is one layer
Paste Cat as new layer
Resize by 25%
Position between frames towards bottom
Duplicate then set blend mode to Multiply
Layers > Merge > Merge Down
Effects > Plugins > Eye Candy 4000 > Gradient Glow with the following settings:
Paste Spider as new layer
Image > Mirror
Resize by 55%
Position to the left
Duplicate, then Image > Mirror
Resize by 90%
Position directly opposite first spider
Paste another Tube of choice as new layer
Resize as necessary
Position to the right (or to liking)
Effects > Plugins > Xero > Radiance with default settings
Paste Paper of choice as new layer
Layers > Arrange > Send to Bottom
Layers > New Mask Layer > From Image
Apply DBV_Mask_07
OK
Layers > Merge > Merge Group
Use your Selection Tool to make a selection around the centre area between Frames
Delete then deselect
Crop and resize to liking
Select Text Tool and font of choice
I am using Crucifix-S
Foreground - #000000
Background - #643983
Type out text of choice
Objects > Align > Horizontal Centre in Canvas
Convert to raster layer
Apply a drop shadow of choice
Selection another font of choice
I am using LiorahBT
Text colour - #643983
Type out your name
Objects > Align > Horizontal Centre in Canvas
Convert to raster layer
Apply a slight gradient glow
Finally, add your © copyright, licence and watermark, then save as a GIF or JPG and you're done!
** IF YOU WISH TO ANIMATE PLEASE FOLLOW THESE NEXT STEPS **
Activate the PURPLE FRAMES layer
Edit > Copy Merged
Open Animation Shop
Edit > Paste as New Animation
Hide PURPLE FRAMES and activate ORANGE FRAMES
Edit > Copy Merged
Change your Frame Properties for the first Frame to 50, and to 100 for the second
Now save as a GIF and you're done!
Thanks for trying my tutorial!
::st!na::
Here is a non-animated version:
© Tutorial written by Stina on 17th September 2009
All rights reserved


