Please email me designed.by.stina@gmail.com with your creations. I'd love to see them.

Showing posts with label Cora's Creations. Show all posts

Sunday, September 20, 2009

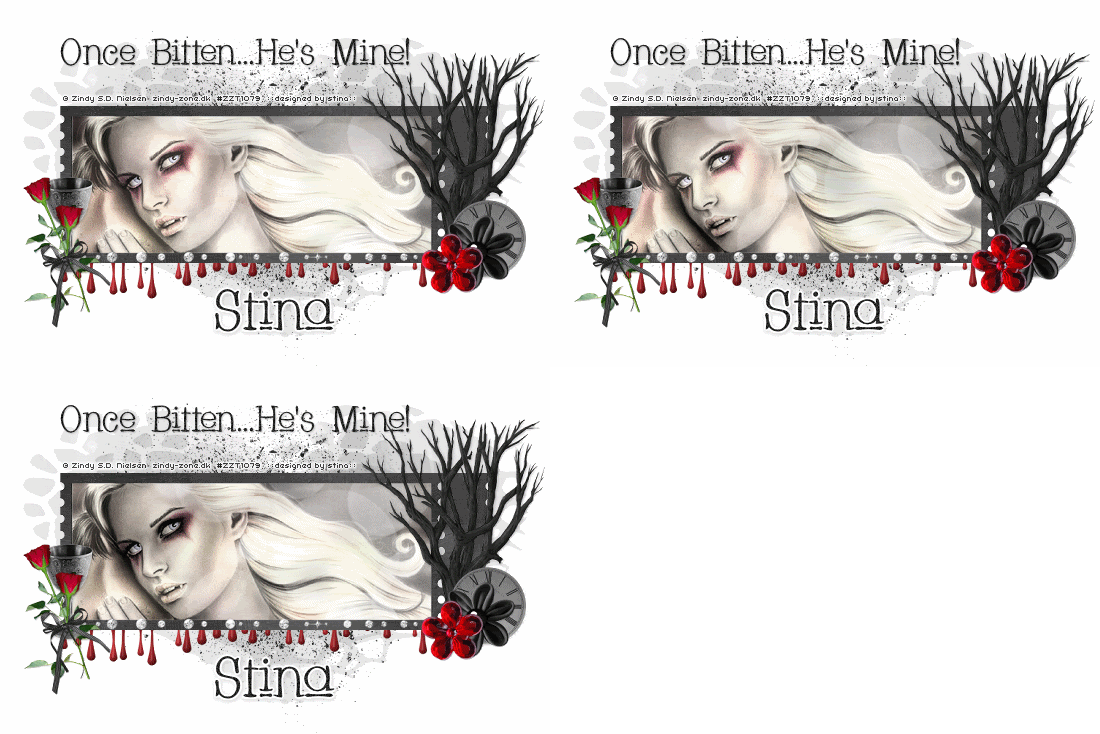
Once Bitten...He's Mine!


Supplies

Scrap kit of choice - I am using "Fangtasia" by Cora's Creations available from Sophisti-Scraps
Tube of choice - I am using the artwork of Zindy Nielsen which is available with a licence from her store
**PLEASE DO NOT USE HIS ARTWORK WITHOUT THE APPROPRIATE LICENCE**
DBV Mask 58 available here
Fonts of choice - I am using Whackadoo Upper
Plugins: Eye Candy 4000 > Gradient Glow and HSB Noise


Let's begin...


Open a new 750 x 500 blank canvas flood-filled white

Paste Frame03 as new layer
No need to resize

Select inside of Frame with Magic Wand
Selections > Modify > Expand by 5
Paste Paper of choice as new layer
Selections > Invert
Delete

KEEP SELECTED!!

Paste Tube (or image) of choice as new layer
Resize as necessary and position
Delete excess and deselect

Paste BloodDrip as new layer
Resize by 73%
Position along bottom of Frame
With your Selection Tool make a selection around the excess WITHIN the Frame and edging
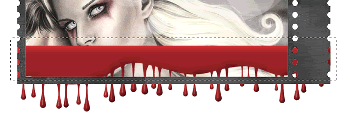


Delete then deselect

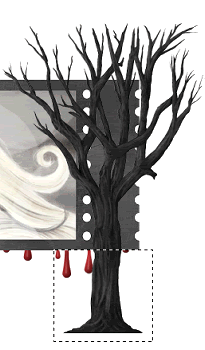
Paste Tree as new layer
Resize by 60%
Position to the right

Grab your Selection Tool and make a selection from the bottom of the Frame and around the bottom of the tree
Delete then deselect


Paste Flower02 as new layer
Resize by 30%
Position to the lower right

Paste LilFlower as new layer
Resize by 50%
Position alongside Flower02

Paste Cup as new layer
Resize by 20%
Position in lower left

Paste Flower03 (red rose) as new layer
Image > Rotate by 20 to the left
Resize by 30%
Position to the lower left slightly to the left of Cup
Duplicate, then Image > Mirror, then
Image > Rotate by 10 to the left
Place alongside first rose and erase any excess, blending roses together

Paste Bow02 as new layer
Image > Mirror, then
Image > Rotate by 10 to the left
Resize by 25% and position over the roses



Paste Paper as new layer
Layers > Arrange > Send to Bottom
Resize by 130%

Layers > New Mask Layer > From Image
Apply DBV Mask 58
OK
Layers > Merge > Merge Group
Resize by 95%
Lower opacity to 30

Paste Splatter as new layer
Image > Flip
Resize by 85%

Crop and resize to liking

Select Text Tool and font of choice
I am using Whackadoo Upper
Text colour black
Position to liking
Convert to raster layer
Apply any effects and drop shadow of choice

Select another font of choice
I am using the same font (cause I think it's cute...lol) and same text colour
Objects > Align > Horizontal Centre in Canvas
Convert to raster layer
Apply any effects and drop shadow of choice

Finally, add your © copyright, licence and watermark, then save as a GIF or JPG and you're done!


** IF YOU WISH TO ANIMATE PLEASE FOLLOW THESE NEXT STEPS **

Activate your Tube layer and merge with Frame background if you didn't use an Image
If you used an image just continue to next step

Duplicate twice and rename Image1, Image2 and Image3

Activate Image1

Effects > Plugins > Eye Candy 4000 > HSB Noise with the following settings:
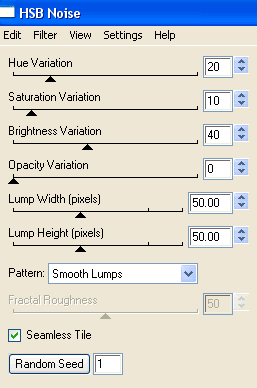


Activate Image2 and repeat Noise effect, adjusting the random seed

Activate Image3 and repeat once again

Now to animate!

Hide Image2 and Image3 and activate Image1
Edit > Copy Merged

Open Animation Shop
Edit > Paste as New Animation

Activate Image2
Edit > Copy Merged

Open Animation Shop
Edit > Paste as New Animation

Activate Image3
Edit > Copy Merged

Open Animation Shop
Edit > Paste as New Animation

Select all and change Frame Properties to 30
Now save as a GIF and you're done!

Thanks for trying my tutorial!

::st!na::


Here is a non-animated version:
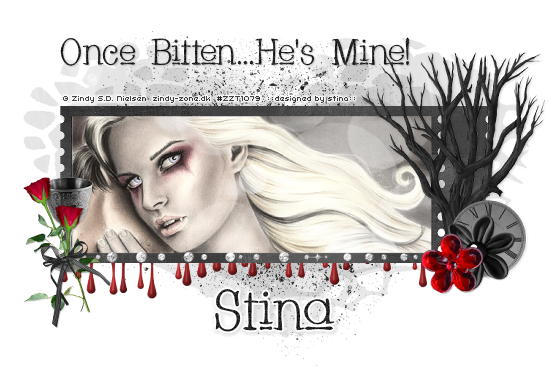


© Tutorial written by Stina on 20th September 2009
All rights reserved

Friday, August 28, 2009

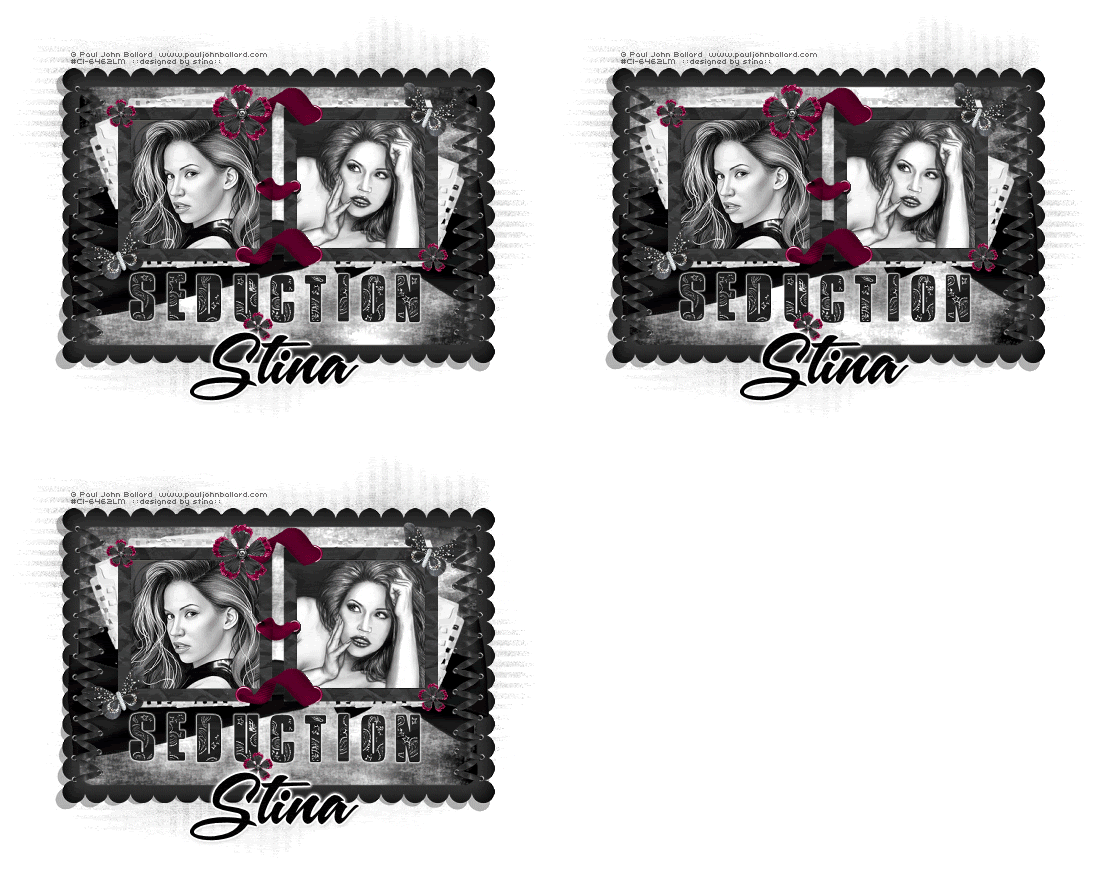
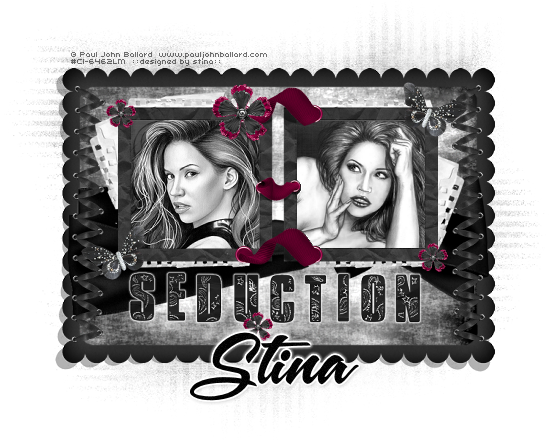
Seduction


Supplies

Scrap kit of choice - I am using "Rock It" by Cora's Creations (formerly Pimp'd Dezigns) available from Totally Sweet Designs and Paradise 4 Scrappers
Tubes of choice - I am using the lovely artwork of Paul John Ballard avialable with a licence through CILM
**PLEASE DO NOT USE HIS ARTWORK WITHOUT THE APPROPROATE LICENCE**
WSL_Mask81 by Chelle available from her blog
Font of choice - I am using A&S Snapper Script
Plugins: Eye Candy 4000 > Gradient Glow and HSB Noise


Let's begin....


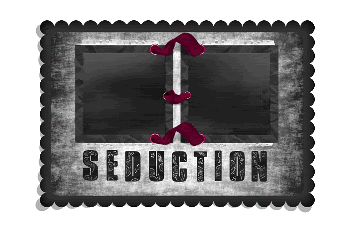
Open a new 750 x 500 blank canvas flood-filled white

Paste Frame06 as new layer
Select inside the Frame with your Magic Wand
Selections > Modify > Expand by 20
Selections > Modify > Feather by 2
Delete twice

KEEP SELECTED!!

Selections > Modify > Expand by 10
Paste paper of choice as new layer
Layers > Arrange > Move Down
Selections > Invert
Delete then deselect

Paste Frame08 as new layer
Resize by 60%
Position inside first Frame and move upwards
Selections > Modify > Expand by 10
Add new raster layer
Paste paper of choice INTO selection
Layers > Arrange > Move Down
Selections > Invert
Deselect

Paste some text from the alpha as new layers
Resize each by around 45 - 55% depending on your text of choice
Position each beneath the Inner Frame


Select inside the left Frame and paste a Tube of choice as new layer
Resize as necessary and position
Selections > Invert
Delete then deselect
Set blend mode to Luminance Legacy

Repeat with the right Frame

Paste Eyelet02 as new layer
Resize by 45%
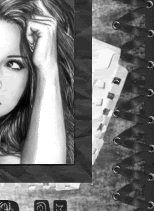
Position to the left edge of outer frame
Duplicate then Image > Mirror
Layers > Merge > Merge Down
Duplicate again
Set blend mode to Overlay
Lower opacity to 50
Layers > Merge > Merge Down

Paste NotebookSheet as new layer
Image > Rotate by 20 to the right
Resize by 60%
Position to the right BEHIND inner Frame


Duplicate, then Image > Mirror
Position in upper left

Activate top layer

Paste Butterfly as new layer
Image > Rotate by 10 to the left
Resize by 30%
Position to the lower left of inner frame
Duplicate then Image > Mirror
Position in the upper right of inner frame

Paste Flower02 as new layer
Resize by 25%

LEAVE IN POSITION!!

Paste Flower04 as new layer
Resize by 20%
Layers > Merge > Merge Down
Position to your liking

Duplicate again
Resize by another 50%
Duplicate and position around canvas

Paste any other elements and position to your liking

Select your text and apply a slight Gradient Glow

Paste Paper of choice as new layer
Layers > Arrange > Send to Bottom

Layers > New Mask Layer
Apply WSL_Mask81
OK
Layers > Merge > Merge Group

Crop and resize tag

Select Text Tool and font of choice
I am using A&S Snapper Script
Text colour Black

Type out your name
Objects > Align > Horizontal Centre in Canvas
Convert to raster layer
Apply a Gradient Glow and drop shadow of choice

Finally, add your © copyright, licence and watermark, then save as a GIF or JPG and you're done!


** IF YOU WISH TO ANIMATE PLEASE FOLLOW THESE NEXT STEPS **

Activate your Frame1 Paper Background layer
Duplicate twice and rename Light1, Light2 and Light3

Activate Light1
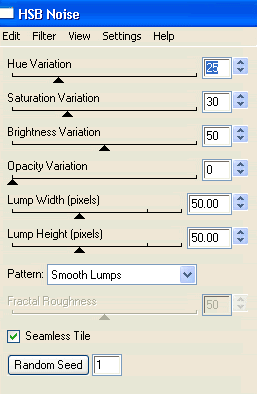
Effects > Plugins > Eye Candy 4000 > HSB Noise with the following settings:


Hide Light1 and activate Light2
Repeat Noise, adjusting the Random Seed

Hide Light2 and activate Light3
Repeat Noise once again, adjusting the Random Seed

Now to animate!

Activate Light1 and hide Light2 and Light3
Edit > Copy Merged

Open Animation Shop
Edit > Paste as New Animation

Back to PSP
Hide Light1 and activate Light2
Edit > Copy Merged

In Animation Shop
Edit > Paste After Current Frame

Back to PSP
Hide Light2 and activate Light3
Edit > Copy Merged

In Animation Shop
Edit > Paste After Current Frame

Select all and change Frame Properties to 20
Now save as a GIF and you're done!

Thanks for trying my tutorial!

::st!na::


Here is a non-animated version:


© Tutorial written by Stina on 27th August 2009
All rights reserved