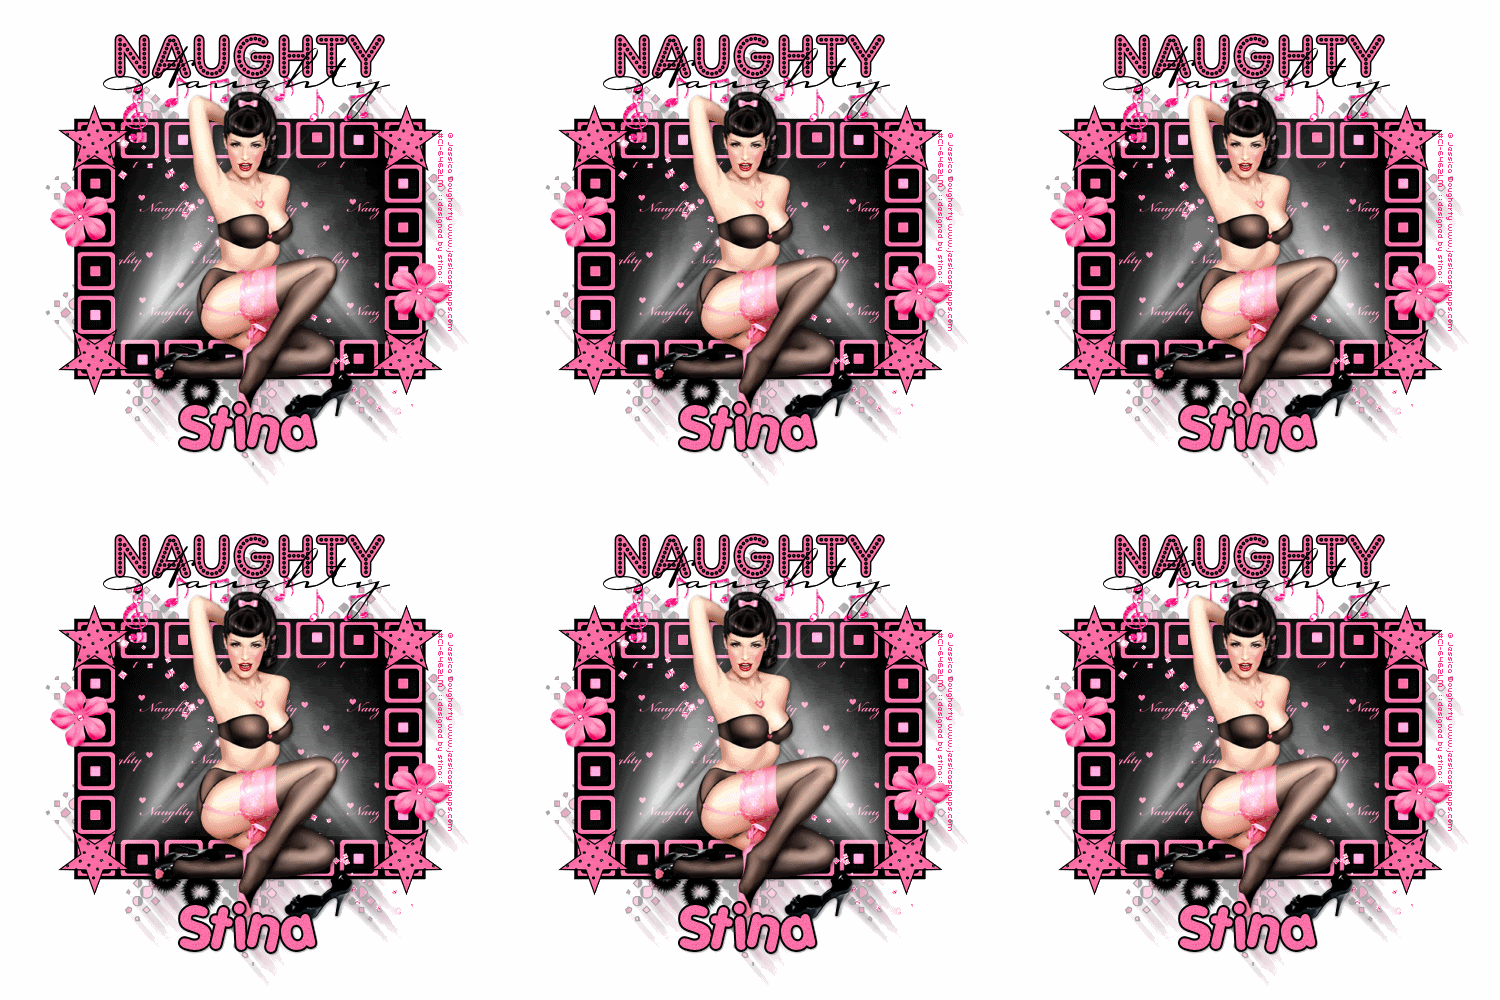
Supplies
Scrap kit of choice - I am using "Bachelor Party" by Kristi Westling available from The Scrapping Divaz Designz and Sunshine Studio Scraps
Tube of choice - I am using the lovely work of Jessica Dougherty available with a licence through CILM
**PLEASE DO NOT USE HER ARTWORK WITHOUT THE APPROPRIATE LICENCE**
Seeing Stars-b Preset Shape here
Fonts of choice - I am using Adam Gorry Lights, Carpenter Script and Porkys
Plugin: Simple Top Left Mirror
Let's begin....
Open a new 600 x 600 canvas flood-filled white
Open Papers of choice and minimise
Select your Preset Shape Tool and set to Rectangle
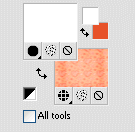
In your Materials Palette set your Foreground/Background to the following:
In your Materials Palette set your Foreground/Background to the following:
Foreground - #000000
Background - Pattern
Background - Pattern
Click on the Background colour and open the Patterns tab
Select one of your papers of choice
Set the scale to around 50
Select one of your papers of choice
Set the scale to around 50
Stoke Width (of Foreground) - 5.00
Draw out a Rectangle on your canvas
Use the nodes of your Vector layer to size it to your liking
Objects > Align > Centre in Canvas
Convert to raster layer
Use the nodes of your Vector layer to size it to your liking
Objects > Align > Centre in Canvas
Convert to raster layer
Change your Background Pattern to another Paper of choice
Keep the same settings
Keep the same settings
Draw out another rectangle inside your first rectangle
Use the nodes once again to bring it into size
Objects > Align > Centre in Canvas
Convert to raster layer
Use the nodes once again to bring it into size
Objects > Align > Centre in Canvas
Convert to raster layer
Change your Background Pattern again to another Paper of choice
Scale to 10
Lower your Stroke width to 2.00
Scale to 10
Lower your Stroke width to 2.00
Set your Preset Shape Tool to a Star
In the upper left corner of your bottom rectangle hold your Shift key and draw out a Star
Effects > Plugins > Simple > Top Left Mirror
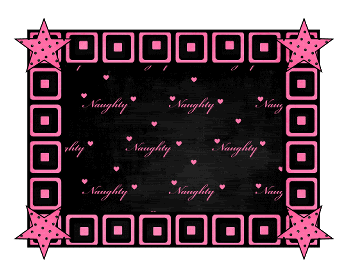
Paste Light as new layer
Layers > Arrange > Move Down
Position in lower left
Layers > Arrange > Move Down
Position in lower left
Duplicate, then Image Mirror
Paste Sparkles as new layer
Resize by 50%
Position from upper left corner
Resize by 50%
Position from upper left corner
Paste Flower as new layer
Resize by 35%
Position in upper left below Star
Duplicate, then Image > Mirror
Position to the right
Resize by 35%
Position in upper left below Star
Duplicate, then Image > Mirror
Position to the right
Paste MusicNotes as new layer
Resize by 60%
Position across centre top
Resize by 60%
Position across centre top
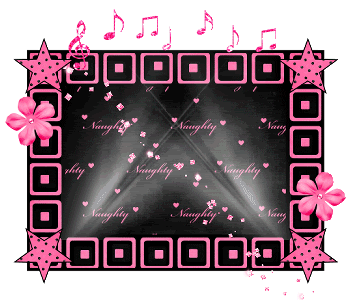
Activate top layer
Paste your Tube as new layer
Resize as necessary and position
Resize as necessary and position
Paste FurryCuffs as new layer
Image > Mirror
Resize by 20%
Position to your liking behind tube
Image > Mirror
Resize by 20%
Position to your liking behind tube
Select your Preset Shape Tool again and select SeeingStars-b
Choose another paper of choice for your Background Pattern
Foreground - #000000 with a Stroke width of 2.00
Choose another paper of choice for your Background Pattern
Foreground - #000000 with a Stroke width of 2.00
Objects > Align > Centre in Canvas
Then move upwards slightly
Convert to raster layer
Then move upwards slightly
Convert to raster layer
Layers > Arrange > Send to Bottom
Duplicate, then Image > Flip
Layers > Merge > Merge Down
Layers > Merge > Merge Down
Duplicate again
On bottom layer go to:
Adjust > Blur > Motion Blur with the following settings:
Adjust > Blur > Motion Blur with the following settings:
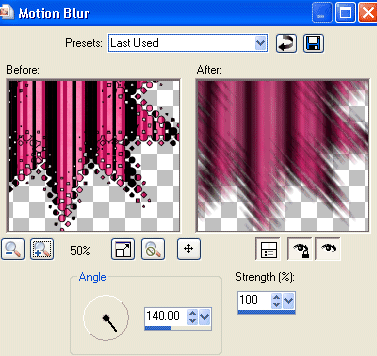
Merge the two layers together, then
Lower opacity to 35
Lower opacity to 35
Crop and resize
Select your Text Tool and a font of choice
I am using Adam Gorry Lights
Foreground - #000000
Background - #fd70a8 (or to match your tag)
I am using Adam Gorry Lights
Foreground - #000000
Background - #fd70a8 (or to match your tag)
Type out the word NAUGHTY
Objects > Align > Horizontal Centre in Canvas
Convert to raster layer
Objects > Align > Horizontal Centre in Canvas
Convert to raster layer
Select another font of choice
I am using Carpenter Script
Text colour - #000000
I am using Carpenter Script
Text colour - #000000
Type the word "Naughty" again
Objects > Align > Horizontal Centre in Canvas
Convert to raster layer
Objects > Align > Horizontal Centre in Canvas
Convert to raster layer
Select another font of choice
I am using Porkys
Foreground - #000000
Background - #fd70a8
I am using Porkys
Foreground - #000000
Background - #fd70a8
Type out your name
Objects > Align > Horizontal Centre in Canvas
Convert to raster layer
Add some noise
Apply a drop shadow of choice
Objects > Align > Horizontal Centre in Canvas
Convert to raster layer
Add some noise
Apply a drop shadow of choice
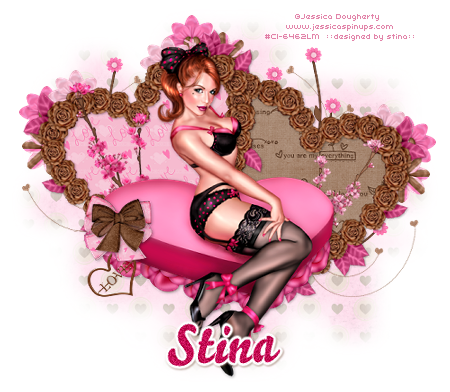
Finally, add your © copyright, licence and watermark, then save as GIF or JPG and you're done!
** IF YOU WISH TO ANIMATE PLEASE FOLLOW THESE NEXT STEPS **
Activate your bottom Rectangle layer
With your Magic Wand select every second square
Selections > Modify > Feather by 2
Selections > Modify > Feather by 2
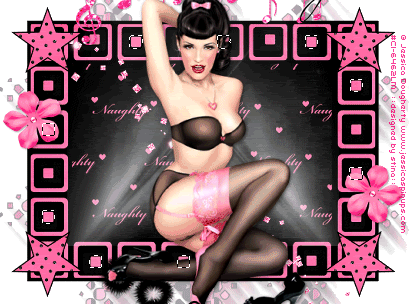
Layers > Promote Selection to Layer
Deselect
Deselect
Rename Frame1
Repeat above step for every other second square
Layers > Promote Selection to Layer
Deselect
Rename Frame2
Layers > Promote Selection to Layer
Deselect
Rename Frame2
Activate Frame1 and hide Frame2
Adjust > Brightness & Contrast > Brightness/Contrast with the following settings:
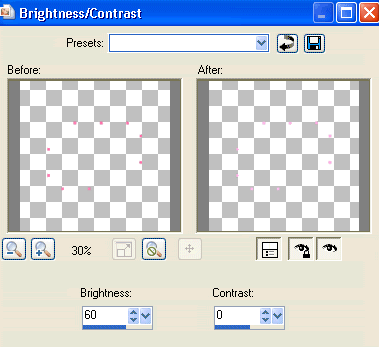
Repeat with Frame2
Activate Light Left and duplicate, then
Activate Light Right and duplicate
Merge Light Left and Light Right into one layer
Rename Lights
Activate Light Right and duplicate
Merge Light Left and Light Right into one layer
Rename Lights
Activate the two duplicates and rename them LightLeft and LightRight
Now for the animation!
This is where is can get confusing...LOL
The thing to remember is to every Frame change there are 2 of the same with the other layers
This is where is can get confusing...LOL
The thing to remember is to every Frame change there are 2 of the same with the other layers
I will do this in steps to make it easier - don't worry...I goofed in the animation plenty of times before I got it right too. LOL
1. Activate Lights and LightLeft and hide Frame2 and LightRight
THESE REMAIN VISIBLE
Activate Frame1
Edit > Copy Merged
Paste as NEW IMAGE
THESE REMAIN VISIBLE
Activate Frame1
Edit > Copy Merged
Paste as NEW IMAGE
Hide Frame1 and activate Frame2
Edit > Copy Merged
Paste as new layer
Edit > Copy Merged
Paste as new layer
2. Hide LightLeft and activate Frame1 ONLY
Edit > Copy Merged
Paste as new layer
Edit > Copy Merged
Paste as new layer
Hide Frame1 and activate Frame2 ONLY
Edit > Copy Merged
Paste as new layer
Edit > Copy Merged
Paste as new layer
3. Activate LightRight and Frame1 ONLY
Edit > Copy Merged
Paste as new layer
Edit > Copy Merged
Paste as new layer
Hide Frame1 and activate Frame2
Edit > Copy Merged
Paste as new layer
Edit > Copy Merged
Paste as new layer
4. Hide LightLeft and activate Frame1 ONLY
Edit > Copy Merged
Paste as new layer
Edit > Copy Merged
Paste as new layer
Hide Frame1 and activate Frame2 ONLY
Edit > Copy Merged
Paste as new layer
Edit > Copy Merged
Paste as new layer
5. Activate both LightLeft and LightRight and Frame1
Edit > Copy Merged
Paste as new layer
Edit > Copy Merged
Paste as new layer
Hide Frame1 and activate Frame2
Edit > Copy Merged
Paste as new layer
Edit > Copy Merged
Paste as new layer
6. Hide LightLeft and activate Frame1 ONLY
Edit > Copy Merged
Paste as new layer
Edit > Copy Merged
Paste as new layer
Hide Frame1 and activate Frame2 ONLY
Edit > Copy Merged
Paste as new layer
Edit > Copy Merged
Paste as new layer
Now save file as .PSP for Animation Shop
Open Animation Shop
Locate your new .PSP file and open in Animation Shop
Select All, then adjust the Frame Properties to 20
Save as a GIF and you're done!
Save as a GIF and you're done!
Thanks for trying my tutorial!
::st!na::
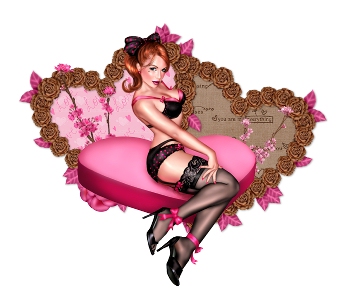
Here is a non-animated version:
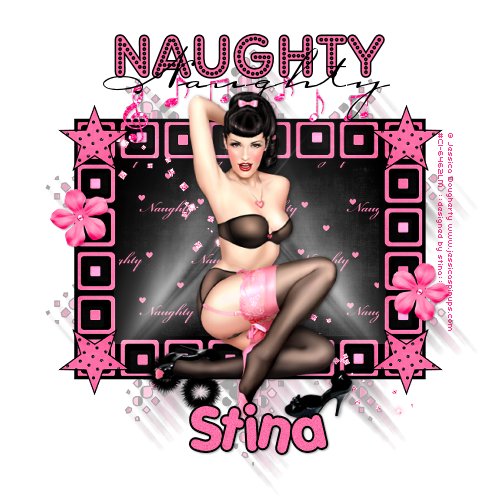
© Tutorial written by Stina on 21st June 2009
All rights reserved