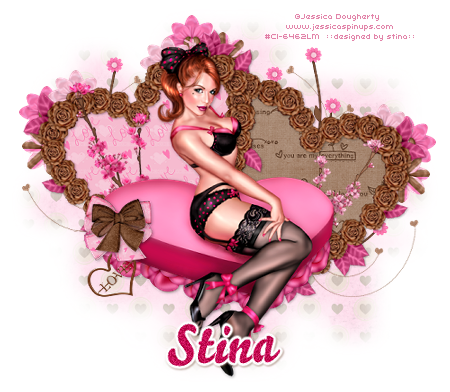
Supplies
Scrap kit of choice - I am using the delectable delicious kit "Pink Chocolate Sweets"
by Miss Foxy's Designs which can be purchased from Paradise4Scrappers
Thank you Miss Foxy for this delicious kit! Mmmm…makes me wanna eat more chokky! *g*
Tube of choice - I am using the lovely artwork of Jessica Doughtery which can be purchased from CILM with the proper licence
**PLEASE DO NOT USE HER ARTWORK WITHOUT THE APPROPROATE LICENCE**
WSL_Mask230 by Chelle which can be found on her blog
Font of choice - I am using Bello Script
Eye Candy 4000 Gradient Glow (optional)
~ Step 1 ~
Open Mask and minimise for later
Open a new blank canvas 700 x 600 flood filled white
Open HeartFrame_2 and resize by 15%
Paste as new layer
Image / Rotate 20 to the left
Duplicate then Image / Mirror
Position to your liking
With your magic wand click inside first heart
Selections / Modify / Expand by 10
Open Paper_11 and resize by 14%
Paste as new layer and position beneath frame
Selections / Invert
Delete
Deselect
Click inside the second heart
Selections / Modify / Expand by 10
Open Paper_3 and resize by 14%
Paste as new layer and position beneath frame
Selections / Invert
Delete
Deselect
Apply drop shadow to both frames
V & H - 1
Opacity - 40
Blur - 5.00
Colour - #000000
On the first frame layer
Layers / Merge / Merge Down
Then repeat on the second frame layer
~ Step 2 ~
Open Cherry_Blossom_1 and resize by 12%
Paste as new layer
Image / Rotate by 10 to left and position it to the left
Open Cherry_Blossom_2 and resize by 12%
Paste as new layer then Image / Mirror
Position to the right
Image / Rotate by 20 to the right
Adjust / Sharpen / Unsharpen Mask
Radius - 1.00
Strength - 100
Clipping - 4
~ Step 3 ~
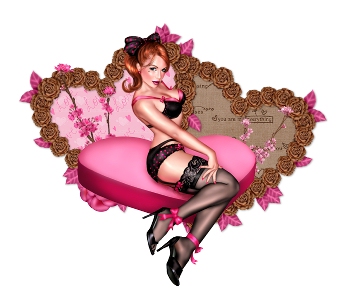
Paste your tube as a new layer and resize if necessary
Position it to your liking
Open Rose_1 and resize by 12%
Paste as new layer and place beneath the chocolate heart box (see below)
Duplicate and move slightly across
Continue this step until the box has roses along the bottom (see below)
Open Bow_4 and resize by 5%
Paste as new layer and position to the edge of the box
Open Bow_3 and rezize by 5%
Paste as new layer then Image / Mirror
Position over Bow_4 then resize again by 85%
Open Heart Embellishment_3 and resize by 12%
Paste as new layer and position beneath the bows
Erase any excess from this embellishment's bow
Open Flowers 1, 2 & 4
Resize each of them by 6%
Paste each as new layer and position to the left behind heart frame, overlapping one another
Duplicate each flower twice and place them at the top of the frame, and at the far right
Open Hearts and Flowers_1 and resize by 10%
Paste as new layer and position at the top to your liking then move this layer to the bottom
Duplicate then Image / Mirror and place to the left
Duplicate again and place to the far right, using the Pick Tool (Deformation Tool) to rotate it slightly to the right
Crop and resize
~ Step 4 ~
Open Paper_4 and resize to the width of your tag (mine was 500px)
Paste as new layer and move to bottom
Layers / New Mask Layer / From Image
Locate WSL_Mask230 in drop down list
Source Luminance checked
Invert Mask Data UNchecked
OK
Layers / Merge / Merge Group
Reduce the opacity of this layer to about 30
Add your name in font of your choice, add a gradient glow if you wish and apply a drop shadow
Add your ©copyright, licence and watermark and you're done!
Thanks for trying my tutorial
::st!na::
©Tutorial written by Stina on 6th February 2009
All rights reserved

No comments:
Post a Comment