
Supplies
Scrap kit of choice - I am using "My Prince Has Come" by DMK Designs which can be purchased from Creative Scraps, Simply Beautiful Scraps and TKO Scraps
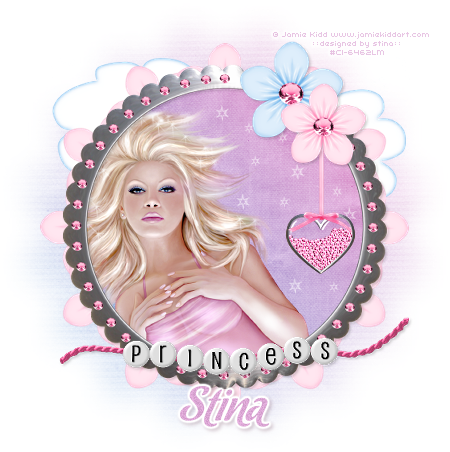
Tube of choice - I am using the gorgeous work of Jamie Kidd
which can be purchased through CILM
**PLEASE DO NOT USE HER ARTWORK WITHOUT THE APPROPRIATE LICENCE**
WSL_Mask33 by Chelle which can be found on her blog
Plugin: Mura Meister Copies
Plugin: Eye Candy 4000 Gradient Glow (optional)
Brushes of choice
Brushes of choice
Font of choice - I am using Chocolate Dulce
~ Step 1 ~
Open a new 600 x 600 blank canvas flood filled white
Paste Frame04 as a new layer
Resize by 35%
Resize by 35%
Using your Magic Wand click inside the frame
Selections / Modify / Expand by 10
Selections / Modify / Expand by 10
Activate your Background layer
Paste Paper17 as new layer
Resize by 40%
Selections / Invert
Delete
Deselect
Paste Paper17 as new layer
Resize by 40%
Selections / Invert
Delete
Deselect
Paste tube as new layer
Resize as necessary
Position to your liking beneath frame layer
Resize as necessary
Position to your liking beneath frame layer
Add a drop shadow to your frame:
V & H - 2
Opacity - 20
Blur - 5.00
Colour - #000000
V & H - 2
Opacity - 20
Blur - 5.00
Colour - #000000
Hide your Background layer then
Layers / Merge / Merge Visible
Layers / Merge / Merge Visible
~ Step 2 ~
Paste WordBeads01 as new layer
Resize by 40%
Position at bottom of frame
Resize by 40%
Position at bottom of frame
Paste Flower02 as new layer
Resize by 30%
Position in upper right of frame
Resize by 30%
Position in upper right of frame
Paste Flower01 as new layer
Resize by 25% and place beside first flower
Resize by 25% and place beside first flower
Paste FilledHeart as new layer
Resize by 8%
Position to the right below the Pink flower
Duplicate and blend mode to Screen
Layers / Merge / Merge Down
Resize by 8%
Position to the right below the Pink flower
Duplicate and blend mode to Screen
Layers / Merge / Merge Down
Paste BCS_HangingRibbon (from Vintage Valentine) as new layer
Resize by 15%
Position over the heart with the top of the ribbon tucked underneath the centre of Pink flower
Duplicate then blend mode to Screen
Layers / Merge / Merge Down
Resize by 15%
Position over the heart with the top of the ribbon tucked underneath the centre of Pink flower
Duplicate then blend mode to Screen
Layers / Merge / Merge Down
Paste Clouds as new layer
Resize by 45%
Position below the frame layer towards the top
Resize by 45%
Position below the frame layer towards the top
Add a drop shadow to your elements
V & H - 2
Opacity - 20
Blur - 5.00
Colour - #000000
V & H - 2
Opacity - 20
Blur - 5.00
Colour - #000000
~ Step 3 ~
Paste Flower01 as new layer again
Resize by 30%
KEEP IT CENTRED!!
Resize by 30%
KEEP IT CENTRED!!
Effects / Plugins / Mura Meister / Copies with the following settings:

Move this layer to below the frame
You will see it encircle it
Resize by 95%
Activate your Background layer
Paste Paper17 as new layer again
Paste Paper17 as new layer again
Layers / New Mask Layer / From Image
Locate WSL_Mask33
Source luminance
OK
Locate WSL_Mask33
Source luminance
OK
Layers / Merge / Merge Group
Add some star brushes for effect
DON'T FORGET TO ADD A NEW RASTER LAYER BEFORE APPLYING BRUSHES!!
DON'T FORGET TO ADD A NEW RASTER LAYER BEFORE APPLYING BRUSHES!!
Crop and resize tag
Select a font of your choice and type out your name in a colour matching your tube
Add your © copyright, licence and watermark and you're done!
Thanks for trying my tutorial
::st!na::
© Tutorial written by Stina on 21st February, 2009
All rights reserved
No comments:
Post a Comment