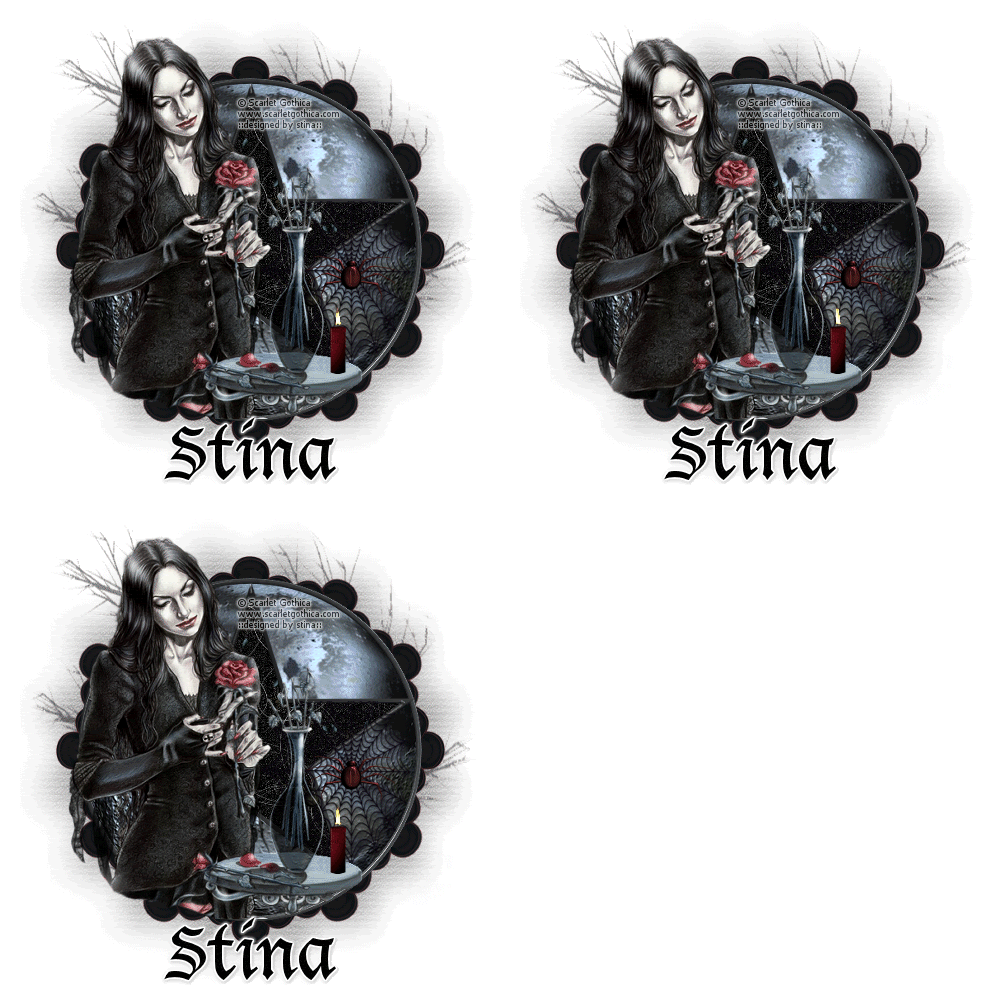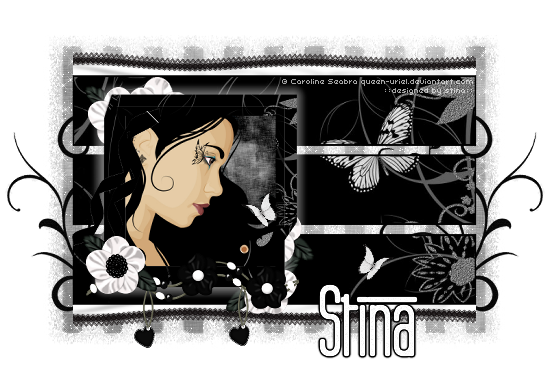
Please email me designed.by.stina@gmail.com with your creations. I'd love to see them.

Showing posts with label SWA. Show all posts

Wednesday, August 5, 2009

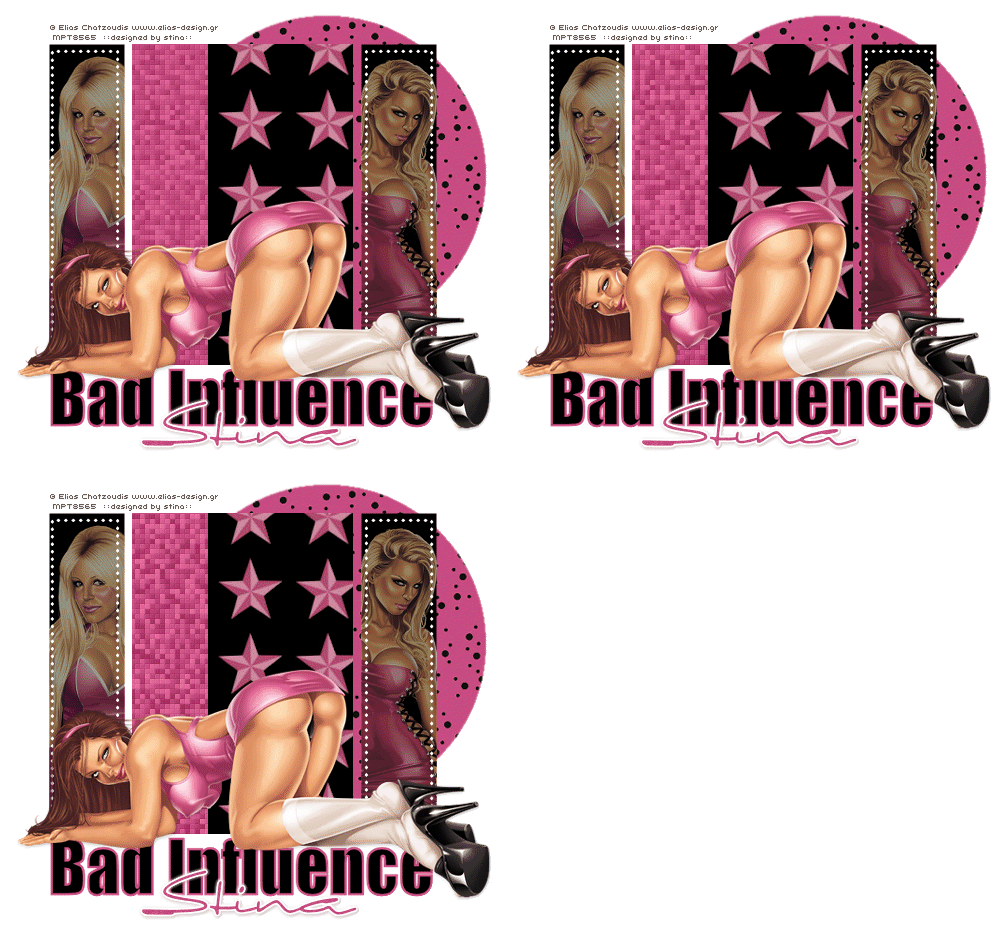
Bad Influence


Supplies

Scrap kit of choice - I am using "Flirting with Elias" by Kissed by Pix available from Scraps with Attitude, TKO Scraps and The Creativity Box
Tubes of choice - I am using the gorgeous artwork of Elias Chatzoudis available with a licence from My PSP Tubes
Template #192 by Missy available from her blog
Fonts of choice - I am using Impact and Sincerely
Plugins: Xero > Fritillary
Eye Candy 4000 > Gradient Glow

**This is similar to the other tut using this same kit - just simpler as it uses a template**


Let's begin....


Open Missy's Template #192 and duplicate
Close off original
Delete copyright layer

Select CIRCLE layer (raster 1) with your Magic Wand
Selections > Modify > Feather by 2
Press delete a couple of times to remove colour
Paste Paper of choice INTO selection
Deselect

Activate Rectangle layer and select with Magic Wand'
Paste Paper of choice as new layer
Selections > Invert
Delete then deselect
Layers > Merge > Merge Down

Select Thin Rectangle2
Flood-fill with a colour matching your tube
Deselect

Select Thin Rectangle1
Paste a Tube of choice as new layer
Resize as necessary and position within selection
Selections > Invert
Delete then deselect
Lower opacity of Tube to 60

Select Thin Rectangle3
Repeat above step with another Tube of choice
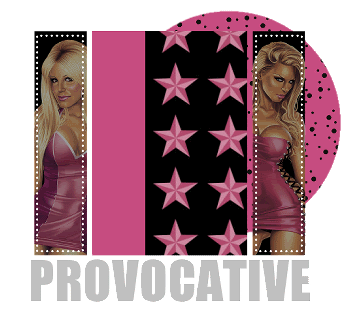

Select your WordArt and flood-fill with a colour of your choice
OR
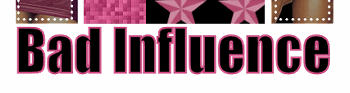
Select Text Tool (I used Impact)
Type out some Text of your choice and position
Convert to raster layer

Paste your main Tube of choice as new layer
Resize as necessary and position over text
Add drop shadow of choice

Crop and resize

Activate top layer

Select your Text Tool again and another font of choice
I am using Sincerly
Colour - #c64d80 (or colour of choice)

Type out your name
Objects > Align > Horizontal Centre in Canvas
Convert to raster layer
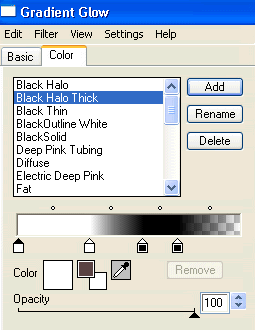
Apply a Gradient Glow in white and drop shadow of choice

Finally, add your © copyright, licence and watermark, then save as a GIF or JPG and you're done!


** IF YOU WISH TO ANIMATE PLEASE FOLLOW THESE NEXT STEPS **

Activate your ThinRectangle2 layer (flood-filled rectangle)
Select with your Magic Wand
Duplicate twice and rename Fritillary1, Fritillary2 and Fritillary3

Activate Fritillary1
Effects > Plugins > Xero > Fritillary with the following settings:
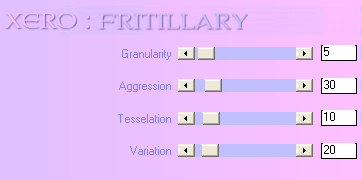

Hide Fritillary1 and activate Fritillary2
Apply the Fritillary adjusting only the Variation

Hide Fritillary2 and activate Fritillary3
Apply the Fritillary once again and adjust the Variation once more

Now to animate!

Activate Fritillary1 and hide Fritillary2 and Fritillary3
Edit > Copy Merged

Open Animation Shop
Edit > Paste as New Animation

Back to PSP
Hide Fritillary1 and activate Fritillary2
Edit > Copy Merged

In Animation Shop
Edit > Paste After Current Frame

Back to PSP
Hide Fritillary2 and activate Fritillary3
Edit > Copy Merged

In Animation Shop
Edit > Paste After Current Frame

Select All and change Frame Properties to 20
Now save as a GIF and you're done!

Thanks for trying my tutorial!

::st!na::


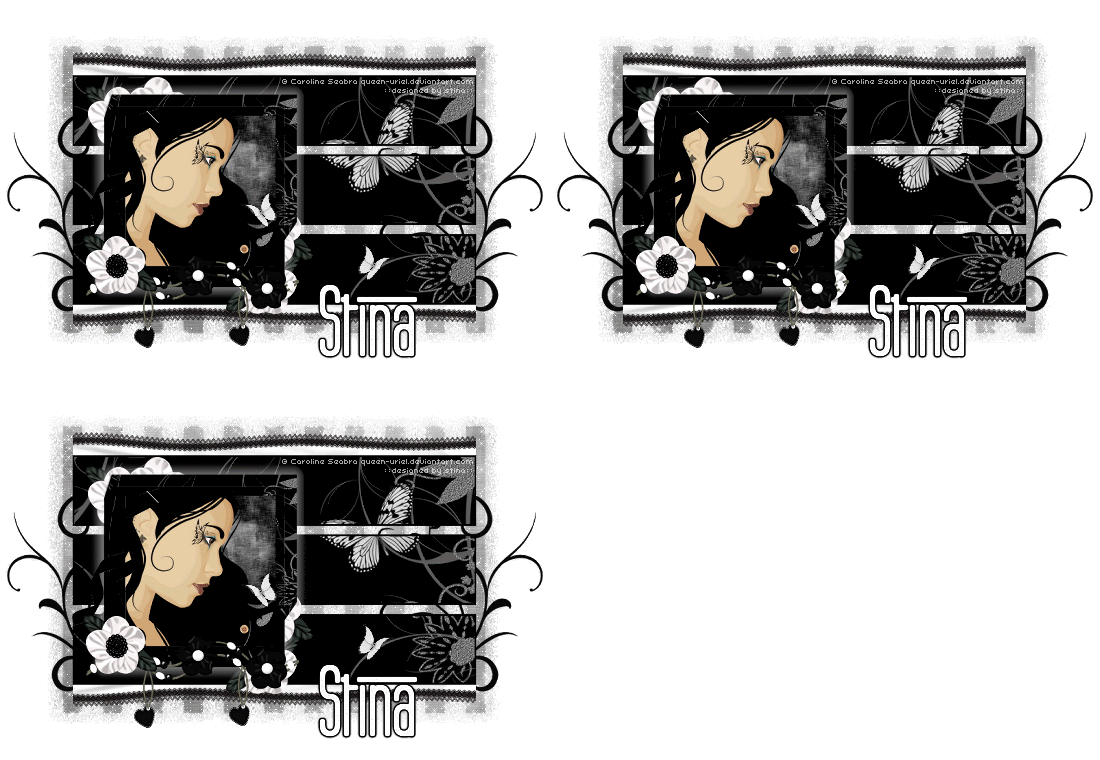
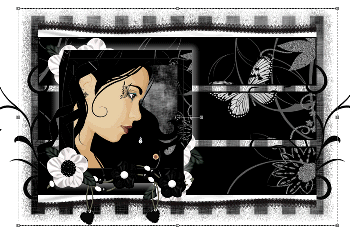
Here is a non-animated version:
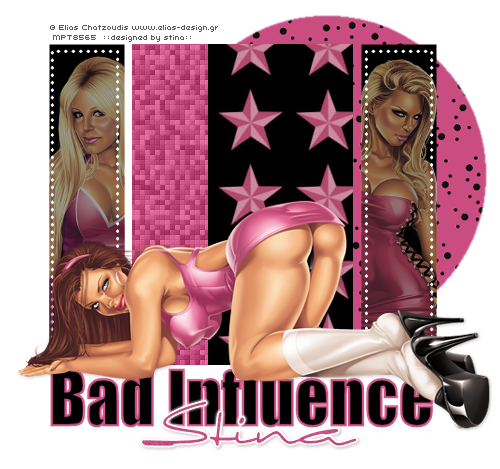


© Tutorial written by Stina on 4th August 2009
All rights reserved

Tuesday, August 4, 2009

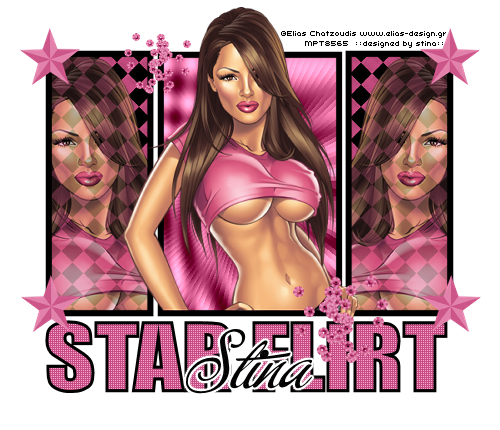
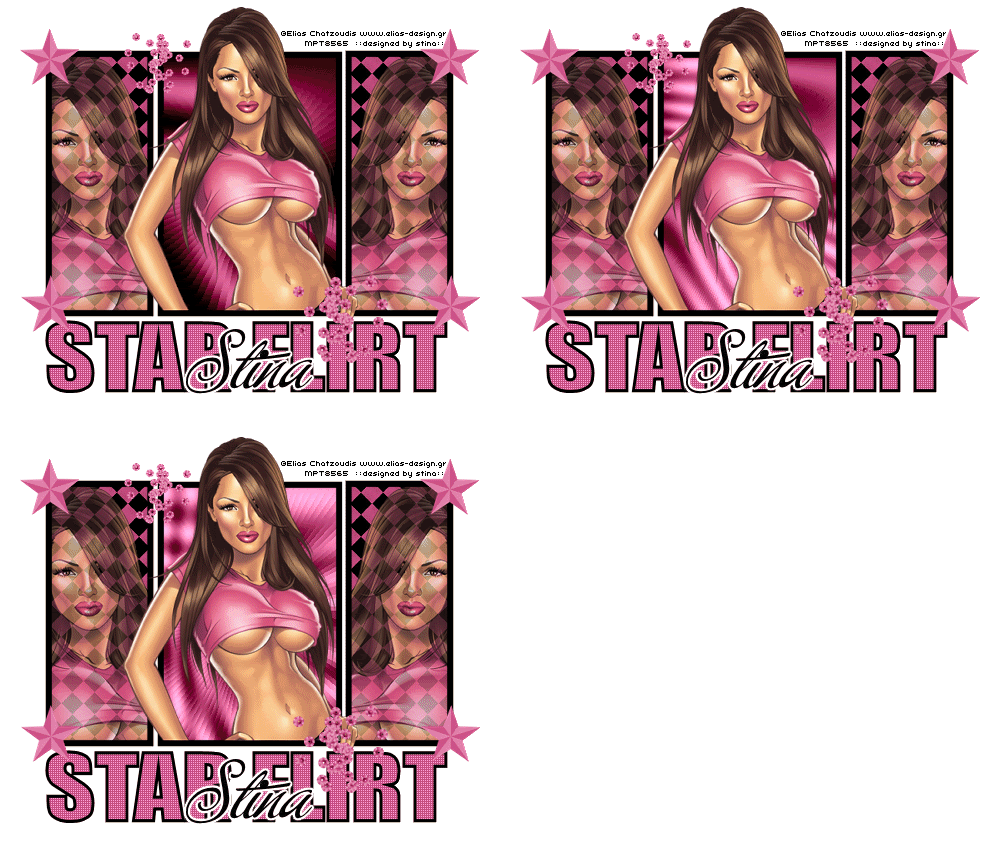
Star Flirt


Supplies

Scrap kit of choice - I am using "Flirting with Elias" by Kissed by Pix available from Scraps with Attitude, TKO Scraps and The Creativity Box
Tubes of choice - I am using the gorgeous artwork of Elias Chatzoudis available with a licence from My PSP Tubes
Fonts of choice - I am using Impact and Buffet Script
Plugins: Penta.com > Colour Dot
Tramages > Moving Screen
Eye Candy 4000 > Gradient Glow


Let's begin...


Open a new 600 x 550 blank canvas flood-filled white

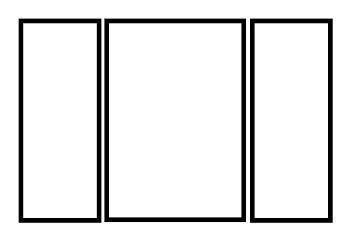
Select your Preset Shape Tool to Rectangle
Foreground - #000000
Background - null
Width - 8.00
Create as Vector

Draw out a rectangle in the centre of canvas
Objects > Align > Centre in Canvas
Convert to raster layer

Using the same settings draw out another rectangle slightly thinner to the left and position
Use the nodes to size the correct height with the middle Rectangle
Convert to raster layer
Duplicate, then Image > Mirror
Layers > Merge > Merge Down
Repeat
Rename RECTANGLES


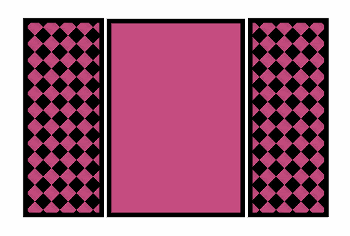
Select the inside of the two outer rectangles with your Magic Wand
Selections > Modify > Expand by 5
Paste Paper of choice as new layer
Layers > Arrange > Move Down
Resize by 65% (or as necessary)
Selections > Invert
Delete, then deselect

Select the middle Rectangle with your Magic Wand
Selections > Modify > Expand by 5
Activate Paper layer and flood fill selection with a colour from your Tube
Delete, then deselect


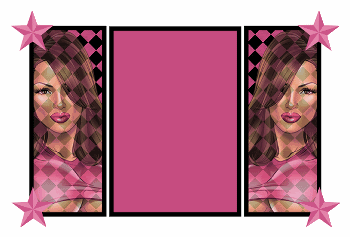
Paste your Tube of choice in your left rectangle
Position to your liking
Select the inside of rectangle with Magic Wand again
Selections > Modify > Expand by 5
Selections > Invert
Delete, then deselect

Duplicate then Image > Mirror
Lower opacity to around 80

Activate top layer

Paste a Star of choice as new layer
Resize by 20%
Position in upper left
Duplicate, the Image > Mirror
Layers > Merge > Merge Down
Duplicate, then Move down to bottom of Rectangles


Paste Tube and resize as necessary
Use your Selection Tool to select the bottom of your Tube and delete

Paste a Sequin Cluster as new layer
Resize by 15%
Position to your liking
Duplicate, then Image > Mirror
Resize by 70%
Position to your liking

Crop and resize

Select your Text Tool and a nice block font
I am using Impact
Foreground - #000000
Background - #c64d80
Stroke width - 3.00

Type out text of choice and position squarely beneath Rectangles
Use nodes to compress height from bottom
Position below Stars layer
Convert to raster layer


Select the inside of each letter with your Magic wand
Effects > Plugins > Penta.com > Colour Dot with default settings
Deselect

Activate top layer

Select your Text Tool again and another font of choice
I am using Buffet Script
Colour - #000000

Type out your name
Objects > Align > Horizontal Centre in Canvas
Convert to raster layer
Apply a Gradient Glow in white

Finally, add your © copyright, licence and watermark, then save as a GIF or JPG and you're done!


** IF YOU WISH TO ANIMATE PLEASE FOLLOW THESE NEXT STEPS **

Activate your RECTANGLES layer
Select inside the middle rectangle
Selections > Modify > Expand by 5

Activate the paper background
Layers > Promote Selection to Layer
Duplicate twice and rename Swirl1, Swirl2 and Swirl3

KEEP SELECTED!!

Activate Swirl1
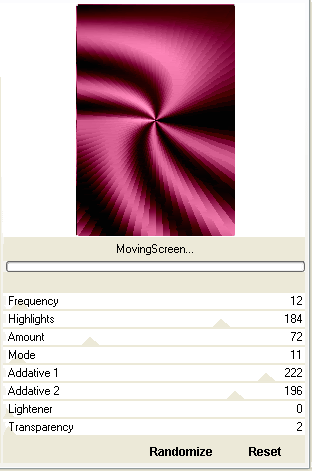
Effects > Plugins > Tramages > Moving Screen with the following settings: (or any that you wish)


(you may have to import the filters into Filters Unlimited if they do not show in your normal Plugin list)

KEEP SELECTED!!

Hide Swirl1 and activate Swirl2
Apply the Moving Screen again and Randomise settings to your liking
Keep the Lightener and Transparency set to 0
(you may have to manually move them to 0 when you Randomise)

STILL SELECTED!!

Hide Swirl2 and activate Swirl3
Apply the Moving Screen once more and Randomise to your liking (see above)
Deselect

Now to animate!

Activate Swirl1 and hide Swirl2 and Swirl3
Edit > Copy Merged

Open Animation Shop
Edit > Paste as New Animation

Back to PSP
Hide Swirl1 and activate Swirl2
Edit > Copy Merged

In Animation Shop
Edit > Paste After Current Frame

Back to PSP
Hide Swirl2 and activate Swirl3
Edit > Copy Merged

In Animation Shop
Edit > Paste After Current Frame

Select All and change Frame Properties to 25
Now save as a GIF and you're done!

Thanks for trying my tutorial!

::st!na::


Here is a non-animated version:


© Tutorial written by Stina on 4th August 2009
All rights reserved
Monday, July 27, 2009

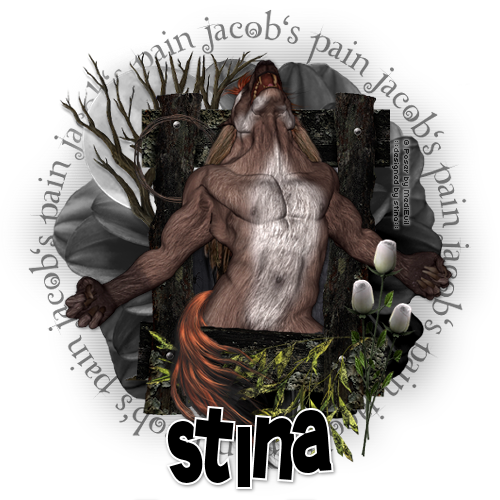
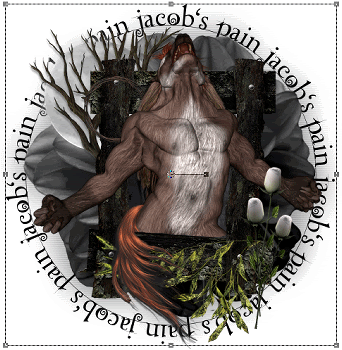
Jacob's Pain


Supplies

Scrap kit of choice - I am using "Dark Nights" by Missy Lynn Scraps available from Totally Sweet Designs, Scraps with Attitude, Paradise 4 Scrappers and Katelynn Designs
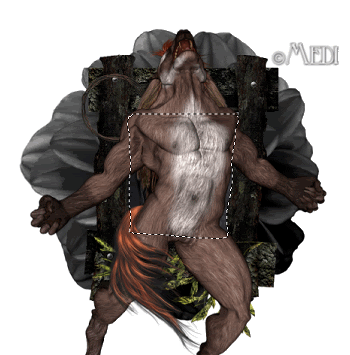
Tube of choice - I am using one of the Jacob Black Poser tubes from the Twilight Collection by MediEvil available from Twilight Scraps
Fonts of choice - I am using LDTwylight and TangledUp
Plugin: PhotoEffex Scanlines


Let's begin...


Open a new 700 x 600 blank canvas flood-filled white

Paste Flower7 (black flower) as new layer
DO NOT RESIZE!

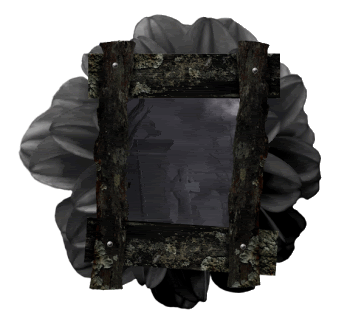
Paste Frame6 as new layer
Resize by 70%

Select inside Frame6 with your Magic Wand
Selections > Modify > Expand by 15
Add new raster layer
Layers > Arrange > Move Down
Paste paper of choice INTO selection
Deselect

Duplicate
Adjust > Hue & Saturation > Colourisie
Set both to 0
Lower opacity 70


Back to top layer

Paste Flower2 (leaves) as new layer
Resize by 55%
Position along bottom of Frame

Paste Frame7 as new layer
Resize by 20%
Position in upper left

Paste Tube of choice as new layer
I am using one of MediEvil's posers from her Twilight Saga
Resize and position to your liking

Activate your Frame and select inside with your Magic Wand
Selections > Modify > Contract by 2
Selections > Modify > Feather by 2
Selections > Invert


Now carefully erase the lower part of your Tube, decreasing the shape size and hardness to your liking to erase extra detail

Paste Rose16 (supplied) as new layer
Image > Mirror
Image > Rotate by 30 to the left
Resize by 80%
Position to the lower right

Paste Rose18 (supplied) as new layer
Resize by 80%
Position alongside first rose
Duplicate, then Image > Mirror
Image > Rotate by 15 to the right
Resize by 90% and position


Paste Moon as new layer
Resize by 60%
Move down below Frame layer to the upper left
Duplicate, then set blend mode to Screen

Paste Tree as new layer
Resize by 70%
Position in front of Moon protruding to the left


Crop and resize to your liking

Activate BlackFlower (background) layer
Duplicate
Resize by 110%
Adjust > Blur > Gaussian Blur with a Radius of 20.00
Effects > Plugins > Photo Effex > Scanlines with default settings
Repeat
Lower opacity to 35

Select your Preset Shape Tool and set to Ellipse
Stroke width - 1.00
Foreground - #000000
Background - null

Hold your shift key and draw out a circle around your tag
Objects > Align > Centre in Canvas

Select your Text Tool and font of choice
I am using LDTwylight
Type out text of your choice or use the template I've provided made by me


In your Layer Palette open the vector layer and turn off the Ellipse
Convert to raster layer
Lower opacity to 50

Back to top layer

Select another font of choice
I am using TangledUp
Foreground - #FFFFFF
Background - #000000
Stroke width - 2.00

Type out your name
Objects > Align > Horizontal Centre in Canvas
Convert to raster layer
Apply a drop shadow of choice

Finally, add your © copyright, licence and watermark, then save as a GIF or JPG and you're done!

Thanks for trying my tutorial!

::st!na::


© Tutorial written by Stina on 27th July 2009
All rights reserved
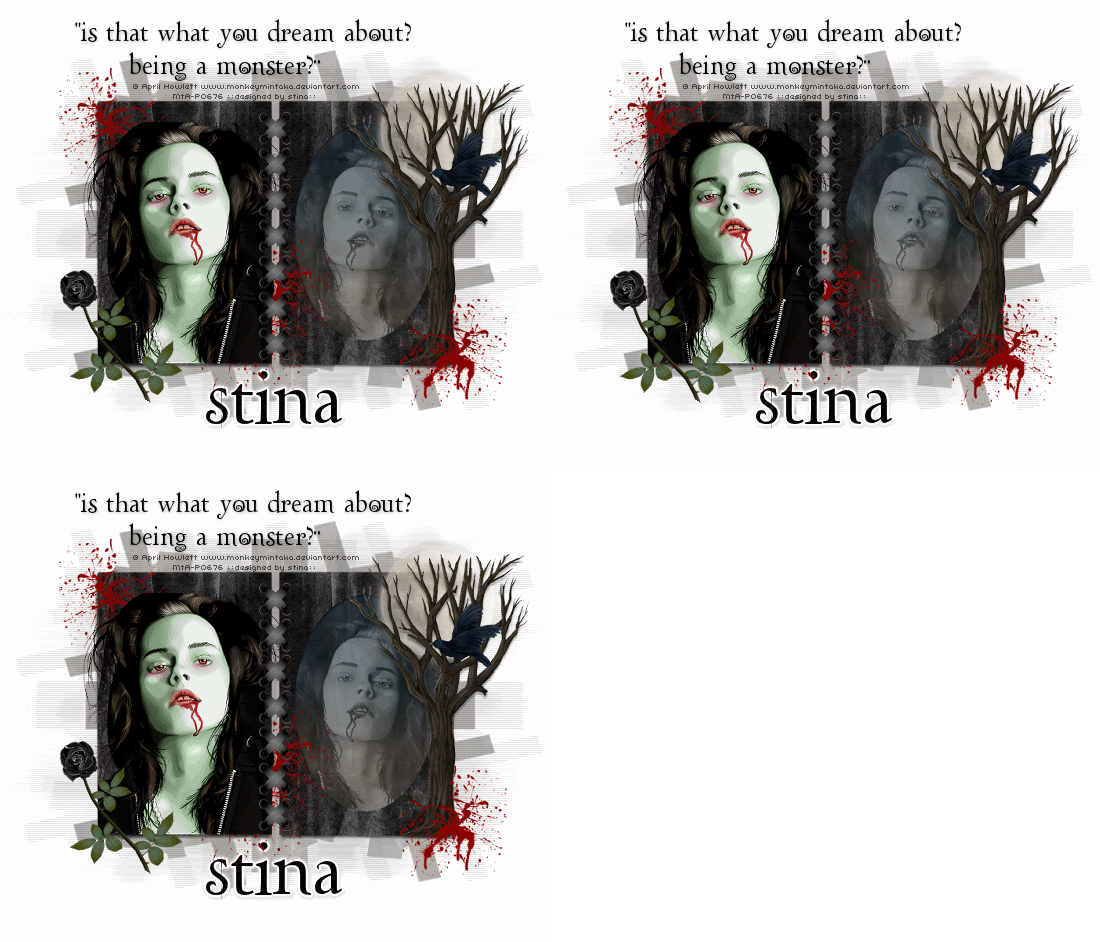
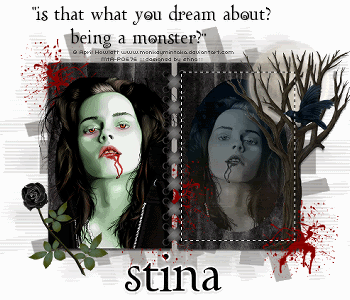
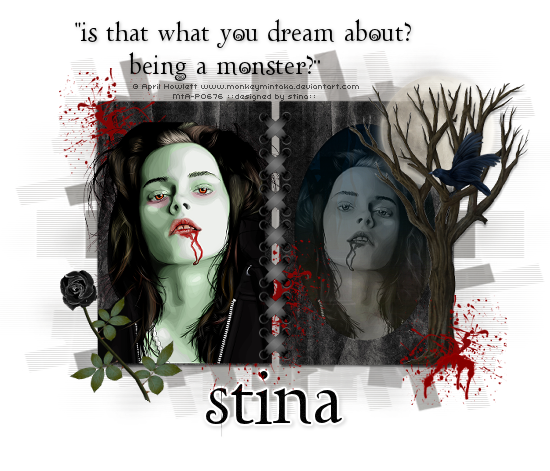
Being a Monster


Supplies

Scrap kit of choice - I am using "Dark Nights" by Missy Lynn Scraps available from Totally Sweet Designs, Scraps with Attitude, Paradise 4 Scrappers and Katelynn Designs
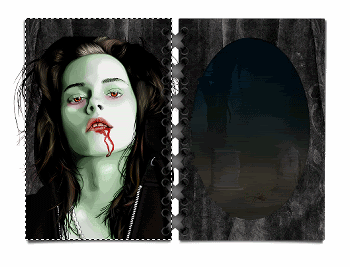
Tube of choice - I am using April Howlett's artwork of Bella Swan available for purchase from Mistaken Art with the appropriate licence
**PLEASE DO NOT USE THIS ARTWORK WITHOUT THE PROPER LICENCE**
Stitching or CrossStitch of choice - I am using CrossRibbons from the "Majestic Midnight Freebie Add On" by Tanya of Scraps by Joe's Wife
WSL_Mask147 by Chelle available from her blog
Font of choice - I am using LDTwylight
Plugins: Filters Unlimited Blue Sky, dsb fluxx Linear Transmission, Mura Meister Cloud and Eye Cand 4000 Gradient Glow


Let's begin....


Open a new 700 x 600 blank canvas flood-filled white

Paste Frame2 as new layer
Resize by 60%
Position to the right
Duplicate, then Image > Mirror
Layers > Merge > Merge Down

Paste some Stitching or CrossStitch as new layer
Resize as necessary
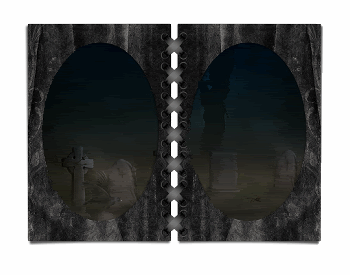
Position between Frames to hold them together

Select the inside of frames with your Magic wand
Selections > Modify > Expand by 15
Paste paper of choice as new layer
Layers > Arrange > Move Down
Resize by 70% and position to liking
Selections > Invert
Delete, then deselect

Effects > Plugins > Filters Unlimited > Color Filters > Blue Sky
Repeat


Paste Tube as new layer
Layers > Arrange > Move Up
Resize as necessary
Position in one of the Frames
With your Selection Tool draw out a rectangle on the exact edge of the outside of the Frame
Selections > Invert


Use your Eraser to remove excess
Duplicate, then Image > Mirror
Layers > Arrange > Move Down
(duplicate should now be BELOW Frame layer)
Resize by 85% and position inside opposite Frame
Set blend mode to Luminance Legacy
Lower opacity to around 40
Rename to BellaShadow

Back to top

Paste Moon as new layer
Resize by 50%
Position in upper corner to your liking
Duplicate and set blend mode to Screen
On original Moon layer lower opacity to 70

Paste Rose as new layer
Resize by 50%
Position in lower left
Use your Freehand Tool to select the lower half and then delete

Paste Tree as new layer
Resize by 60%
Position to the right


Splatter some Blood about

To darken blood:
Duplicate then set blend mode to Multiply
Lower opacity to 60
Layers > Merge > Merge Down

Add a new raster layer
Layers > Arrange > Send to Bottom
Select All
Paste Paper of choice INTO selection
Deselect

Layers > New Mask Layer > From Image
Apply WSL_Mask147

DO NOT MERGE!!!

Activate Mask layer and resize by 110%

Layers > Merge > Merge Group
Lower opacity to 35

Crop and resize to liking

Duplicate Mask layer
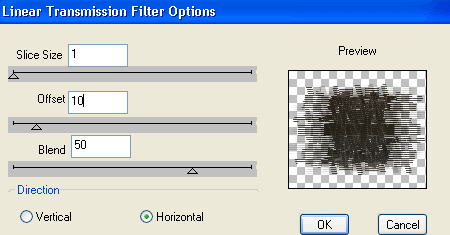
Effects > Plugins > dsb fluxx > Linear Transmission with the following settings:


Lower opacity to 15%

Back to top layer

Select your Text Tool and font of choice
I am using LDTwylight
Colour of choice to match your tag - I am using Black

Type out some Text of your choice and position
Apply a drop shadow of choice

Select another font
I am using the same font and text colour

Type out your name
Objects > Align > Horizontal Centre in Canvas
Convert to raster layer
Apply a Gradient Glow and drop shadow of choice

Finally, add your © copyright, licence and watermark, then save as a GIF or JPG and you're done!


** IF YOU WISH TO ANIMATE PLEASE FOLLOW THESE NEXT STEPS **

Activate your BellaShadow layer
Add three new raster layers and name them Cloud1, Cloud2 and Cloud3
Make a selection around the image with your Selection Tool


Activate Cloud1
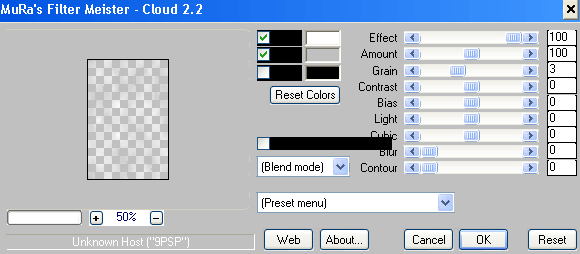
Effects > Plugins > Mura Meister > Clouds with the following settings:


Hide Cloud1 and activate Cloud2
Repeat Cloud effect, checking the box below Colours

Hide Cloud2 and activate Cloud3
Repeat Cloud effect once more, UNchecking the box again
Deselect

Activate Cloud1 and hide the other two again
Edit > Copy Merged

Open Animation Shop
Edit > Paste as New Animation

Back to PSP
Hide Cloud1 and activate Cloud2
Edit > Copy Merged

In Animation Shop
Edit > Paste after Current Frame

Back to PSP
Hide Cloud2 and activate Cloud3
Edit > Copy Merged

In Animation Shop
Edit > Paste after Current Frame

Select All and change the Frame Properties to 30
Now save as a GIF and you're done!

Thanks for trying my tutorial!

::st!na::


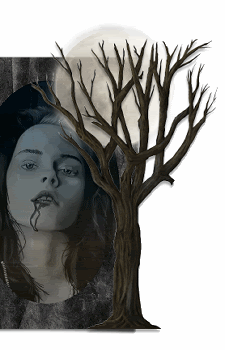
Here is a non-animated version:


© Tutorial written by Stina on 27th July 2009
All rights reserved
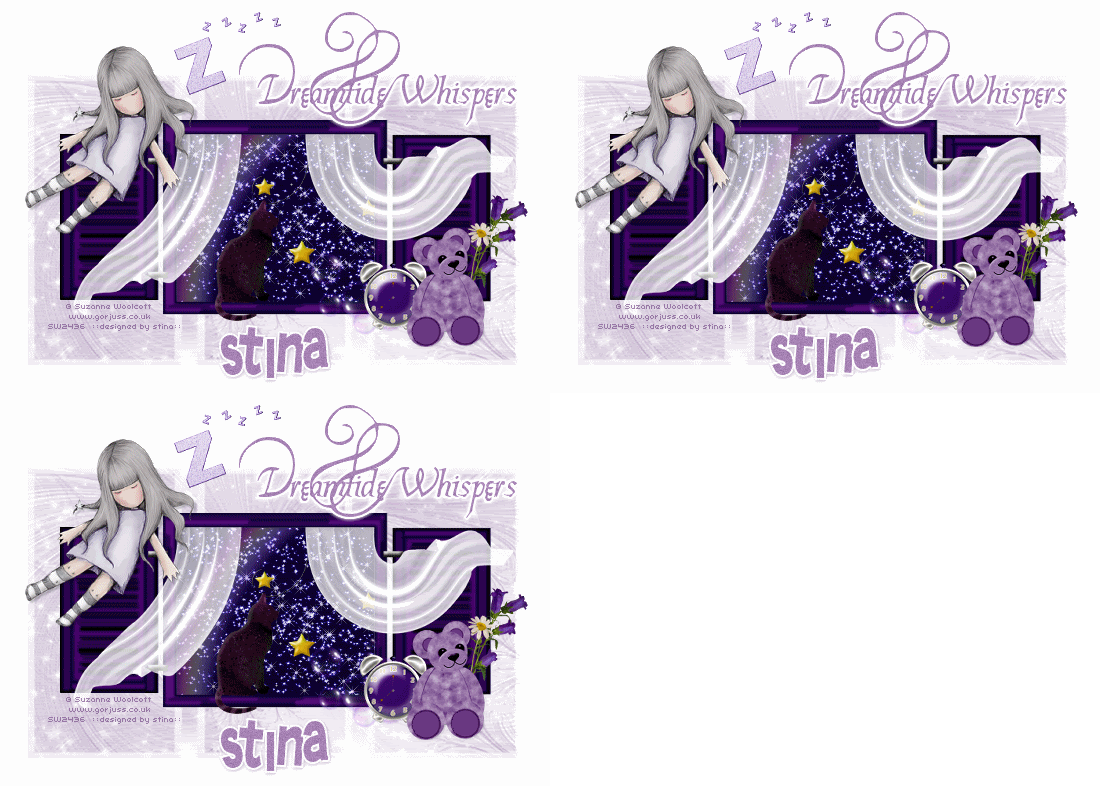
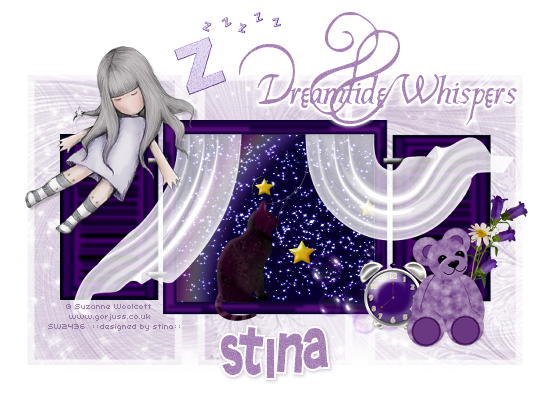
Dreamtide Whispers


Supplies

Scrap kit of choice - I am using "Midnight Whispers" by Missy available from Scraps with Attitude
Tube of choice - I am using the delightful artwork of Suzanne Woolcott available from her store
**PLEASE DO NOT USE HER ARTWORK WITHOUT THE APPROPRIATE LICENCE**
Masks: sg_fractual2222 (here) and WSL_Mask148 by Chelle available from her blog
Fonts of choice - I am using Platthand and TangledUp
Plugins: Eye Candy 4000 Gradient Glow and Xenofex 2 Constellation


Let's begin....


Open a new 700 x 600 blank canvas flood-filled white

Paste Window1 as new later
Resize by 70%

Select inside the window with Magic Wand
Selections > Modify > Expand by 10
Add new raster layer
Layers > Arrange > Move Down
Paste Paper of choice (I am using Paper2) INTO selection
Duplicate

On bottom copy go to:
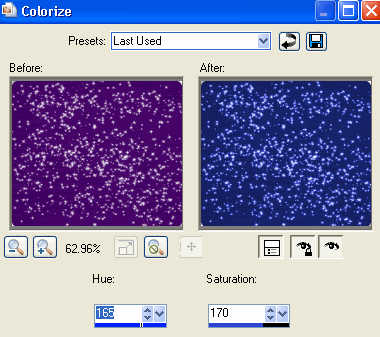
Adjust > Hue & Saturation > Colourise with the following settings:


Set Blend Mode of top copy to Multiply

KEEP SELECTED!!

Paste Rainbow as new layer
Resize by 50%
Position to your liking
Selections > Invert
Delete, then deselect
Lower opacity to 50

Paste Stars as new layer
Resize by 23% and position to liking

Activate top layer

Paste Curtain1 as new layer
Resize by 35%
Position to the right of Window

Paste Curtain2 as new layer
Resize by 35%
Position to the left of Window

Paste Clock as new layer
Resize by 15%
Position off side to the Window

Paste TeddyBear as new layer
Resize by 20%
Position beside the Clock

Paste FlowerGroup as new layer
Image > Rotate by 20 to the right
Resize by 25%
Position behind Teddy

Paste Flower1 as new layer
Image > Rotate by 70 to the left
Resize by 20%
Position alongside FlowerGroup

Paste Cat as new layer
Resize by 20%
Position in the Window

Paste Tube as new layer
Resize as necessary and position

Paste Zzzzz as new layer
Resize by 18%
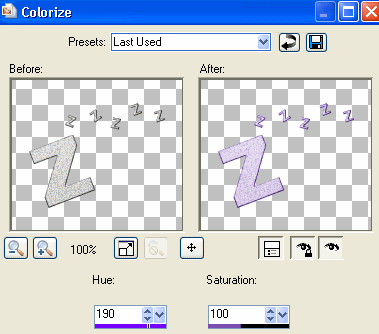
Adjust > Hue & Saturation > Colourise with the following settings:


Paste Paper of choice as new layer
Layers > Arrange > Send to Bottom

Layers > New Mask Layer > From Image
Apply sg_fractual2222
OK
Layers > Merge > Merge Group

Duplicate, then Image > Mirror then Image > Flip
Lower opacity to 50
Layers > Merge > Merge Down

Layers > New Mask Layer > From Image
Apply WSL_Mask148
OK
Layers > Merge > Merge Group
Lower opacity to 55

Image > Canvas Size 700 x 550 centred
Repeat Canvas Size to 700 x 500 with the bottom setting at -50

Back to top layer

Select your Text Tool and font of choice
I am using Platthand
Colour of choice to match your tag - I am using #a883b5

Type out some Text of your choice and position
Apply a white Gradient Glow of choice

Select another font
I am using TangledUp
Foreground - #FFFFFF
Background - #a883b5
Stroke width - 2.00

Type out your name
Objects > Align > Horizontal Centre in Canvas
Convert to raster layer
Apply a drop shadow of choice

Finally, add your © copyright, licence and watermark, then save as a GIF or JPG and you're done!


** IF YOU WISH TO ANIMATE PLEASE FOLLOW THESE NEXT STEPS **

Activate your Window background layer
Duplicate twice and rename Stars1, Stars2 and Stars3

Select outside the layer with your Magic Wand, then
Selections > Invert

Activate Stars1 and hide the other two

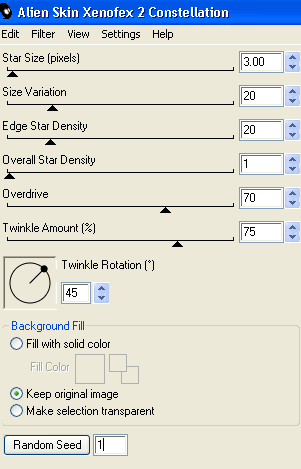
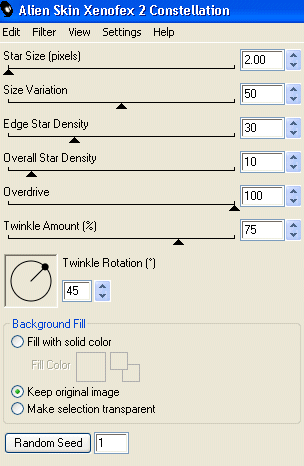
Effects > Plugins > Xenofex 2 > Constellation with the following settings:


Hide Stars1 and activate Stars2
Repeat Constellation effect, adjusting the Random Seed

Hide Stars2 and activate Stars3
Repeat Constellation once more, adjusting the Random Seed

Activate Stars1 and hide the other two again
Edit > Copy Merged

Open Animation Shop
Edit > Paste as New Animation

Back to PSP
Hide Stars1 and activate Stars2
Edit > Copy Merged

In Animation Shop
Edit > Paste after Current Frame

Back to PSP
Hide Stars2 and activate Stars3
Edit > Copy Merged

In Animation Shop
Edit > Paste after Current Frame

Now save as a GIF and you're done!
Thanks for trying my tutorial!

::st!na::


Here is a non-animated version:


© Tutorial written by Stina on 26th July 2009
All rights reserved
Thursday, July 9, 2009

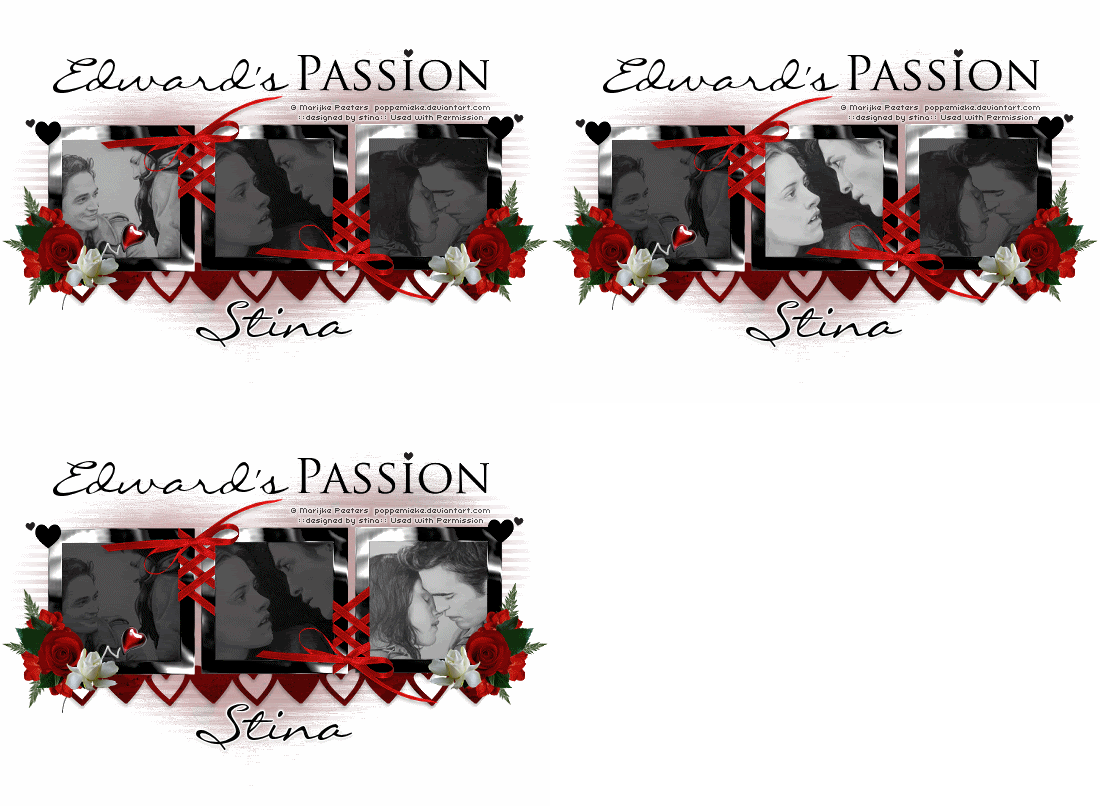
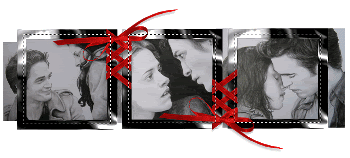
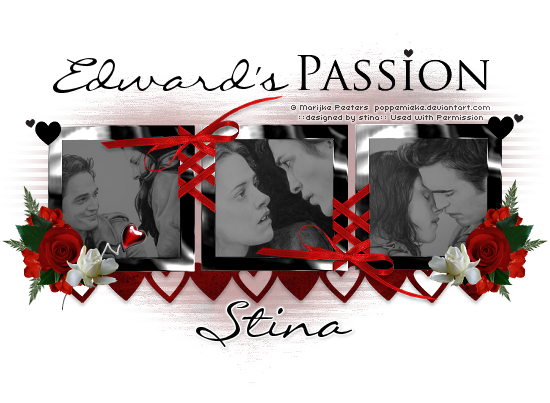
Edward's Passion


Supplies

Scrap kit of choice - I am using "Angelic Passions" by MissyLynn Scraps available from Stargazer Scraps, KatelynnsDesigns, Totally Sweet Designs, Paradise 4 Scrappers and Scraps with Attitude
Images of choice - I am using the lovely artwork of Marijke Peeters from whom I gained permission
WSL_Mask10 by Chelle available from her blog
Fonts of choice - I am using LiorahBT
No Plugins


Let's begin...

.
Open a new 750 x 500 blank canvas flood-filled white

Paste Frame5 as new layer

LEAVE IN POSITION

Draw a rectangle around each Frame
Add a new raster layer
Layers > Arrange > Move Down
Flood fill each Frame Black

KEEP SELECTED!!

Paste three images of choice as new layers
Resize each as necessary to fit
Position within each Frame


Selections > Modify > Invert
Press delete on each layer
Deselect

Paste Flower2 as new layer
Resize by 15%
Position in lower right
Duplicate then set blend mode to Multiply
Lower opacity to 70
Layers > Merge > Merge Down
Duplicate, then Image > Mirror

Paste Flower4 as new layer
Image > Mirror
Resize by 18%
Position alongside Flower2 in lower right
Duplicate, then Image > Mirror

Paste Flower1 as new layer
Image > Mirror
Resize by 12%
Position behind Flowers to the lower left
Duplicate and position a couple of times
Layers > Merge > Merge Down twice


Duplicate, then Image > Mirror

Paste Leaf as new layer
Image > Rotate by 20 to the left
Resize by 12%
Position behind Flowers

Duplicate several times
Mirror and Flip and position each to your liking

Paste Pin as new layer
Resize by 25%
Position to your liking

Paste Passion WordArt as new layer
Resize by 65%
Position along top of Frame to the right

With your Freehand Tool make a selection around the bottom of the WordArt to the far right
Delete the deselect


Paste Paper of choice as new layer
Layers > Arrange > Send to Bottom

Layers > New Mask Layer > From Image
Apply WSL_Mask10
OK
Layers > Merge > Merge Group
Lower opacity to 50

Paste HeartLine as new layer
Position along bottom of Frame

Crop and resize
Select your Text Tool and font of
choice
I am using LiorahBT
Text colour of choice - I am using Black

Type out "Edward's" and position next to the word "PASSION"
Convert to raster layer

Select another font of choice
I am using the same font
Type out your name
Objects > Align > Horizontal Centre in Canvas
Convert to raster layer
Apply a Gradient Glow and drop shadow of choice

Finally, add your © copyright, licence and watermark, then save as a GIF or JPG and you're done!


** IF YOU WISH TO ANIMATE PLEASE FOLLOW THESE NEXT STEPS **

Activate your Image layers
Rename Image1, Image2 and Image3

Activate Image1 at 100% opacity
Lower the opacity of Image2 and Image3 to 45%
Edit > Copy Merged

Open Animation Shop
Edit > Paste as New Animation

Back to PSP
Lower opacity of Image1 to 45% and raise Image2 to 100%
Edit > Copy Merged

In Animation Shop
Edit > Paste after Current Frame

Back to PSP
Lower opacity of Image2 back to 45% and raise Image3 to 100%
Edit > Copy Merged

In Animation Shop
Edit > Paste after Current Frame

Select all and set Frame Properties to 70
Now save as a GIF and you're done!

Thanks for trying my tutorial!

::st!na::

Here is a non-animated version:


© Tutorial written by Stina on 9th July 2009
All rights reserved
Wednesday, July 8, 2009

Morticia's Secret


Supplies

Tube of choice - I am using the FTU artwork of Scarlet Gothica which can be found here
WSL_Mask33 by Chelle available from her blog
Font of choice - I am using Lucida Blackletter
Plugins: Mura Meister Copies
Eye Candy 4000 Gradient Glow
Alien Skin Eye Candy 5: Nature Fire


Let's begin....


Open a new 600 x 600 blank canvas flood-filled white
Paste a Flower as new layer
Resize by 20%

LEAVE IN POSITION!

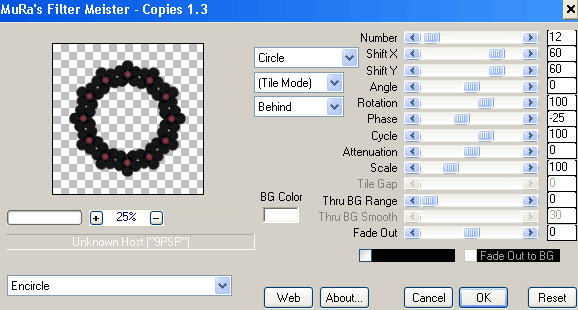
Effects > Plugins > Mura Meister > Copies with the following settings:


Paste a Moon as new layer
Resize by 99%

LEAVE IN POSITION!

Paste a Star as new layer

LEAVE IN POSITION!

Select inside the star with Magic Wand
Selections > Modify > Expand by 3
Add new raster layer
Paste paper of choice INTO selection
Deselect
Layers > Arrange > Move Down

Activate top layer

Paste SpiderWeb as new layer
Resize by 25%
Position in lower right

Paste a Spider as new layer
Resize by 20%
Position in centre of Web

Paste your Tube of choice as new layer
Resize as necessary
Position to the left
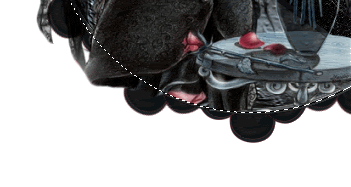
Select the outside of Star (Circle) with Magic Wand
Selections > Modify > Expand by 3
Acrivate Tube layer and carefully erase the excess to your liking


Paste Candle2 as new layer
Resize by 20%
Position to your liking

Use the nodes of your Pick Tool (Deformation Tool in some versions) to shorten and widen the candle

Paste Tree2 as new layer
Image > Mirror
Resize by 50%
Position to left, then
Layers > Arrange > Send to Bottom
Position behind tube

Paste Tree1 as new layer
Resize by 90%
Position to the right

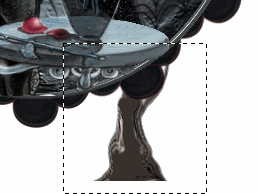
Make a selection around the Tree trunk below


Press delete and deselect

Paste paper of choice as new layer
Layers > Arrange > Send to Bottom

Layers > New Mask Layer > From Image
Apply WSL_Mask33
OK
Layers > Merge > Merge Group
Crop and resize

Select your Text Tool and font of choice
I am using Lucida Blacketter
Text colour is Black

Type out your name
Objects > Align > Horizontal Centre in Canvas
Convert to raster layer
Apply a Gradient Glow and drop shadow of choice

Finally, add your © copyright, licence and watermark, then save as a GIF or JPG and you're done!


** IF YOU WISH TO ANIMATE PLEASE FOLLOW THESE NEXT STEPS **

Activate your Candle layer
Use your Freehand Tool to draw the candle flames


Duplicate twice and rename Flame1, Flamee2 and Flame3

Activate Flame1 and hide Flame2 and Flame3

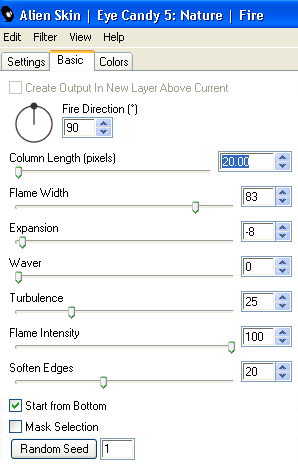
Effects > Plugins > Alien Skin Eye Candy5: Nature > Fire
Under the Settings Tab select "Small, Candle"
Then under Basic tab select the following settings:


Hide Flame1 and activate Flame2
Repeat Fire again adjusting the Random Seed

Hide Flame2 and activate Flame3
Repeat Fire once again, adjusting the Random Seed

Activate Flame1 and hide Flame2 and Flame3
Edit > Copy Merged

Open Animation Shop
Edit > Paste as New Animation

Back to PSP
Hide Flame1 and activate Flame2
Edit > Copy Merged

In Animation Shop
Edit > Paste after Current Frame

Back to PSP
Hide Flame2 and activate Flame3
Edit > Copy Merged

In Animation Shop
Edit > Paste after Current Frame

Now save as a GIF and you're done!

Thanks for trying my tutorial!

::st!na::


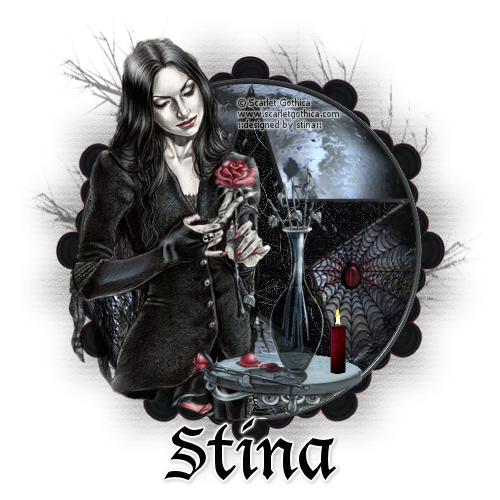
Here is a non-animated version:


© Tutorial written by Stina on 8th July 2009
All rights reserved
Wednesday, July 1, 2009

Butterfly Dreams


Supplies

Scrap kit of choice - I am using "I have a Dream" by Shellez Creations available KatelynnsDesigns and Scraps with Attitude
Tube or Image of choice - I am using the lovely artwork of Carolina Seabra which is FTU with proper credit
WSL_Mask185 by Chelle available from her blog
Font of choice - I am using Labtop Overscore
Plugins: Eye Candy 4000 Gradient Glow
Xenofex 2 Constellation


Let's begin....


Open a new 800 x 500 canvas flood-filled white
Select your Preset Shape Tool and set to Rectangle
Foreground - #000000
Background - Null
Stroke width - 3.00

Draw out a rectangle near the top of your canvas
Objects > Align > Horizontal Centre in Canvas
Convert to raster layer

Duplicate, then Image > Flip
Duplicate again and move to the centre in between the top and bottom rectangles


Hide Background, then
Layers > Merge > Merge Visible

Unhide Background

Select the inside of each of the rectangles with your Magic Wand
Selections > Modify > Expand by 2
Paste a paper of choice as new layer
Position to liking
Selections > Invert
Delete then deselect

Layers > Arrange > Move Down

Paste Frame as new layer
Resize by 40%
Position to the left

Select the inside of Frame with your Magic Wand
Selections > Modify > Expand by 10
Add a new raster layer
Paste a paper of choice INTO Selection
Layers > Arrange > Move Down

KEEP SELECTED!!

Paste a tube or image of choice as new layer
Resize as necessary and position inside Frame
Selections > Invert
Delete, then deselect

Select the outside of the Frame
Selections > Invert
Selections > Modify > Contract by 2
Selections > Modify > Feather by 2
Add a new raster layer

Effects > Plugins > Eye Candy 4000 > Gradient Glow with the following settings:
Glow width - 18.00
Setting - Diffuse

Layers > Arrange > Move Down
(Gradient Glow should now be below Frame)


Paste Ribbon01 as new layer
Resize by 40%
Layers > Arrange > Send to Bottom
Position along bottom of lower rectangle
Use your Selection Tool to make a small selection around the end
Delete then deselect


Duplicate, then Image > Flip
Layers > Merge > Merge Down

Activate top layer
Paste Pendant as new layer
Resize by 50%
Position along bottom of Frame
Duplicate
Set blend mode to Screen
Layers > Merge > Merge Down

Paste Flower02 as new layer
Resize by 18%
Position to the lower left corner of Frame

Duplicate and move BELOW Frame and image layers
Position behind Frame to liking
Duplicate and Image > Mirror several times as you wish
Position each to your liking

Paste Ribbon as new layer
Resize to around 60%
Position in upper left of Frame

Paste a couple of Butterflies as new layers
Resize by around 10%
Position to liking

Paste Doodle2 as new layer
Image > Rotate by 20 to the right
Resize by 70%
Position in lower right
Layers > Arrange > Send to Bottom
Duplicate then Image > Mirror

Add any other elements you wish

Paste Paper of choice as new layer
Layers > Arrange > Send to Bottom

Layers > New Mask Layer > From Image
Apply WSL_Mask185
OK

DO NOT MERGE!!

Select your Pick Tool (Deformation Tool in some versions)
Use the nodes to pull the Mask layer to size to your liking


Layers > Merge > Merge Group
Lower opacity to 50

Crop and resize

Select your Text Tool and font of choice
I am using Labtop Overscore
Text colour - #FFFFFF

Type out your name and position to liking
Convert to raster layer

Effects > Plugins > Eye Candy 4000 > Gradient Glow with the following settings:


Glow width set to 3.00

Finally, add your © copyright, licence and watermark, then save as a GIF or JPG and you're done!


** IF YOU WISH TO ANIMATE PLEASE FOLLOW THESE NEXT STEPS **

Activate your Mask layer
Duplicate twice
Rename Sparkle1, Sparkle and Sparkle3

Activate Sparkle1 and hide the other two

Effects > Plugins > Xenofex 2 > Constellation with the following settings:


Hide Sparkle1 and activate Sparkle2
Repeat the Constellation effect adjusting only the Random Seed

Hide Sparkle2 and activate Sparkle3
Repeat again adjusting the Random Seed once more

Now for the animation!

Hide Sparkle2 and Sparkle3 activating Sparkle1
Edit > Copy Merged

Open Animation Shop
Edit > Paste as New Animation

Back to PSP
Hide Sparkle1 and activate Sparkle2
Edit > Copy Merged

In Animation Shop
Edit > Paste AFTER Current Frame

Back to PSP
Hide Sparkle2 and activate Sparkle3
Edit > Copy Merged

In Animation Shop
Edit > Paste AFTER Current Frame

Save as a GIF and you're done!

Thanks for trying my tutorial!

::st!na::


Here is a non-animated version:


© Tutorial written by Stina on 1st July 2009
All rights reserved