
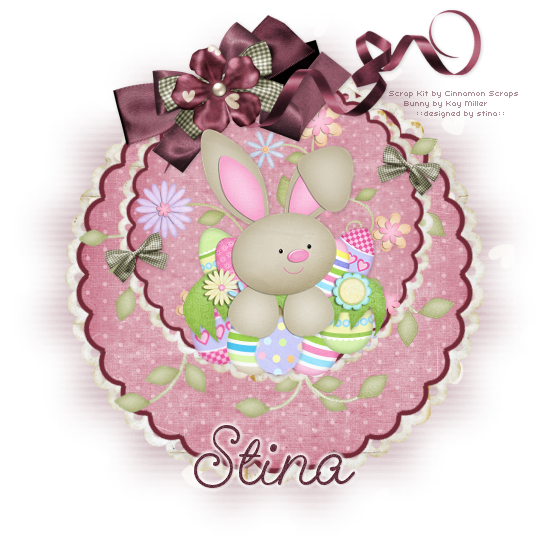
Supplies
Scrap kit of choice - I am using the gorgeous "All About Love" by Cinnamon Scraps which is available from Simply Beautiful Scraps
Tube or clip art of choice - I am using those from the scrap kit "Easter Joy" by Kay Miller available at her store
WS_Mask33 by Chelle available on her blog
Font of choice - I am using GeeohHmk Bold
Plugin: Mura Meister Copies
Plugin: Eye Candy 4000 Gradient Glow (optional)
Let's begin!
First we shall make the scallop template which is the basis of this tag
Open a new 600 x 600 blank canvas flood-filled white
Set your Preset Shape Tool to Ellipse
Foreground - null
Background - #000000
Foreground - null
Background - #000000
Draw out a small circle (depend on what size you want your scallop to be)

Actual size
Objects > Align > Centre in Canvas
Convert to raster layer
Convert to raster layer
Effects > Plugins > Mura Meister > Copies with the following settings:
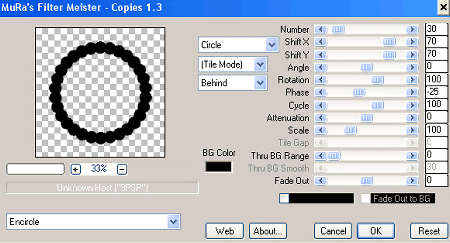
Go back to your Preset Shape Tool (same settings)
Holding your Shift key draw out a circle to fill the scalloped circle
Holding your Shift key draw out a circle to fill the scalloped circle
Objects > Align > Centre in Canvas
At this very point your image should resemble this:
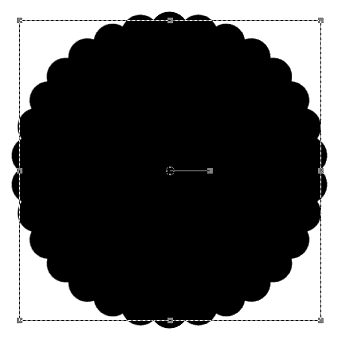
Convert to raster layer
Layers > Merge > Merge Down
Layers > Merge > Merge Down
Congratulations - You have just made a Scalloped Tag Back template!
Now let's decorate it
Now let's decorate it
Selections > Select All
Selections > Float
Selections > Defloat
Selections > Float
Selections > Defloat
Add a new raster layer
Flood fill layer with your colour of choice (one that will complement your creation)
Selections > Modify > Contract by 5
Paste your paper of choice into Selection
Deselect
Deselect
**You can delete your scalloped template now**
Paste Element39 (Frame) as a new layer
Resize by 65%
Layers > Arrange > Move Down
Then Layers > Merge > Merge Down
Resize by 65%
Layers > Arrange > Move Down
Then Layers > Merge > Merge Down
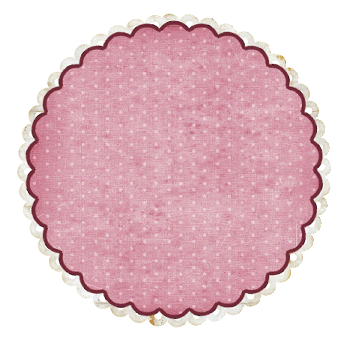
Duplicate and resize by 75%
Move up slightly so the tops both meet
Move up slightly so the tops both meet
Paste Element54 (Bow) as a new layer
Image > Rotate by 15 to the left
Resize by 30%
Position at the top slightly to the left
Image > Rotate by 15 to the left
Resize by 30%
Position at the top slightly to the left
Paste Element6 (Bow) as new layer
Resize by 50%
Position over first bow
Resize by 50%
Position over first bow
Paste Element49 (Curled Ribbon with staple) as new layer
Resize by 40%
Position over the bows so that the staple is in the centre
Resize by 40%
Position over the bows so that the staple is in the centre
Paste Element22 (flower) as new layer
Resize by 30%
Position over the centre of the bows and staple
Resize by 30%
Position over the centre of the bows and staple
So now we have this:
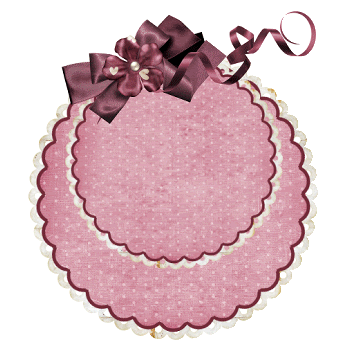
OK...time to add your tube and other embellishments you wish
I will leave those entirely up to you - after all, this is YOUR creation
I will leave those entirely up to you - after all, this is YOUR creation
Then Paste Paper15 as a new layer
Layers > Arrange > Send to Bottom
Layers > New Mask Layer > From Image
Locate WSL_Mask33
OK
Layers > Merge > Merge Group
Layers > Arrange > Send to Bottom
Layers > New Mask Layer > From Image
Locate WSL_Mask33
OK
Layers > Merge > Merge Group
Crop and resize
Now choose a colour from your tag
Select your Text Tool and font of choice
I am using GeeohHmk Bold
Select your Text Tool and font of choice
I am using GeeohHmk Bold
Set your Materials Palette to the following:
Foreground - null
Background - #63333f
Foreground - null
Background - #63333f
Type out your name
Objects > Align > Horizontal Centre in Canvas
Convert to raster layer
Apply a Gradient Glow and drop shadow of choice
Objects > Align > Horizontal Centre in Canvas
Convert to raster layer
Apply a Gradient Glow and drop shadow of choice
Finally, add your © copyright and watermark then save as a GIF or JPG and you're done!
Thanks for trying my tutorial
::st!na::
© Tutorial written by Stina on 8th April 2009
All rights reserved
