Please email me designed.by.stina@gmail.com with your creations. I'd love to see them.

Showing posts with label Laura's Designz. Show all posts

Monday, August 10, 2009

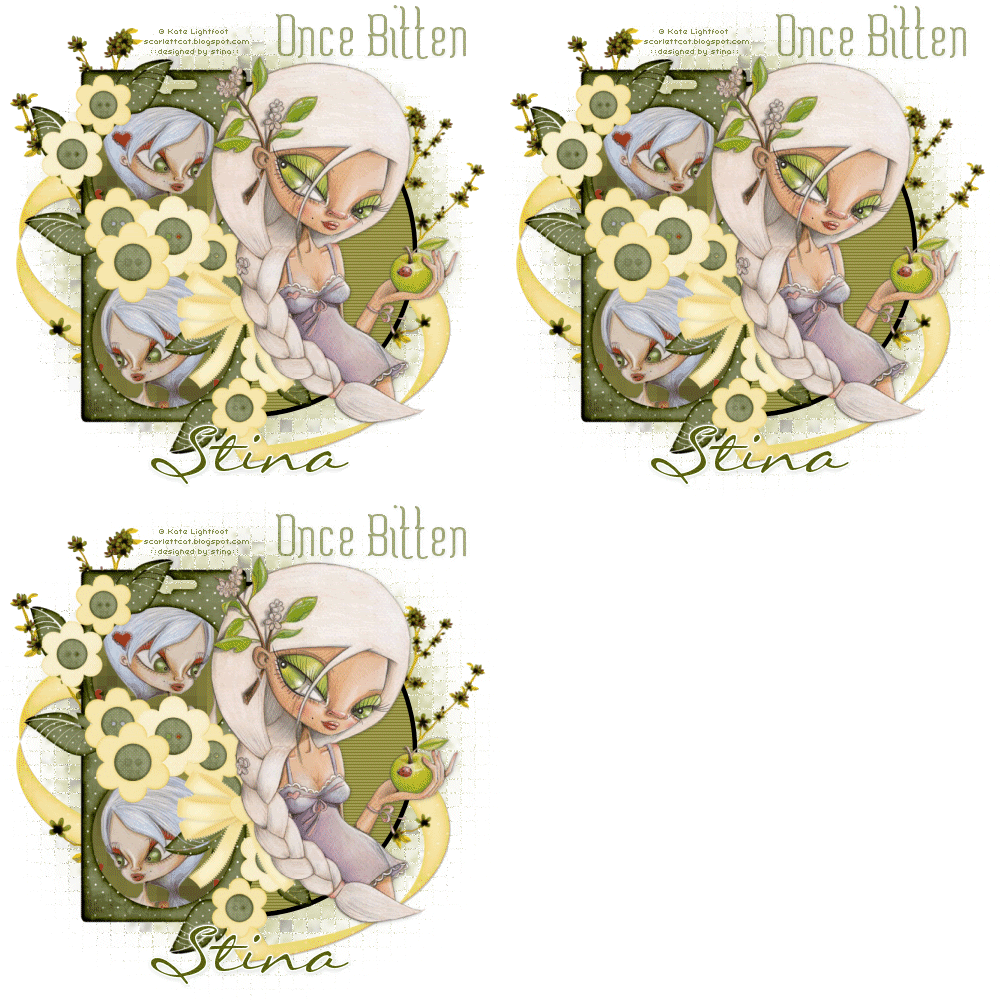
Once Bitten


Supplies

Scrap kit of choice - I am using Laura's Designz' part of "An Autumn Romance" collab available from Twilight Scraps
Tubes of choice - I am using the lovely FTU artwork of Kate Lightfoot
WSL_Mask119 by Chelle available from her blog
Fonts of choice - I am using Misfortune and LiorahBT
Plugins: Photoeffex > Scanlines
Eye Candy 4000 > Gradient Glow


Let's begin...


Open a new 500 x 500 blank canvas flood-filled white

Select your Preset Shape Tool and set to Ellipse
Foreground - #000000
Background - #969146
Width - 5.00

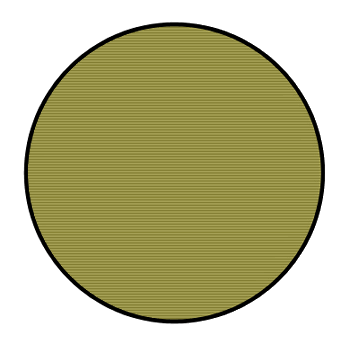
Hold your shift key and draw out a circle
Objects > Align > Centre in Canvas
Convert to raster layer

Select the inside of the circle with your Magic wand
Effects > Plugins > PhotoEffex > Scanlines with the default settings

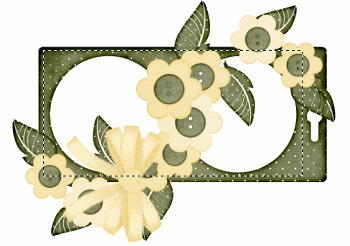
Paste D Frame as new layer
Resize by 70%
Position to the left

Use your Selection Tool to draw out a rectangle inside the Frame
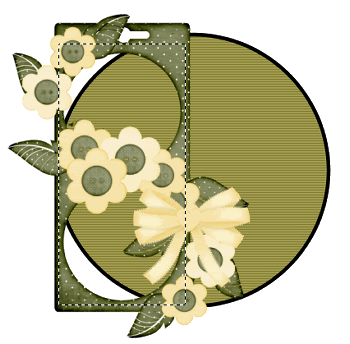

Paste Paper of choice as new layer
Layers > Arrange > Move Down
Resize as necessary and position

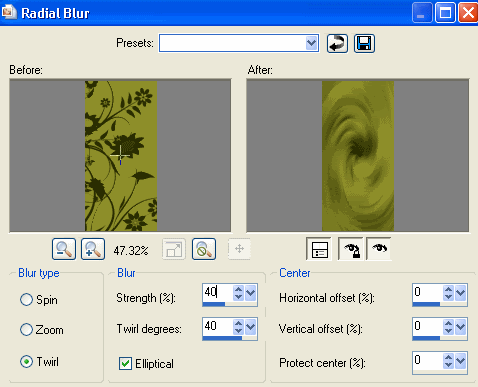
Adjust > Blur > Radial Blur with the following settings:

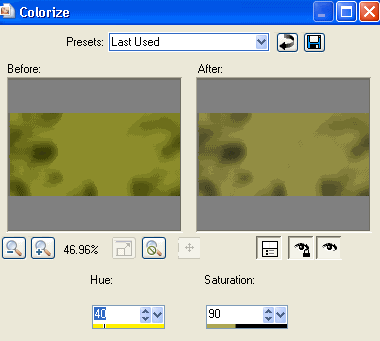
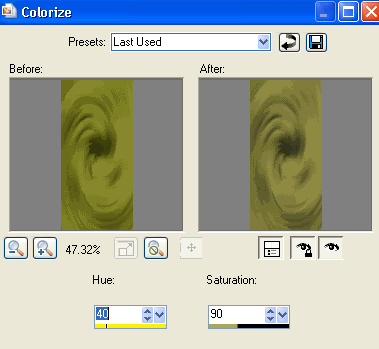
Adjust > Hue & Saturation > Colourise with the following settings:

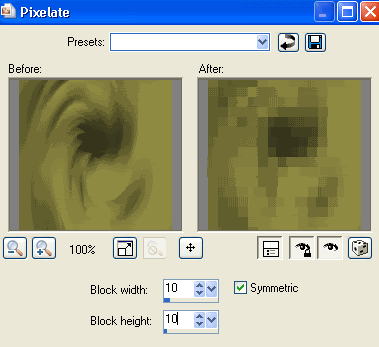
Effects > Distortion Effects > Pixelate with the following settings:

Selections > Invert
Delete, then deselect

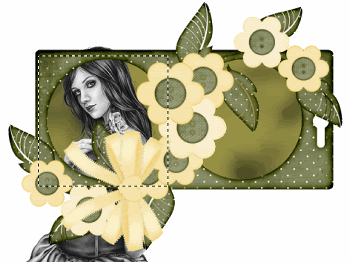
Paste a Tube of choice into one of the Frames
Resize as necessary and position
Duplicate, then Image > Mirror
Position into the other Frame

Make a selection around your top Frame
Selections > Invert
Delete then deselect
Repeat step with bottom Frame

Activate your Top layer

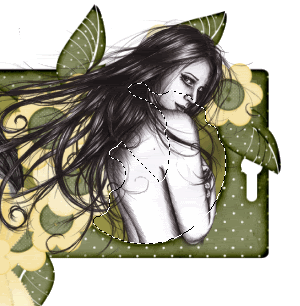
Paste your main Tube as new layer
resize as necessary
Position to the right

Paste 2Hearts as new layer
Layers > Arrange > Send to Bottom
Resize by 60%
Position toward the bottom to your liking
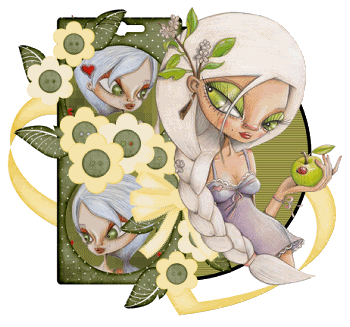

Paste Blossom1 as new layer
Resize by 75%
Position protruding from behind Frame
Duplicate, then Image > Mirror
Image > Rotate by 10 to the right
Resize by 70%
Position to the right

Paste Paper of choice as new layer
Layers > Arrange > Send to Bottom

Layers > New Mask Layer > From Image
Apply WSL_Mask119
OK
Layers > Merge > Merge Group
Lower opacity to 55

Crop and resize to liking

Select Text Tool and font of choice
I am using Misfortune
Text colour - #56630b

Type out text of choice and position to your liking
Convert to raster layer
Lower opacity to around 55

Select another font of choice
I am using LiorahBT
Type out your name
Objects > Align > Horizontal Centre in Canvas
Convert to raster layer
Apply a slight Gradient Glow and drop shadow of choice

Finally, add your © copyright, licence and watermark, then save as a GIF or JPG and you're done!


** IF YOU WISH TO ANIMATE PLEASE FOLLOW THESE NEXT STEPS **

Activate your Mask layer
Duplicate twice and rename Mosaic1, Mosaic2 and Mosaic3

Activate Mosaic1
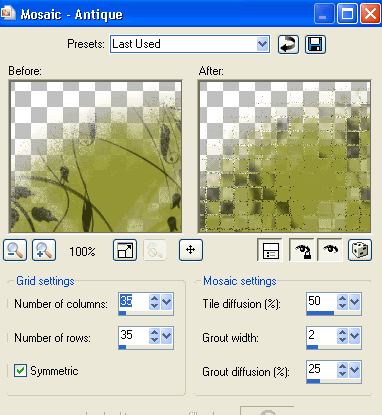
Effects > Texture Effects > Mosaic - Antique with the following settings:

Hide Mosaic1 and activate Mosaic2
Repeat Mosaic effect adjusting the Grout Diffusion to 30

Hide Mosaic2 and activate Mosaic3
Repeat Mosaic effect adjusting the Grout Diffusion to 35

Now to animate!

Activate Mosaic1 and hide Mosaic2 and Mosaic3
Edit > Copy Merged

Open Animation Shop
Edit > Paste as New Animation

Back to PSP
Hide Mosaic1 and activate Mosaic2
Edit > Copy Merged

In Animation Shop
Edit > Paste After Current Frame

Back to PSP
Hide Mosaic2 and activate Mosaic3
Edit > Copy Merged

In Animation Shop
Edit > Paste After Current Frame

Now save as a GIF and you're done!

Thanks for trying my turorial!

::st!na::


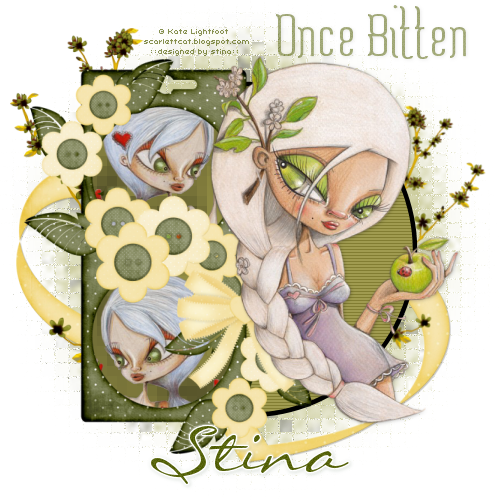
Here is a non-animated version:

© Tutorial written by Stina on 9th August, 2009
All rights reserved

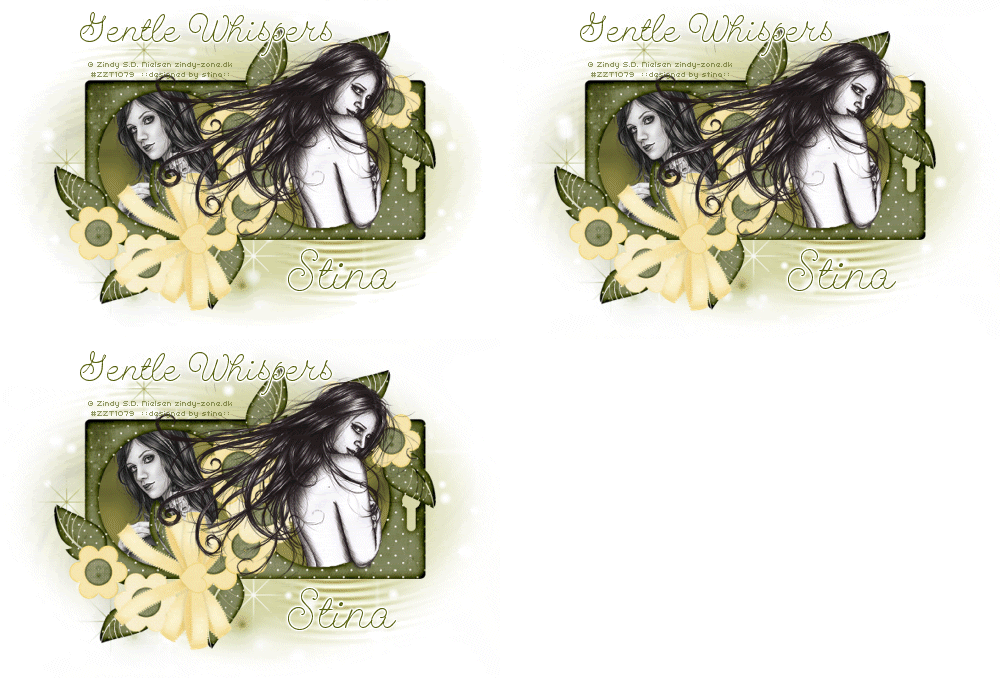
Gentle Whispers


Supplies

Scrap kit of choice - I am using Laura's Designz' part of "An Autumn Romance" collab available from Twilight Scraps
Tubes of choice - I am using the lovely artwork of Zindy Nielsen available with a licence from her store
**PLEASE DO NOT USE HER ARTWORK WITHOUT THE PROPER LICENCE**
WSL_Mask181 by Chelle available from her blog
Fonts of choice - I am using GeeohHmk
Plugins: Eye Candy 4000 > Gradient Glow
Xenofex > Constellation


Let's begin...


Open a new 600 x 400 blank canvas flood-filled white

Paste D Frame as new layer
Image > Rotate by 90 to the right
Resize by 80%

With your Selection Tool draw a rectangle around the inside of your Frame
Paste Paper of choice as new layer
Layers > Arrange > Move Down
Adjust > Blur > Gaussian Blur with a Radius of 10.00

STILL SELEECTED!!

Adjust > Hue & Saturation > Colourise with the following settings:


Selections > Invert
Delete then deselect

Paste a Tube of choice as new layer
Resize as necessary
Position in the left Frame

Make a selection around left Frame
Selections > Invert


Delete then deselect

Activate top layer

Paste another Tube of choice as new layer
Resize as necessary
Position over right Frame


Select the inside of right Frame with Magic Wand
Selections > Invert
Selections > Modify > Contract by 2
Selections > Modify > Feather by 2
With your Eraser Tool carefully erase the excess overhanging Frame


Delete then deselect

Paste Paper of choice as new layer
Layers > Arrange > Send to Bottom

Layers > New Mask Layer > From Image
Apply WSL_Mask181
OK
Layers > Merge > Merge Group
Resize by 95%

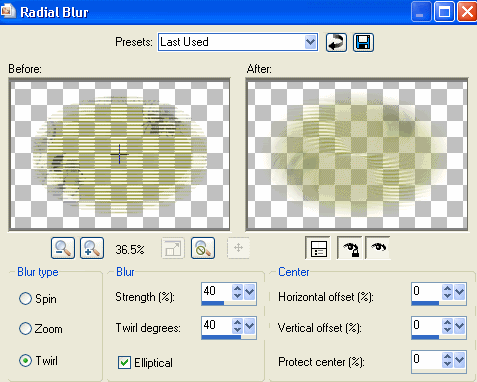
Adjust > Blur > Radial Blur with the following settings:


Paste GlitterStars as new layer
Position beneath Frame to your liking
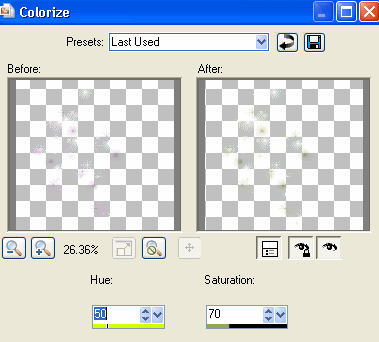
Adjust > Hue & Saturation > Colourise with the following settings:


Crop and resize to liking

Select Text Tool and font of choice
I am using GeeohHmk
Text colour - #56630b

Type out text of choice and position to your liking
Convert to raster layer
Apply a Gradient Glow of choice
Repeat same with your name

Finally, add your © copyright, licence and watermark, then save as a GIF or JPG and you're done!


** IF YOU WISH TO ANIMATE PLEASE FOLLOW THESE NEXT STEPS **

Activate your Mask layer
Duplicate twice and rename Stars1, Stars2 and Stars3

Activate Stars1
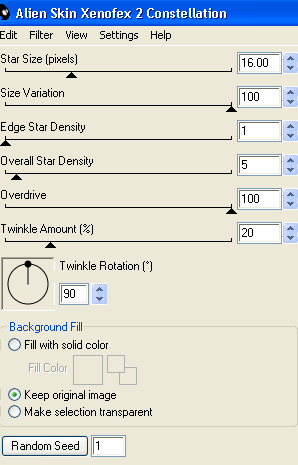
Effects > Plugins > Xenofex 2 > Constellation with the following settings:


Hide Stars1 and activate Stars2
Repeat Constellation adjusting the Random Seed

Hide Stars2 and activate Stars3
Repeat Constellation again adjusting the Random Seed once more

Now to animate!

Activate Stars1 and hide Stars2 and Stars3
Edit > Copy Merged

Open Animation Shop
Edit > Paste as New Animation

Back to PSP
Hide Stars1 and activate Stars2
Edit > Copy Merged

In Animation Shop
Edit > Paste After Current Frame

Back to PSP
Hide Stars2 and activate Stars3
Edit > Copy Merged

In Animation Shop
Edit > Paste After Current Frame

Select All and change your Frame Properties to 20
Now save as a GIF and you're done!

Thanks for trying my turorial!

::st!na::


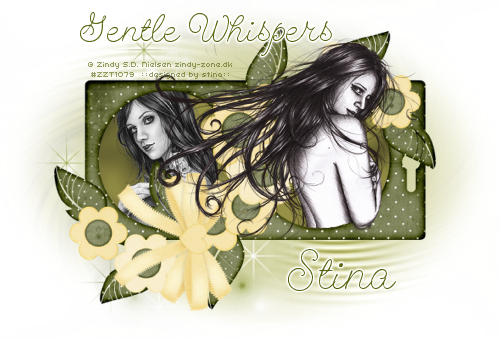
Here is a non-animated version:


© Tutorial written by Stina on 9th August, 2009
All rights reserved
Tuesday, July 7, 2009

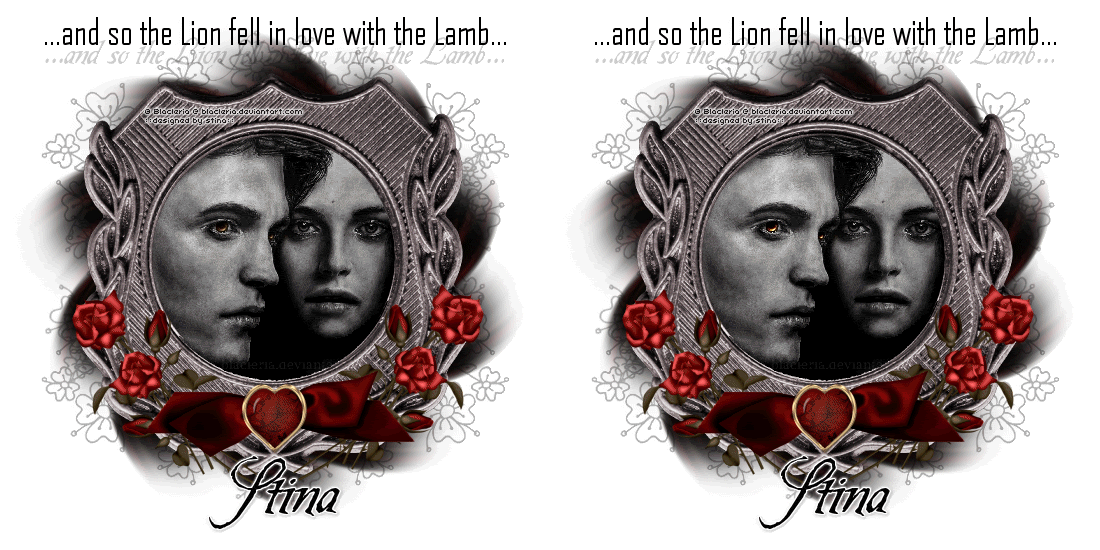
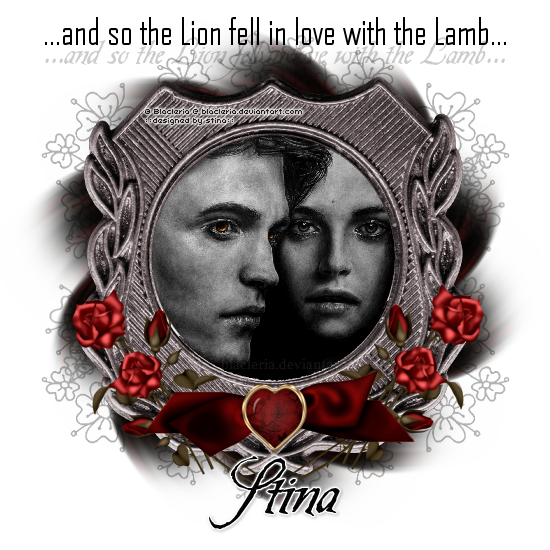
And So the Lion...


Supplies

Scrap kit of choice - I am using "In Love with Twilight" by Laura's Designs available from Stargazer Scraps
Image of choice - I am using the artwork of Blacleria from whom I gained permission to use
Fonts - I am using AgencyFB and Be Safe (Camilla)
Plugins: Simple Top Left Mirror


Let's begin...


Open a new 700 x 600 blank canvas flood-filled white

Paste a Paper Flower of choice a new layer
Resize by 80%
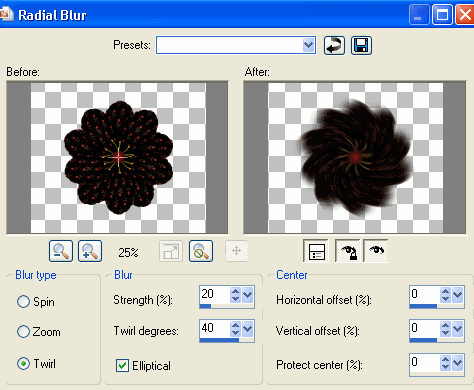
Adjust > Blur > Radial Blur with the following settings:


Paste Frame2 as new layer
Resize by 70%
Duplicate

Adjust > Hue & Saturation > Colourise
Hue - 0
Saturation - 0
Lower opacity to around 60
Layers > Merge > Merge Down

Select inside the Frame with your Magic Wand
Selections > Modify > Expand by 10
Paste an image of choice as new layer
Resize as necessary and position within Frame
Selections > Invert
Delete and deselect

Activate top layer

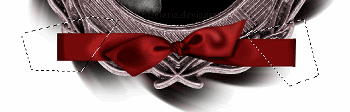
Paste a TiedKnot as new layer
Resize by 40%
Position in lower centre of Frame
Using your Freehand Tool draw two selections of choice around the ends of the Ribbon


Selections > Modify > Feather by 2
Press delete twice
Deselect
Duplicate and set blend mode to Multiply
Layers > Merge > Merge Down

Paste HeartBrad as new layer
Resize by 20%
Position in lower centre of Frame

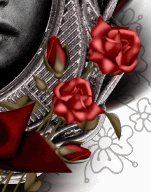
Paste Rose as new layer
Image > Rotate by 30 to the right
Resize by 40%
Position to the lower right of Frame

Paste Rose again as a new layer
Image > Mirror
Image > Rotate by 55 to the right
Resize by 35%
Position over first rose


Layers > Merge > Merge Down
Duplicate, then Image > Mirror
Position on opposite side

Paste a DoodleFlower as new layer
Image > Mirror, then resize by 50%
Postion in upper left corner
Layers > Arrange > Send to Bottom

Effects > Plugins > Simple > Top Left Mirror
Lower opacity to 30

Image > Canvas Resize 550 x 550

Apply any drop shadows of choice to your tube and elements

Select your Text Tool and font of choice
I am using Agency
Text colour of choice - I am using Black

Type out your text of choice
Objects > Align > Horizontal Centre in Canvas
Convert to raster layer
Apply any drop shadow of choice

Select another font of choice
I am using Be Safe (Edward's handwriting)
Same text colour

Type out your name
Objects > Align > Horizontal Centre in Canvas
Convert to raster layer
Apply a Gradient Glow and drop shadow of choice

Finally, add your © copyright, licence and watermark, then save as a GIF or JPG and you're done!


** IF YOU WISH TO ANIMATE PLEASE FOLLOW THESE NEXT STEPS **

Activate your Image layer

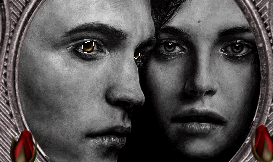
Using your Freehand Tool draw around Edward's eyes
Layers > Promote Selection to Layer


Duplicate and rename Image to Glow1 and promoted layer to Glow2

Leave Glow1 (Image) as is and activate Glow2, then
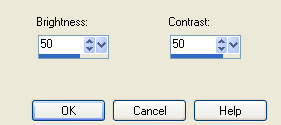
Adjust > Brightness & Contrast > Brightness/Contrast with the following settings:


Now let's animate!!!

Activate Glow1 and hide Glow2
Edit > Copy Merged

Open Animation Shop
Edit > Paste as New Animation

Back to PSP
Hide Glow1 and activate Glow2
Edit > Copy Merged

In Animation Shop
Edit > Paste AFTER Current Frame
Now Select All and set your Frame Properties to 50, then save as a GIF and you're done!

Thanks for trying my tutorial!

::st!na::


Here is a non-animated version:


© Tutorial written by Stina on 6th July 2009
All rights reserved