
Supplies
Scrap kit of choice - I am using "Full Moon" by Polka Dot Scraps available from Paradise 4 Scrappers and Stargazer Scraps
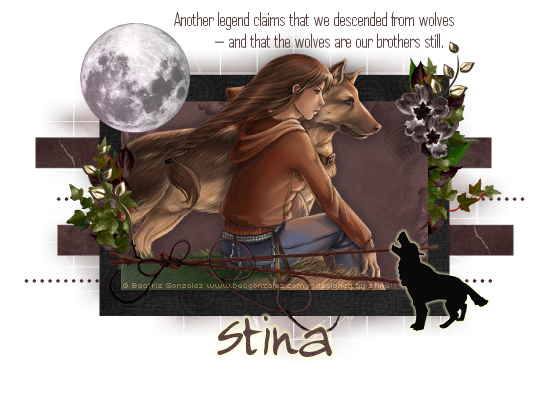
Tube of choice - I am using the artwork of Beatriz Gonzalez which is free to use as per her TOU
WSL_Mask by Chelle available from her blog
Fonts of choice - I am using AgencyFB and Almagro (Jacob Black's handwriting)
Plugins: Eye Candy 4000 Gradient Glow and Greg's Factory Output 2 Pool Shadow
Let's begin....
Open a new 700 x 500 blank canvas flood-filled white
Open a couple of papers of choice and minimise
Select your Preset Shapes Tool and set to rectangle
Activate your Background in the Materials palette and click on Patterns tab
Select one of your papers of choice
Foreground is null
Activate your Background in the Materials palette and click on Patterns tab
Select one of your papers of choice
Foreground is null
On your working canvas draw out a rectangle
Objects > Align > Centre in Canvas
Convert to raster layer
Convert to raster layer
Change your paper in your Materials Palette to another paper of choice
Keep the settings the same
Keep the settings the same
On your canvas inside the first rectangle draw out another rectangle a little smaller than the first
Objects > Align > Centre in Canvas
Convert to raster layer
Objects > Align > Centre in Canvas
Convert to raster layer

Change your Pattern to another paper of choice
Draw a thin rectangle towards the top Position slightly off centre to the left
Convert to raster layer
Convert to raster layer
Duplicate thin rectangle
Image > Flip, then Image > Mirror
Image > Flip, then Image > Mirror
Layers > Merge > Merge Down, then
Layers > Arrange > Send to Bottom
Layers > Arrange > Send to Bottom
Now still on bottom layer, select your Pen Tool
Set Line Style to Diamond and Width to 5.00
Set the Mode to Lines and PolyLines with the following:
Set Line Style to Diamond and Width to 5.00
Set the Mode to Lines and PolyLines with the following:

Draw out a line between the two thin rectangles to your liking
Apply and convert to raster layer
Duplicate
Image > Flip, then Image > Mirror
Position below botton thin rectangle
Apply and convert to raster layer
Duplicate
Image > Flip, then Image > Mirror
Position below botton thin rectangle
Layers > Merge > Merge Down
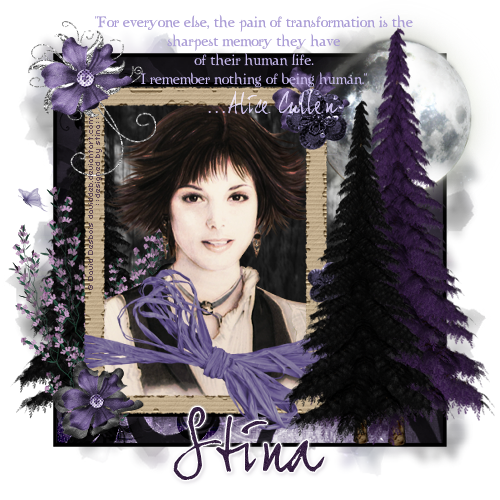
You should now have something like this:
Paste Element37 (Moon) as new layer
Resize by 28%
Position in the upper left
Resize by 28%
Position in the upper left
Paste Tube as new layer
Resize as necessary and position
Use your Selection Tool to make a selection around the lower part overhanging the bottom
Press delete then deselect
Resize as necessary and position
Use your Selection Tool to make a selection around the lower part overhanging the bottom
Press delete then deselect
Apply a drop shadow:
H & V - 1
Opacity - 40
Blur - 20.00
Colour - #000000
H & V - 1
Opacity - 40
Blur - 20.00
Colour - #000000
Paste Element17 (Tied Knot) as new layer
Resize by 70%
Position along lower section of canvas
Resize by 70%
Position along lower section of canvas
Select the area outside this element with your Magic Wand
Selections > Modify > Feather by 2
Press delete a couple of times
Deselect
Selections > Modify > Feather by 2
Press delete a couple of times
Deselect
Duplicate then set blend mode to Multiply
Lower opacity to 70
Layers > Merge > Merge Down
Lower opacity to 70
Layers > Merge > Merge Down
Paste Element13, 14 or 15 as new layer
Resize by 50%
Position over knot on Tied Knot
Resize by 50%
Position over knot on Tied Knot
Paste Element5 (Green Leaves) as new layer
Image > Mirror
Image > Rotate by 75 the left
Resize by 40%
Position to the right and move down below top rectangle layer
Image > Mirror
Image > Rotate by 75 the left
Resize by 40%
Position to the right and move down below top rectangle layer
Duplicate, then Image > Mirror
Position slightly down above Tied Knot
Position slightly down above Tied Knot
Duplicate again
Image > Rotate by 35 to the right
Adjust > Sharpness > Sharpen
Move to the right
Image > Rotate by 35 to the right
Adjust > Sharpness > Sharpen
Move to the right
Paste Element26 (Brown Leaves) as new layer
Image > Flip
Image > Rotate by 90 to the left
Resize by 50%
Position to the right
Duplicate, then Image > Mirror
Image > Flip
Image > Rotate by 90 to the left
Resize by 50%
Position to the right
Duplicate, then Image > Mirror
Paste Element32 (Green Ivy)
Resize by 40%
Position to the right
Duplicate and move to the left
Image > Rotate by 90 to the left and position
Duplicate again
Image > Mirror
Position in the upper right
Resize by 40%
Position to the right
Duplicate and move to the left
Image > Rotate by 90 to the left and position
Duplicate again
Image > Mirror
Position in the upper right
Merge each of the greenery on the left into one layer, then
Move UP above your Tube
Move UP above your Tube
Paste Element38 (Flower) as new layer
Resize by 25%
Duplicate and set blend mode to Multiply
Resize by 25%
Duplicate and set blend mode to Multiply
Layers > Merge > Merge Down
Duplicate, then Image > Mirror
Resize by 80%
Position flowers in upper right
Duplicate, then Image > Mirror
Resize by 80%
Position flowers in upper right
Paste Element31 (Wolf Silhouette) as new layer
Image > Mirror and resize by 30%
Duplicate and set blend mode to Multiply
Layers > Merge > Merge Down
Position in lower right
Image > Mirror and resize by 30%
Duplicate and set blend mode to Multiply
Layers > Merge > Merge Down
Position in lower right
Effects > Plugins > Eye Candy 4000 > Gradient Glow with the following settings:
Paste any other elements to your liking
Paste Paper of choice as new layer
Layers > Arrange > Send to Bottom
Layers > Arrange > Send to Bottom
Layers > New Mask Layer > From Image
Apply WSL_Mask84
OK
Layers > Merge > Merge Group
Lower opacity to 50
Apply WSL_Mask84
OK
Layers > Merge > Merge Group
Lower opacity to 50
Crop and resize
Select your Text Tool and font of choice
I am using AgencyFB
Text colour to match your tag
I am using #5b4343
I am using AgencyFB
Text colour to match your tag
I am using #5b4343
Type out your text or quote and position to your liking
Convert to raster layer
Apply a slight drop shadow of choice
Convert to raster layer
Apply a slight drop shadow of choice
Select another font of choice
I am using Almagro (Jacob Black's handwriting)
Same Text colour
I am using Almagro (Jacob Black's handwriting)
Same Text colour
Type out your name
Objects > Align > Horizontal Centre in Canvas
Convert to raster layer
Apply the same Gradient Glow as used on the Wolf Silhouette
Objects > Align > Horizontal Centre in Canvas
Convert to raster layer
Apply the same Gradient Glow as used on the Wolf Silhouette
** IF YOU WISH TO ANIMATE PLEASE FOLLOW THESE NEXT STEPS **
Activate your Small Rectangle layer
Selections > Select All
Selections > Float, then Defloat
Add three new raster layers and name them
Cloud1, Cloud2 and Cloud3
Activate Cloud1 and hide the other two
Effects > Plugins > Mura Meister > Cloud with the following settings:
Hide Cloud1 and activate Cloud2
Repeat the Cloud effect clicking the box above Blend Mode once
Repeat the Cloud effect clicking the box above Blend Mode once
Hide Cloud2 and activate Cloud3
Repeat the Cloud effect clicking the box above Blend Mode once more
Repeat the Cloud effect clicking the box above Blend Mode once more
Now for the animation!
Hide Cloud2 and Cloud3 activating Cloud1
Edit > Copy Merged
Edit > Copy Merged
Open Animation Shop
Edit > Paste as New Animation
Edit > Paste as New Animation
Back to PSP
Hide Cloud1 and activate Cloud2
Edit > Copy Merged
Hide Cloud1 and activate Cloud2
Edit > Copy Merged
In Animation Shop
Edit > Paste AFTER Current Frame
Edit > Paste AFTER Current Frame
Back to PSP
Hide Cloud2 and activate Cloud3
Edit > Copy Merged
Hide Cloud2 and activate Cloud3
Edit > Copy Merged
In Animation Shop
Edit > Paste AFTER Current Frame
Edit > Paste AFTER Current Frame
Select All, and adjust Frame Properties to 20
Save as a GIF and you're done!
Save as a GIF and you're done!
Thanks for trying my tutorial!
::st!na::
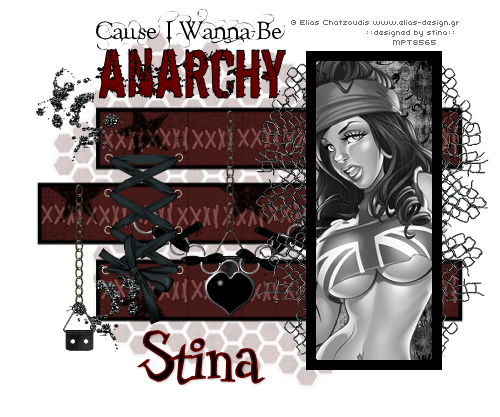
Here is a non-animated version:
© Tutorial written by Stina on 28th June 2009
All rights reserved
All rights reserved


