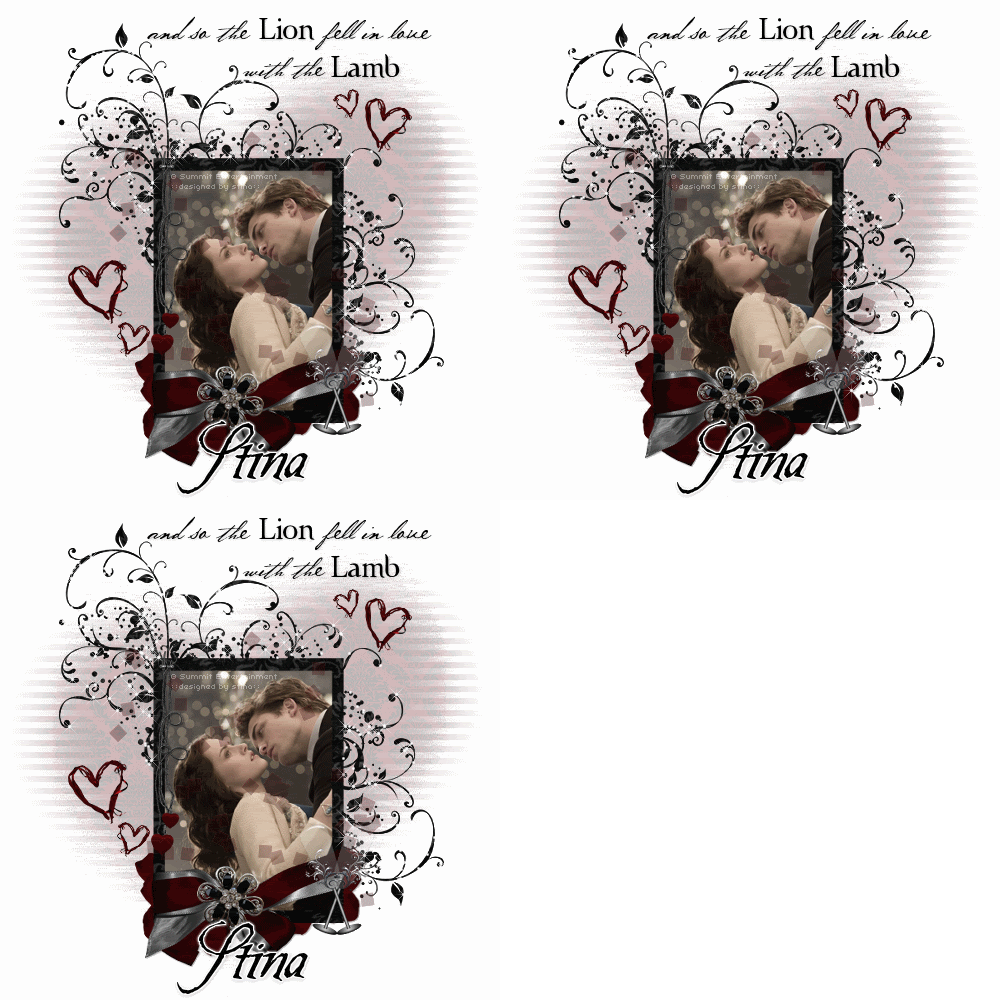
Supplies
Scrap kit of choice - I am using "Chosen" by Lynn Earwicker available from The Scrapping Divaz Designz
Image of choice - I am using a still from the movie Twilight
WSL_Mask10 by Chelle available from her blog
Font of choice - I am using Be Safe (Edward's handwriting)
WordArt by Me, here
Plugin: Xenofex 2 Constellation
Ready? Let's begin...
Open a new 600 x 600 blank canvas flood-filled white
Paste DoodleFrame as new layer
Resize by 60%
Resize by 60%
Select the inside of the Frame with your Magic Wand
Selections > Modify > Expand by 10
Selections > Modify > Expand by 10
Paste your Image of choice as new layer
Resize as necessary
Position to your liking
Selections > Invert
Delete any remaining excess, then deselect
Resize as necessary
Position to your liking
Selections > Invert
Delete any remaining excess, then deselect
Duplicate layer
On original image go to:
Adjust > Hue & Saturation > Colourise and set the Hue and Saturation both to 0
Adjust > Hue & Saturation > Colourise and set the Hue and Saturation both to 0
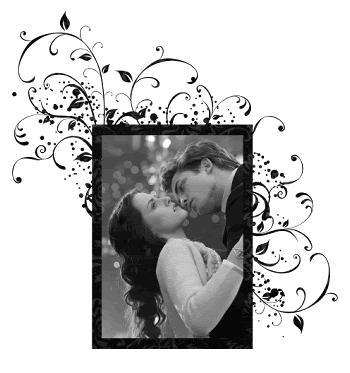
On the top image layer lower opacity to around 60
Paste DoubleBow as new layer
Resize by 33%
Position along the bottom of Frame
Resize by 33%
Position along the bottom of Frame
Paste Pin as new layer
Resize by 10%
Position over centre of Bow
Resize by 10%
Position over centre of Bow
Paste EntwinedHeartRibbon as new layer
Image > Rotate by 20 to the left
Resize by 10%
Position to the left
Image > Rotate by 20 to the left
Resize by 10%
Position to the left
Duplicate, then Image > Mirror
Resize by 55%
Position slightly below first HeartRibbon
Resize by 55%
Position slightly below first HeartRibbon
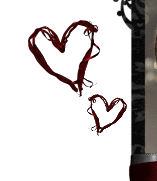
Paste HeartRibbon again
Image > Rotate by 10 to the right
Resize by 8%
Position in the upper right
Image > Rotate by 10 to the right
Resize by 8%
Position in the upper right
Duplicate, then Image > Mirror
Resize by 55%
Position alongside previous HeartRibbon
Resize by 55%
Position alongside previous HeartRibbon
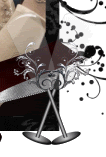
Paste ChampagneFlute as new layer
Image > Rotate by 20 to the right
Resize by 20%
Duplicate, then Image > Mirror
Image > Rotate by 20 to the right
Resize by 20%
Duplicate, then Image > Mirror
Position interlocked together
Layers > Merge > Merge Down
Position in the lower right of Frame
Position in the lower right of Frame
Paste HeartDangler as new layer
Resize by 35%
Position to the upper left of Frame
Resize by 35%
Position to the upper left of Frame
Paste Glitter as new layer
Position over Image and Frame
Lower opacity to around 30
Position over Image and Frame
Lower opacity to around 30
Paste GlitterRose as new layer
Image > Mirror
Resize by 20%
Position in lower left, then
Layers > Arrange > Send to Bottom
Position slightly protruding from below and behind Frame and Ribbon
Image > Mirror
Resize by 20%
Position in lower left, then
Layers > Arrange > Send to Bottom
Position slightly protruding from below and behind Frame and Ribbon
Duplicate, then Image > Mirror
Resize by 85%
Position opposite end behind Frame
Resize by 85%
Position opposite end behind Frame
Paste Paper of choice as new layer
Layers > Arrange > Send to Bottom
Layers > Arrange > Send to Bottom
Layers > New Mask Layer > From Image
Apply WSL_Mask10
OK
Layers > Merge > Merge Group
Lower opacity to 40
Apply WSL_Mask10
OK
Layers > Merge > Merge Group
Lower opacity to 40
Crop and resize
Select your Text Tool and font of choice
Text colour is black
OR
Paste my WordArt (supplied) and resize to liking
Text colour is black
OR
Paste my WordArt (supplied) and resize to liking
Select another font of choice
I am using Be Safe
Text colour #000000
I am using Be Safe
Text colour #000000
Type out your name
Objects > Align > Horizontal Centre in Canvas
Convert to raster layer
Add some Noise
Apply a Gradient Glow with a THIN WHITE setting
Add a drop shadow of choice
Objects > Align > Horizontal Centre in Canvas
Convert to raster layer
Add some Noise
Apply a Gradient Glow with a THIN WHITE setting
Add a drop shadow of choice
Finally, add your © copyright, licence and watermark, then save as GIF or JPG and you're done!
** IF YOU WISH TO ANIMATE PLEASE FOLLOW THESE NEXT STEPS **
Activate your Frame layer
Use your Selection Tool to draw a rectangle around the OUTSIDE of the Frame
Use your Selection Tool to draw a rectangle around the OUTSIDE of the Frame
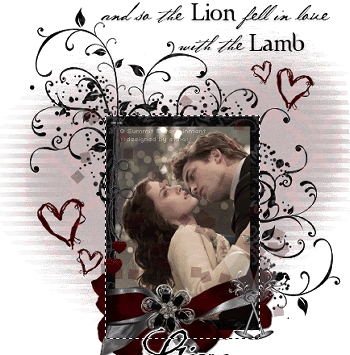
Selections > Invert, then
Selections > Promote Selection to Layer
Deselect
Selections > Promote Selection to Layer
Deselect
Duplicate twice and rename Sparkle1, Sparkle2 and Sparkle3
Activate Sparkle1 and hide Sparkle2 and Sparkle3
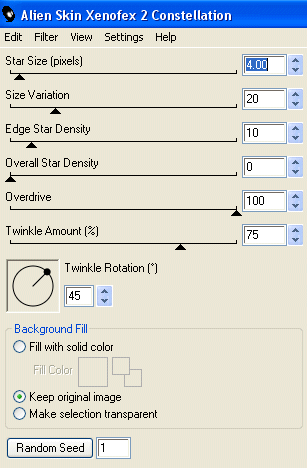
Effects > Plugins > Xenofex 2 > Constellation with the following settings:
Hide Sparkle1 and activate Sparkle2
Repeat Constellation again adjusting the Random Seed
Repeat Constellation again adjusting the Random Seed
Hide Sparkle2 and activate Sparkle3
Repeat Constellation once again, adjusting the Random Seed
Repeat Constellation once again, adjusting the Random Seed
Activate Sparkle1 and hide Sparkle2 and Sparkle3
Edit > Copy Merged
Edit > Copy Merged
Open Animation Shop
Edit > Paste as New Animation
Edit > Paste as New Animation
Back to PSP
Hide Sparkle1 and activate Sparkle2
Edit > Copy Merged
Hide Sparkle1 and activate Sparkle2
Edit > Copy Merged
In Animation Shop
Edit > Paste after Current Frame
Edit > Paste after Current Frame
Back to PSP
Hide Sparkle2 and activate Sparkle3
Edit > Copy Merged
Hide Sparkle2 and activate Sparkle3
Edit > Copy Merged
In Animation Shop
Edit > Paste after Current Frame
Edit > Paste after Current Frame
Now save as a GIF and you're done!
Thanks for trying my tutorial!
::st!na::
Here is a non-animated version:
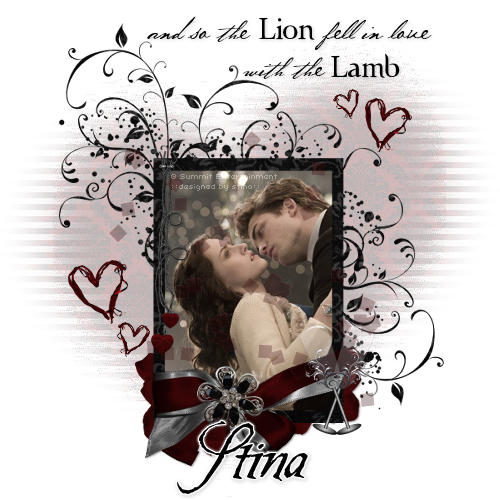
© Tutorial written by Stina on 15th June 2009
All rights reserved
All rights reserved

No comments:
Post a Comment