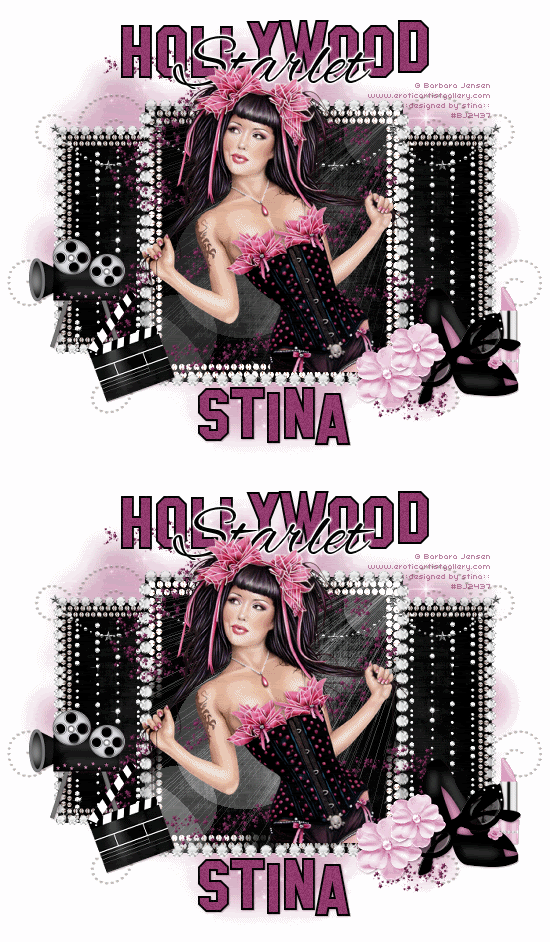
Supplies
Scrap kit of choice - I am using "Hollywood/Glamour Starlet" by Kristi Westling avialable from The Scrapping Divaz Designz and Sunshine Studio Scraps
Tube of choice - I am using the lovely artwork of Barbara Jensen's depiction of Masuimi Max available from her store
**PLEASE DO NOT USE HER ARTWORK WITHOUT THE APPROPRIATE LICENCE**
WSL_Mask230 by Chelle available from her blog
Fonts of choice - I am using Hollywood Hills and Alex Brush
Plugins: Greg's Factory Output 2 Pool Shadow and Eye Candy 4000 Gradient Glow (for text)
Ready? Let's begin....
Open a new 700 x 600 blank canvas flood-filled white
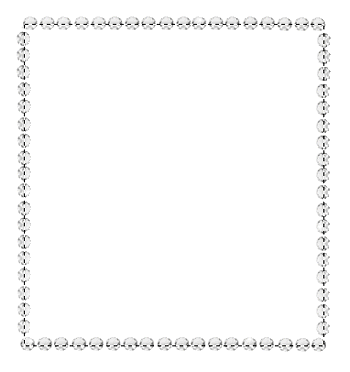
Paste Frame2 as new layer
Resize by 60%
Resize by 60%
With your Selection Tool draw out a rectangle from the top left corner to the bottom right corner
(Place the cursor to the centre of "round diamonds" making sure to keep it through the centre of each down the left, right, top and bottom as you draw out your rectangle)
(Place the cursor to the centre of "round diamonds" making sure to keep it through the centre of each down the left, right, top and bottom as you draw out your rectangle)
Add a new rater layer
Paste paper of choice INTO selection
Deselect
Paste paper of choice INTO selection
Deselect
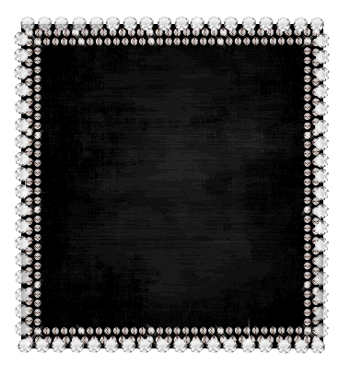
Duplicate Paper layer, then resize by 80%
LEAVE IN POSITION!! DO NOT MOVE!
Duplicate Frame layer, then resize by 80% also
Layers > Merge > Merge Down
Layers > Merge > Merge Down
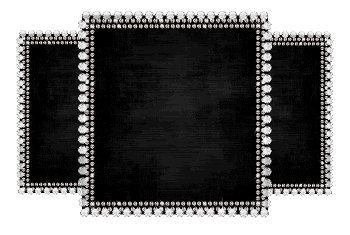
Position to the left to protrude from the side of Main Frame
Layers > Arrange > Send to Bottom
Layers > Arrange > Send to Bottom
Duplicate, then Image > Mirror
Layers > Merge > Merge Down
Layers > Merge > Merge Down
Paste Bling as new layer
Resize by 50%
Position to the left within bottom left Frame
Duplicate, then Image > Mirror
Layers > Merge > Merge Down
Resize by 50%
Position to the left within bottom left Frame
Duplicate, then Image > Mirror
Layers > Merge > Merge Down
Paste StarGem as new layer
Resize by 50%
Position to the left with the garland swagging twice in the Main Frame and once in the left
Resize by 50%
Position to the left with the garland swagging twice in the Main Frame and once in the left
Make a selection around the one to the left
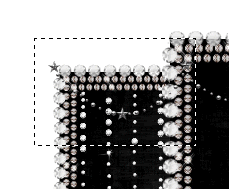
Layers > Promote Selection to Layer
Deselect, then Image > Mirror
Layers > Merge > Merge Down
Deselect, then Image > Mirror
Layers > Merge > Merge Down
Paste GlitterTrail as new layer
Position to liking or leave as is (as I did)
Position to liking or leave as is (as I did)
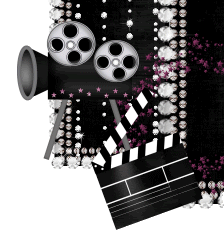
Paste MovieCamera as new layer
Resize by 20%
Position to the left
Resize by 20%
Position to the left
Paste Clapboard as new layer
Image > Rotate by 20 to the left
Resize by 15%
Position to the left in front of the camera and slightly down
Image > Rotate by 20 to the left
Resize by 15%
Position to the left in front of the camera and slightly down
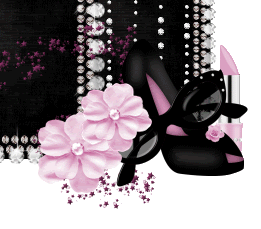
Paste Shoe as new layer
Resize by 30%
Position to the lower right
Resize by 30%
Position to the lower right
Paste Flower as new layer
Resize by 20%
Position to the lower right slightly to the left of the show
Duplicate, the resize by 85%
Resize by 20%
Position to the lower right slightly to the left of the show
Duplicate, the resize by 85%
Paste Lipstick as new layer
Resize by 20%
Position to the lower right BEHIND the toe of the Shoe
Resize by 20%
Position to the lower right BEHIND the toe of the Shoe
Paste your Tube of choice as new layer
Resize as necessary
Position within main Frame to your liking and move down the layers BEHIND the flowers
Resize as necessary
Position within main Frame to your liking and move down the layers BEHIND the flowers
Use your Selection Tool to draw out a rectangle around the bottom of your tube overhanging the Frame
Delete then deselect
Delete then deselect
Paste Doodle1 as new layer
Resize by 90%
Layers > Arrange > Send to Bottom
Position to the far right to your liking
Duplicate, then Image > Mirror
Layers > Merge > Merge Down
Lower opacity to around 40
Resize by 90%
Layers > Arrange > Send to Bottom
Position to the far right to your liking
Duplicate, then Image > Mirror
Layers > Merge > Merge Down
Lower opacity to around 40
Paste Paper of choice as new layer
Layers > Arrange > Send to Bottom
Layers > Arrange > Send to Bottom
Layers > New Mask Layer > From Image
Apply WSL_Mask230
OK
Layers > Merge > Merge Group
Lower opacity to 45
Apply WSL_Mask230
OK
Layers > Merge > Merge Group
Lower opacity to 45
Crop and resize tag
Select your Text Tool and font of choice
I am using Hollywood Hills
Foreground - #000000
Background - (colour to match tag - I'm using #913a6d)
Stroke width - 2.0
I am using Hollywood Hills
Foreground - #000000
Background - (colour to match tag - I'm using #913a6d)
Stroke width - 2.0
Type out your Text
Objects > Align > Horizontal Centre in Canvas
Convert to raster layer
Add some noise and a drop shadow of choice
Objects > Align > Horizontal Centre in Canvas
Convert to raster layer
Add some noise and a drop shadow of choice
Select a script font of choice
I am using Alex Brush
Text colour - #000000
I am using Alex Brush
Text colour - #000000
Type out text
Objects > Align > Horizontal Centre in Canvas
Convert to raster layer
Apply a small Gradient Glow using Eye Candy 4000
Objects > Align > Horizontal Centre in Canvas
Convert to raster layer
Apply a small Gradient Glow using Eye Candy 4000
Select another font of choice or use one of the same
I used Hollywood Hills again with the same settings as above
I used Hollywood Hills again with the same settings as above
Type out your name
Objects > Align > Horizontal Centre in Canvas
Convert to raster layer
Add some noise and a drop shadow of choice
Objects > Align > Horizontal Centre in Canvas
Convert to raster layer
Add some noise and a drop shadow of choice
Finally, add your © copyright, licence and watermark, then save as GIF or JPG and you're done!
** IF YOU WISH TO ANIMATE PLEASE FOLLOW THESE NEXT STEPS **
Activate your Frame background layer
Duplicate once and rename Light1 and Light2
Duplicate once and rename Light1 and Light2
Hide Light2 and activate Light1
Effects > Plugins > Greg's Factory Output 2 > Pool Shadow with the default settings
Hide Light1 and activate Light2
Apply Pool Shadow again, but with the following settings:
Apply Pool Shadow again, but with the following settings:

Hide Light2 and activate Light1 again
Effects > Illumination Effects > Sunburst with the following settings:
Effects > Illumination Effects > Sunburst with the following settings:
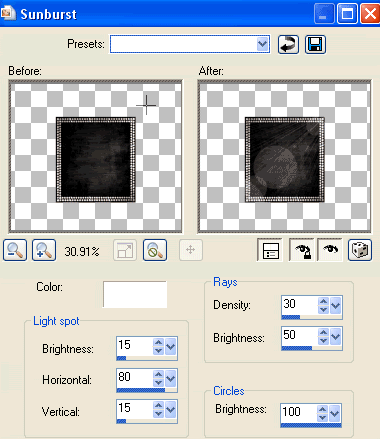
Hide Light1 and activate Light2
Apply Sunburst effect again with the same settings, then repeat
Apply Sunburst effect again with the same settings, then repeat
Now for the animation!
Activate Light1 and hide Light2
Edit > Copy Merged
Edit > Copy Merged
Open Animation Shop
Edit > Paste as New Animation
Edit > Paste as New Animation
Back to PSP
Hide Light1 and activate Light2
Edit > Copy Merged
Hide Light1 and activate Light2
Edit > Copy Merged
In Animation Shop
Edit > Paste AFTER Current Frame
Edit > Paste AFTER Current Frame
Save as a GIF and you're done!
Thanks for trying my tutorial!
::st!na::
Here is a non-animated version:
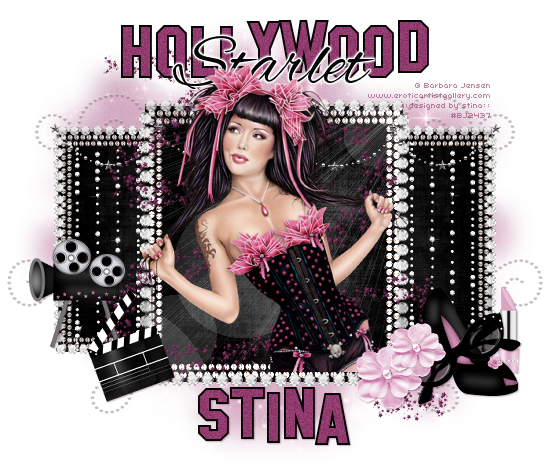
© Tutorial written by Stina on 7th June 2009
All rights reserved

No comments:
Post a Comment