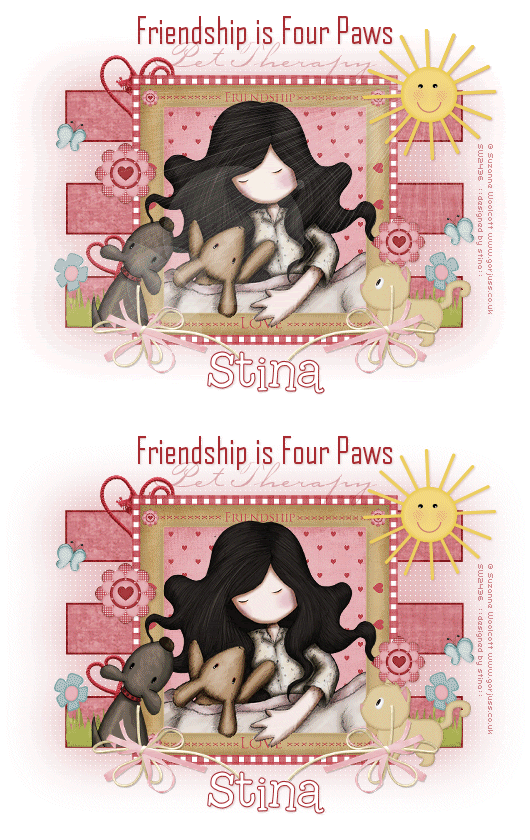
Supplies
Scrap kit of choice - I am using the very cute "You and Me" by Kristi Westling available from The Scrappin Divaz Designz and Sunshine Studio Scraps
Tube of choice - I am using the delightful artwork of Suzanne Woolcott which is available with a licence from her store
**PLEASE DO NOT USE THIS ARTWORK WITHOUT THE APPROPRIATE LICENCE**
Fonts of choice - I am using AgencyFB, Carptenter Script and 2Peas Typo
Plugin: Penta.com Color Dot
Ready? Let's begin....
Open a new 700 x 500 blank canvas flood-filled white
Open two Papers of choice and minimise
Select your Preset Shape Tool and set to Rectangle
Set your Foreground to darker Paper and your Background to lighter Paper
Set your Foreground to darker Paper and your Background to lighter Paper
Stroke Width - 5.00
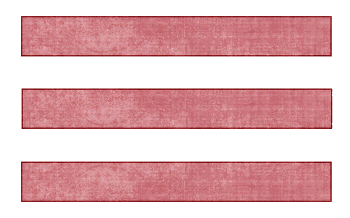
Draw out a long slender rectangle
Objects > Align > Centre of Canvas
Convert to raster layer
Objects > Align > Centre of Canvas
Convert to raster layer
Duplicate and move slightly up
Duplicate again, then Image > Mirror
Duplicate again, then Image > Mirror
Hide Background then, Layers > Merge > Merge Visible
Paste Frame1 as new layer
Resize by 45%
Resize by 45%
Select inside of Frame with Magic Wand
Selections > Modify > Expand by 10
Add a new raster layer
Paste Paper of choice INTO selection
Layers > Arrange > Move Down
Deselect
Selections > Modify > Expand by 10
Add a new raster layer
Paste Paper of choice INTO selection
Layers > Arrange > Move Down
Deselect
Paste Tube of choice as new layer
Resize as necessary and position
Duplicate and move to top layer
Resize as necessary and position
Duplicate and move to top layer
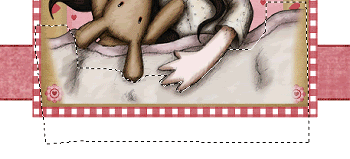
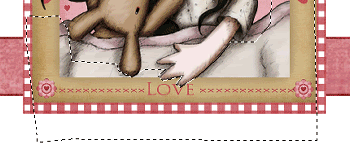
With your Freehand Tool make a selection around the bottom of tube with some part overhanging Frame
Paste some Grass as new layer
Resize by 10%
Position to the right inside the bottom rectangle
Duplicate, then move across to the left
Resize by 10%
Position to the right inside the bottom rectangle
Duplicate, then move across to the left
Layers > Merge > Merge Down, then
Move layer to below the Paper background of Frame
Move layer to below the Paper background of Frame
Paste String1 as new layer
Resize by 12%
Position to the left
Then move layer down to below Paper background of Frame
Resize by 12%
Position to the left
Then move layer down to below Paper background of Frame
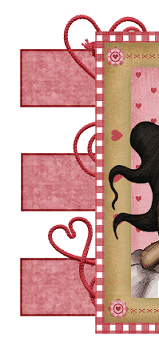
Paste Ribbon as new layer
Layers > Arrange > Bring to Top
Resize by 15%
Position to the lower left
Duplicate, then Image > Mirror
Layers > Arrange > Bring to Top
Resize by 15%
Position to the lower left
Duplicate, then Image > Mirror
Paste some flowers as new layer
Resize by various sizes
Position to the right
Duplicate, then Image > Mirror
Resize by various sizes
Position to the right
Duplicate, then Image > Mirror
Paste Cat as new layer
Resize by 12%
Position in lower right BELOW the String Layer
Resize by 12%
Position in lower right BELOW the String Layer
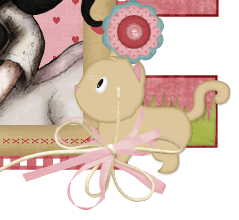
Paste a dog if you have one
Resize as necessary and position on opposite side
Resize as necessary and position on opposite side
Paste Butterfly as new layer
Resize by 7%
Position to your liking
Duplicate, then Image > Mirror
Resize by 7%
Position to your liking
Duplicate, then Image > Mirror
Paste Sun as new layer
Resize by 10%
Position in upper right
Resize by 10%
Position in upper right
Resize tag to 500 wide, then
Image > Canvas Resize 530 x 420 centred
Image > Canvas Resize 530 x 420 centred
Activate the Rectangles we drew out in the beginning
Duplicate
On the bottom later go to:
Adjust > Blur > Gaussian Blur with a Radius of 30.00
Duplicate
On the bottom later go to:
Adjust > Blur > Gaussian Blur with a Radius of 30.00
Effects > Plugins > Penta.com > Color Dot with the following settings:

Select your Text Tool and font of choice
I am using AgencyFB
Choose a colour from your tag
I am using AgencyFB
Choose a colour from your tag
Type out your text of choice
Objects > Align > Horizontal Centre in Canvas
Convert to raster layer
Apply a drop shadow of choice
Objects > Align > Horizontal Centre in Canvas
Convert to raster layer
Apply a drop shadow of choice
I then chose a Script font and added some shadowed text below, lowering the opacity to 35
Select another font for your name
I am using 2Peas Typo
Foreground - #a72c32
Background - #FFFFFF
I am using 2Peas Typo
Foreground - #a72c32
Background - #FFFFFF
Stroke width - 1.00
Type out your name
Objects > Align > Horizontal Centre in Canvas
Convert to raster layer
Apply a drop shadow of choice
Objects > Align > Horizontal Centre in Canvas
Convert to raster layer
Apply a drop shadow of choice
Finally, add your © copyright, licence and watermark, then save as GIF or JPG and you're done!
** IF YOU WISH TO ANIMATE PLEASE FOLLOW THESE NEXT STEPS **
Firstly, hide your Sun layer, then
Ensure all layers you need are visible
Edit > Copy Merged
Paste as New Image
Paste as New Image
Now activate your Sun on original canvas
Copy and paste it as new layer on new canvas
Position in upper right once again
Duplicate, then hide Dulicate layer
Copy and paste it as new layer on new canvas
Position in upper right once again
Duplicate, then hide Dulicate layer
Layers > Merge > Merge Visible
Duplicate main layer so that you now have two layers
Rename them Sunburst1 and Sunburst2
Unhide Sun and keep it as TOP LAYER
Rename them Sunburst1 and Sunburst2
Unhide Sun and keep it as TOP LAYER
Hide Sunburst2 and activate bottom layer (Sunburst1)
Effects > Illumination Effects > Sunburst with the following settings:
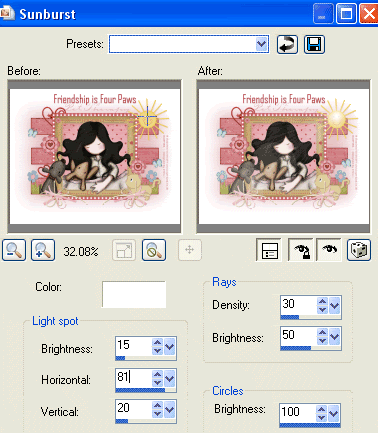
Now for the animation part!
Keep Sunburst2 hidden with only Sunburst1 and Sun visible
Edit > Copy Merged
Open Animation Shop
Edit > Paste as New Animation
Back to PSP
Activate Sunburst2
Edit > Copy Merged
In Animation Shop
Edit > Paste AFTER Current Frame
Now got to Frame Properties and change to 100, then save as a GIF and you're done!
Thanks for trying my tutorial!
::st!na::
© Tutorial written by Stina on 3rd June 2009
All rights reserved
All rights reserved

No comments:
Post a Comment