Supplies
Scrap kit of choice - I am using the lovely "Love Our Pets" kit by SwheatCreations
which can be purchased from Paradise4Scrappers
Thank you Norma for this gorgeous and adorable kit! I loved using it!
Tube of choice - I am using the lovely artwork of Jamie Kidd which can be purchased from CILM
**PLEASE DO NOT USE ARTWORK WITHOUT APPROPRIATE LICENCE**
WSL_Mask133 by Chelle which can be found on her blog
Font GeeohHmk Bold which can be downloaded here
Eye Candy 4000 Gradient Glow
~ Step 1 ~
Open WSL_Mask133 and GeeohHmk font and minimise for later
Open new image 550 x 550 with a white background
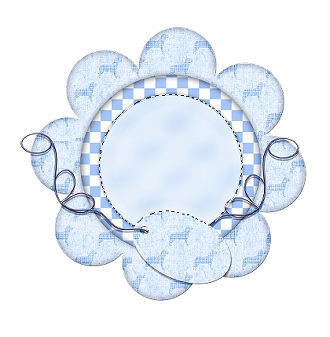
Paste FlowerFrame3 as new layer and resize by 70%
Paste PetBkg5 as new layer and resize by 50%
Activate frame layer and click inside the circle with your magic wand
Selections / Modify / Expand by 5
Selections / Invert
Delete
KEEP SELECTED
Selections / Invert
Adjust / Blur / Gaussian Blur
Radius: 10.00
Deselect
Paste tube as new layer and resize as necessary
Position to your liking then with on the frame layer once again click your magic wand inside the frame
Selections / Modify / Feather
Selections / Invert
Selections / Modify / Contract by 2
Set your eraser to a size around 20 and hardness to about 50
(depends on your tube and how much you wish to erase)
Carefully erase the bottom of the tube overhanging the frame
Deselect
~ Step 2 ~
Paste Flowers2 as new layer and resize by 20%
Position to the left of the frame
Paste Flowers3 as new layer and resize by 20%
Image / Mirror and position to the right opposite the first flowers
Paste PinkBow as new layer and resize by 15%
Position to the left on the wire on the frame
Duplicate then Image / Mirror
Position to the right (see my tag for reference)
Paste Heart1 as new layer and resize by 35%
Position on the top right of the frame
Paste Heart2 as new layer and resize by 30%
Position with Heart1
(see below)

Paste Text-LoveDog/Cat as new layer
Resize by 50%
Position along the bottom of the frame
Paste PetBkg3 as new layer
Layers / Arrange / Send to Bottom
Resize by 70%
Layers / New mask Layer / From Image
Locate WSL_Mask133 from drop down menu
Fit to Layer CHECKED
Source luminance checked
Invert Mask Data UNchecked
OK
Layers / Merge / Merge Group
Position mask layer behind frame so that it's central
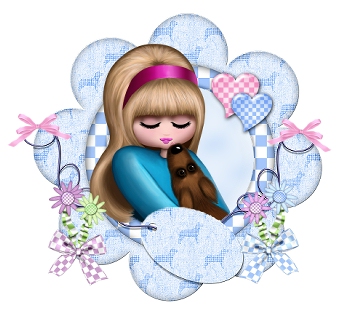
You should now have something like this:
~ Step 3 ~
Pick a nice colour that complements your tube and scrap kit you are working with
I chose #e398bc
Type out your name as Vector in a nice font of your choice
Objects / Align / Horizontal Centre in Canvas
Adjust / Add/Remove Noise / Add Noise
Uniform
25
Monochrome checked
Effects / Plugins / Eye Candy 4000 / Gradient Glow
Glow width: 3.00
Soft corners: 25
Opacity: 100
Colour: Solid white
Apply drop shadow:
H & V: 1
Opacity: 30
Blur: 2.00
Colour: #37003e
Add your ©copyright, licence and watermark and you're done!
Thank you for trying my tutorial
::st!na::
©Tutorial written by Stina on 4th February 2009
All rights reserved


No comments:
Post a Comment