
Supplies
Scrap kit of choice - I am using "At Last" by Helly available from Cotton Candy Kreations and Scraps With Attitude
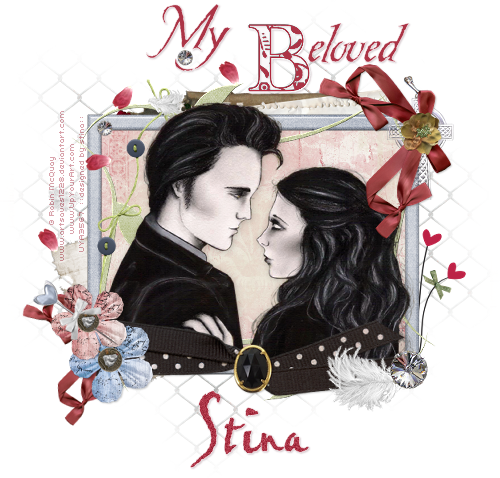
Tube of choice - I am using the lovely artwork featuring Bella and Edward by Robin McQuay available from UpYourArt.com
WSL_Mask7 by Chelle available from her blog
Plugin: Filters Unlimited Square Edge 04
Plugin: Xenofex 1 Distress
Fonts of choice - I am using Be Safe (Edward's handwriting) and Pablo LET (Bella's handwriting)
Ready? Let's begin....
Open a grungy paper of choice - I am using Paper8 from Helly's kit
Shift D to duplicate then close off original
Resize paper to 500 x 500
Adjust > Hue & Saturation > Colourise with the following settings:
Scrap kit of choice - I am using "At Last" by Helly available from Cotton Candy Kreations and Scraps With Attitude
Tube of choice - I am using the lovely artwork featuring Bella and Edward by Robin McQuay available from UpYourArt.com
WSL_Mask7 by Chelle available from her blog
Plugin: Filters Unlimited Square Edge 04
Plugin: Xenofex 1 Distress
Fonts of choice - I am using Be Safe (Edward's handwriting) and Pablo LET (Bella's handwriting)
Ready? Let's begin....
Open a grungy paper of choice - I am using Paper8 from Helly's kit
Shift D to duplicate then close off original
Resize paper to 500 x 500
Adjust > Hue & Saturation > Colourise with the following settings:
Layers > Promote Background to Layer
Effects > Plugins > Filters Unlimited > Edges, Square > Square Edge 04
Set your Selection Tool to Circle and draw out two circles along the left hand edge of your paper
Press delete but KEEP SELECTED!
Effects > Plugins > Xenofex 1 > Distress with the following settings:
Ok, let's minimise that for now - we'll come back to it later
Open a new 700 x 9600 blank canvas flood-filled white
Add a new raster layer and Select All
Paste Paper4 (or some grungy paper) into Selection and deselect
Layers > New Mask Layer > From Image
Locate WSL_Mask7
OK
In Layer Palette click on the mask and resize by 95%
Layers > Merge > Merge Group
With your Selection Tool choose from your Tool Options Palette CREATE SELECTION FROM: and select Layer Opaque
This will show Marching Ants around your Mask Layer
Image > Crop to Selection
Paste PaperFrame as new layer
Resize by 60%
Select all the blank areas within the Frame with your Magic Wand
Selections > Modify > Expand by 10
Paste Paper of choice as new layer
Resize by 35%
Selections > Invert
Then press delete
Deselect
Layers > Arrange > Move Down
Activate the Distressed Paper we made earlier
Paste as new layer
Image > Rotate by 15 to the left
Resize by 40%
Position to the lower left protruding from corner of the Frame
Layers > Arrange > Move Down so that it is below the Frame and Paper
Activate top layer again
Paste PaperFlower2 as new layer
Resize by 50%
Position in lower left
Paste PaperFlower1 as new layer
Resize by 45%
Position alongside first flower in lower left
Paste Pin1 as new layer
Image > Rotate by 55 to the left
Resize by 60%
Position over top Flower and erase part of the pin
Paste Ribbon as new layer
Image > Rotate by 10 to the left
Resize by 15%
Place in the lower left and Move Down below the Flowers and Pin layers
Position so that it is protruding
Paste Edge as new layer
Resize by 30%
Move to layer below Paper background
Position it to the top protruding from behind Frame
Paste Ribbon as new layer again
Image > Rotate by 10 to the left
Resize by 20%
Position in upper right
Paste String as new layer
Resize by 25%
Position with one of the bows on the Frame or Stems to your liking
Duplicate then set Blend Mode to Multiply
Lower opacity to 50
Layers > Merge > Merge Down
Paste HeartFlower as new layer
Image > Rotate by 15 to the right
Resize by 25
Position to the lower right behind the Frame
Paste your tube as new layer
Resize as necessary and position to your liking
Use your Selection Tool to make a selection along the bottom of the Frame around the bottom of your Tube
Selections > Modify > Feather by 2
On your tube layer press delete once or twice
Deselect
Paste a Ribbon of choice as new layer (I am using the Bow from Helly's "You Are My Life Now")
Resize as necessary
Position along bottom of Frame
Paste Feather as new layer
Image > Mirror
Resize by 75%
Position in lower right
Paste Trail as new layer
Resize by 40%
Position to your liking
Resize tag to your liking
Select a letter from the Alpha and paste as new layer
Resize by 35%
Select your Text Tool and font of choice
I am using Be Safe (Edward's handwriting)
Use your Eye Dropper Tool to select the colour from the Alpha to match your text
Complete the word, position and convert to raster layer
Layers > Merge > Merge Down
Apply a drop shadow:
H & V - 1
Opacity - 20
Blur - 2.00
Colour - a dark colour that blends with your text

Select your Text Tool again and another font of choice
I am using Pablo LET (Bella's handwriting)
Using the same colour type out your name
Objects > Align > Horizontal Centre in Canvas
Convert to raster layer
Add some noise and apply the same drop shadow as above
Finally, add your © copyright, licence and watermark, then save as a GIF or JPG and you're done!
Thanks for trying my tutorial!
::st!na::
© Tutorial written by Stina on 9th May 2009
All rights reserved
No comments:
Post a Comment