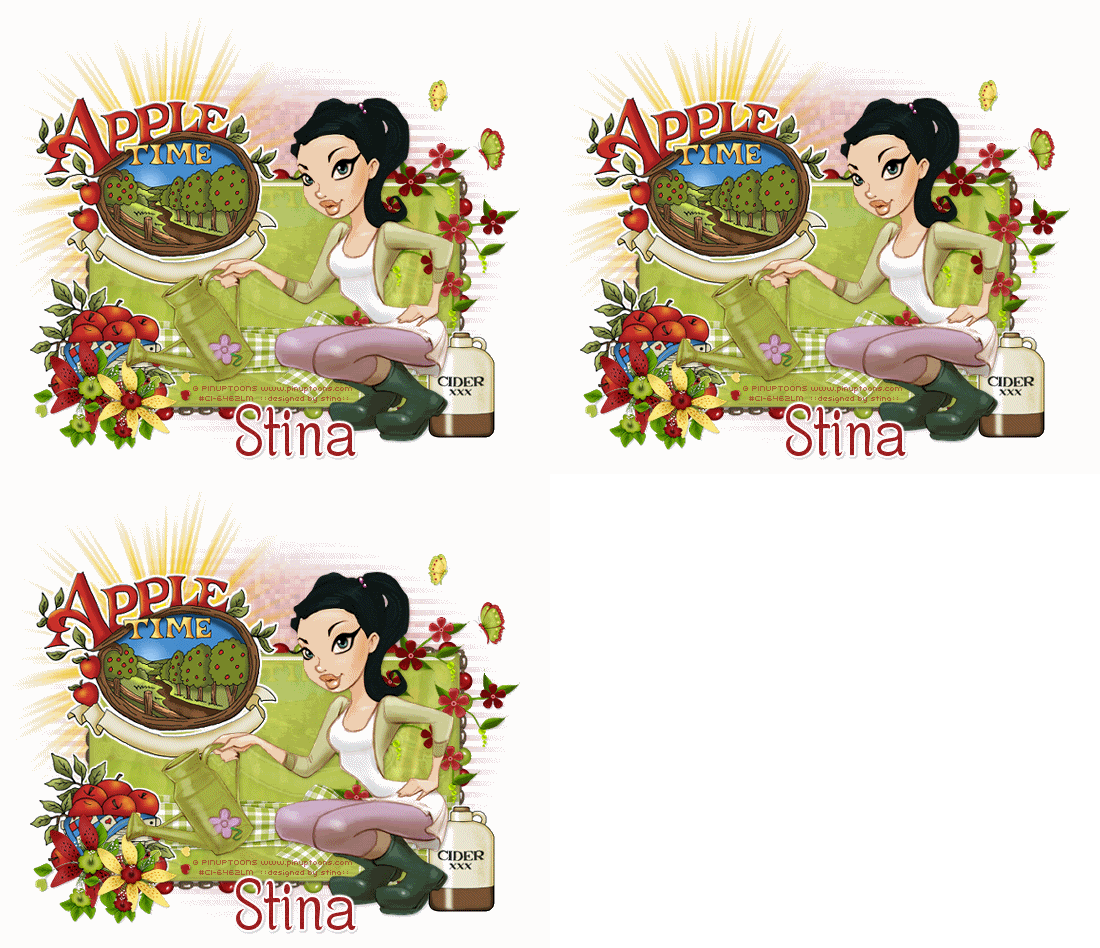
Supplies
Scrap kit of choice - I am using the delicious "The Apple Orchard" by Creative Intentionz available from Twilight Scraps and Paradise 4 Scrappers
Tube of choice - I am using the artwork of Rion Vernon and PinUpToons which is available with a licence through CILM
**PLEASE DO NOT HIS ARTWORK WITHOUT THE APPROPRIATE LICENCE**
WSL_Mask 41 to 44 by Chelle available from her blog
Plugins:
Alien Skin Eye Candy 5: Impact Glass
dsb Fluxx Linear Transmission
Xero Fritillary
Eye Candy 4000 Gradient Glow (optional)
Font of choice - I am using Centime
Ready? Let's begin....
Open a 600 x 600 blank canvas flood-filled white
Open a paper of choice and minimise
Select your Preset Shape Tool and set to Rectangle
In your Materials Palette, choose Pattern and locate the paper you just minimised
In your Materials Palette, choose Pattern and locate the paper you just minimised
Draw out a rectangle towards the bottom of your canvas and position
Objects > Align > Horizontal Centre in Canvas
Objects > Align > Horizontal Centre in Canvas
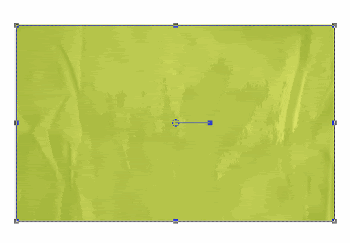
Convert to raster layer
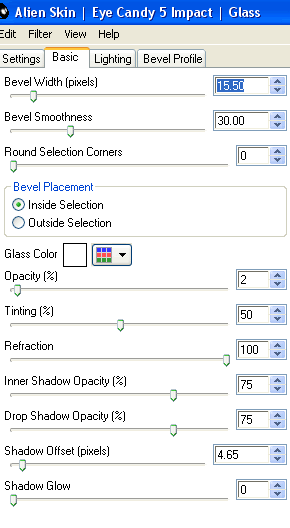
Effects > Plugins > Alien Skin Eye Candy 5: Impact > Glass with the following settings:
Effects > Plugins > Alien Skin Eye Candy 5: Impact > Glass with the following settings:
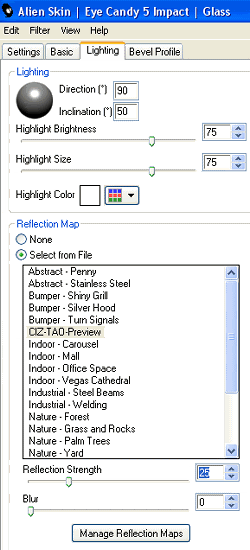
Under LIGHTING Tab choose Reflection Map and "Select from File"
Choose one from the list or import your own by selecting "Manage Reflection Maps"
I imported the preview for this kit
Choose one from the list or import your own by selecting "Manage Reflection Maps"
I imported the preview for this kit
Paste one of the BeadedFrames as new layer
Resize by 70%
Place over the Rectangle for positioning, then
Use your Pick Tool (Deformation Tool in some versions) to pull the nodes down and in line with the rectangle
Your Frame SHOULD then me the same size as the Rectangle, then
Layers > Arrange > Move Down
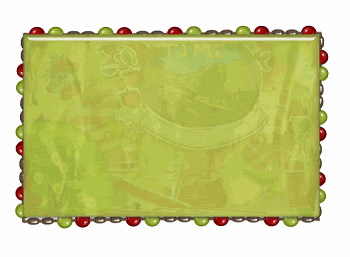
Paste a CrissCrossRibbon of choice as new layer
Layers > Arrange > Move Up
Resize by 65%
Position along the bottom of rectangle
Layers > Arrange > Move Up
Resize by 65%
Position along the bottom of rectangle
Paste ForgetMeNots as new layer
Resize by 50%
Position to the right over the bow on Ribbon
Resize by 50%
Position to the right over the bow on Ribbon
Carefully erase part of the stem OVER THE BOW so it looks as though flowers are tied IN the bow
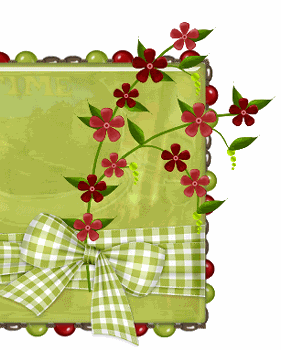
Paste a Basket as new layer
Reszie by 75%
Position in lower left corner
Reszie by 75%
Position in lower left corner
Paste a DecorationFlower as new layer
Resize by 60%
Position in lower left at the bottom of Basket
Resize by 60%
Position in lower left at the bottom of Basket
Paste another DecorationFlower as new layer
Resize by 50%
Place alongside first flower and position both to your liking
Resize by 50%
Place alongside first flower and position both to your liking
Paste Cider as new layer
Resize by 55%
Position in lower right
Resize by 55%
Position in lower right
Paste Sign as new layer
Resize by 90%
Position to left
Resize by 90%
Position to left
Paste your tube as new layer
Resize as necessary and position to your liking
Resize as necessary and position to your liking
Paste Butteflies as new layers, resizing them to around 20% each
Position to liking
Position to liking
Crop and resize
Paste Paper of choice as new layer
Layers > Arrange > Send to Bottom
Layers > Arrange > Send to Bottom
Layers > New Mask Layer > From Image
Locate WSL_Masks 41 to 44 and select one
OK
Layers > Merge > Merge Group
Locate WSL_Masks 41 to 44 and select one
OK
Layers > Merge > Merge Group
Lower opacity to 40
Resize layer by 90%
Resize layer by 90%
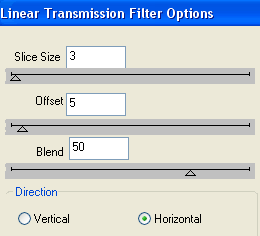
Effects > Plugins > dsb Fluxx > Linear Transmission with the following settings:
Paste Sun as new layer
Layers > Arrange > Send to Bottom
Position behind sign
Layers > Arrange > Send to Bottom
Position behind sign
Duplicate, then
Adjust > Brightness & Contrast > Brightness/Contrast with the following:
Brightness - 0
Contrast - 60
Layers > Merge > Merge Down
Adjust > Brightness & Contrast > Brightness/Contrast with the following:
Brightness - 0
Contrast - 60
Layers > Merge > Merge Down
Select Text Tool and font of choice
I am using Centime
Choose a colour from your tag
Type out your name
Objects > Align > Horiztonal Centre in Canvas
Convert to raster layer
Apply any effects and drop shadow of choice
I am using Centime
Choose a colour from your tag
Type out your name
Objects > Align > Horiztonal Centre in Canvas
Convert to raster layer
Apply any effects and drop shadow of choice
Finally, add your © copyright, licence and watermark, then save as a GIF or JPG and you're done!
** IF YOU WISH TO ANIMATE PLEASE FOLLOW THESE NEXT STEPS **
Activate the Mask Layer
Duplicate twice and rename Fritillary1, Fritillary2 and Fritillary3
Leave Fritillary2 and Fritillary3 and activate Fritillary1
Effects > Plugins > Xero > Fritillary with the following settings:
Activate the Mask Layer
Duplicate twice and rename Fritillary1, Fritillary2 and Fritillary3
Leave Fritillary2 and Fritillary3 and activate Fritillary1
Effects > Plugins > Xero > Fritillary with the following settings:
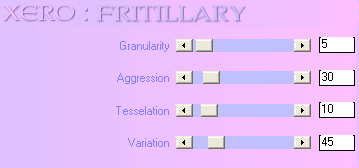
Hide Fritillary1 and activate Fritillary2
Repeat Fritillary, adjusting the Variation to 50
Hide Fritillary2 and activate Fritillary3
Repeat Fritillary again and asjust the Variation to 55
Hide Fritillary2 and Fritillary3 with only Fritillary1 visible
Edit > Copy Merged
Open Animation Shop
Edit > Paste as New Animation
Back to PSP
Hide Fritillary1 and activate Fritillary2
Edit > Copy Merged
In Animation Shop
Edit > Paste AFTER Current Frame
Back to PSP
Hide Fritillary2 and activate Fritillary3
Edit > Copy Merged
Hide Fritillary2 and activate Fritillary3
Edit > Copy Merged
In Animation Shop
Edit > Paste AFTER Current Frame
Save as a GIF and you're done!
Thanks for trying my tutorial!
::st!na::
Edit > Paste AFTER Current Frame
Save as a GIF and you're done!
Thanks for trying my tutorial!
::st!na::
With another tube:
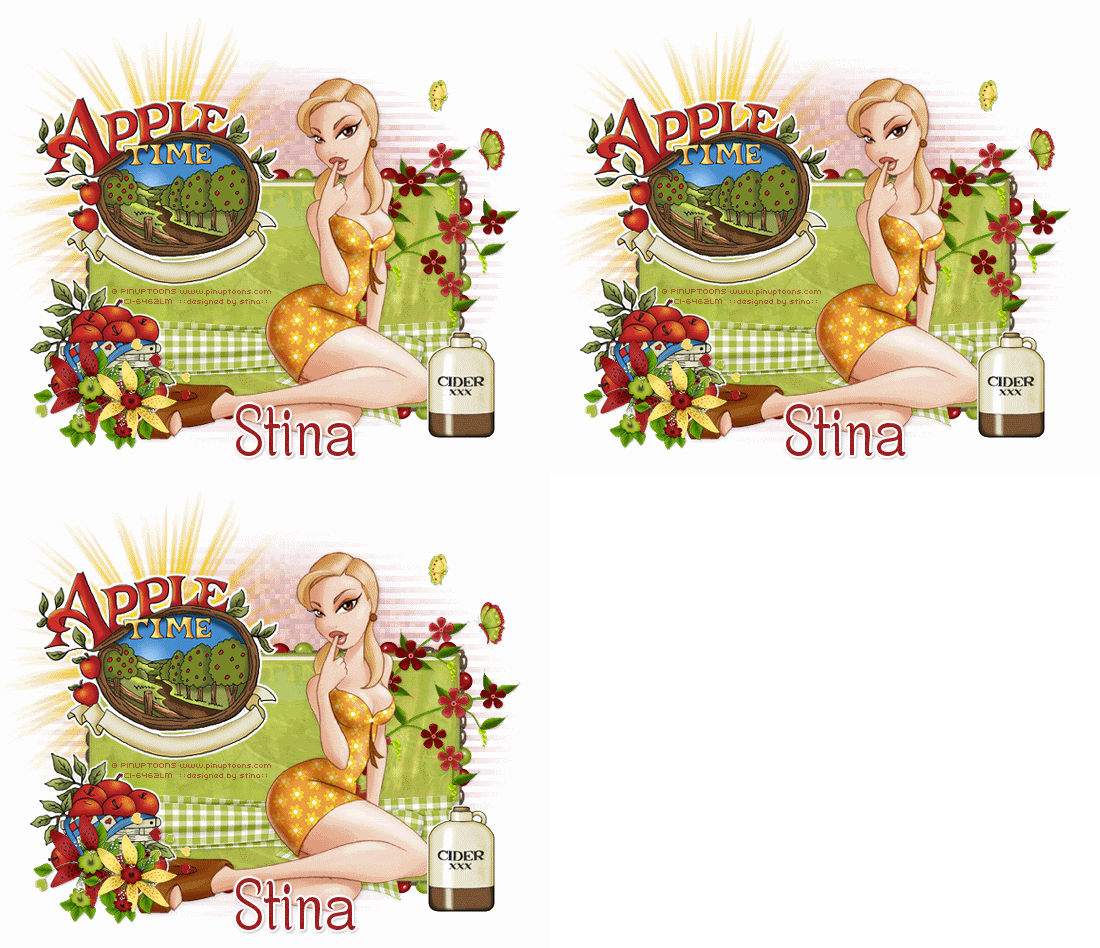
© Tutorial written by Stina on 25th May 2009
All rights reserved

No comments:
Post a Comment