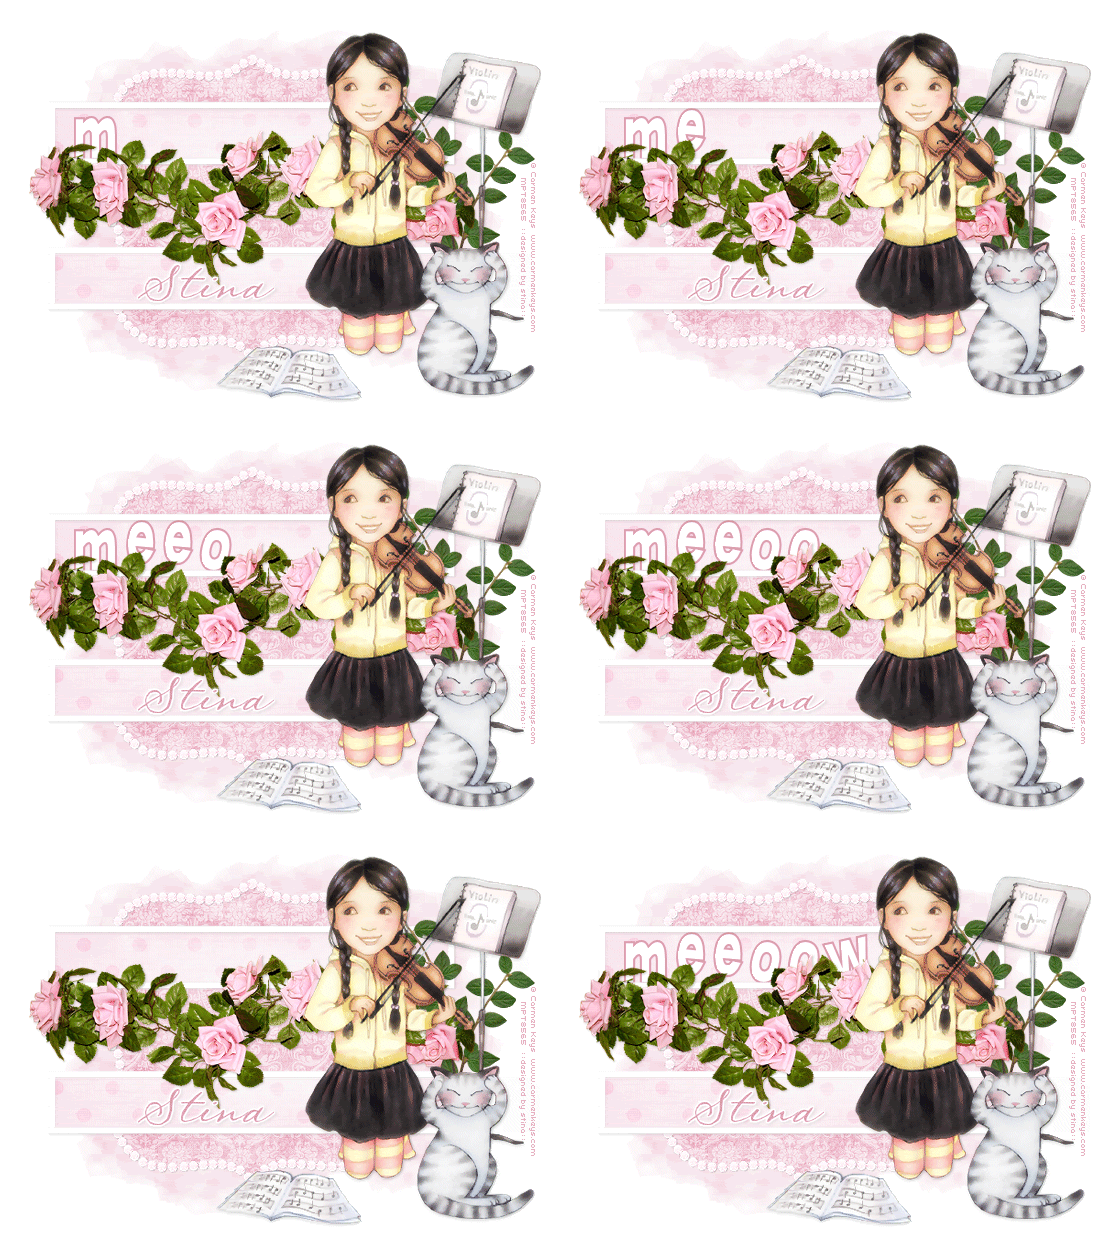
Supplies
Scrap kit of choice - I am using "Paris Chic" by Kristi Westling which is available from The Scrapping Divaz Designz and Sunshine Studio Scraps
Tube of choice - I am using the lovely artwork of Carmen Keys which is available with a licence from My PSP Tubes
**PLEASE DO NOT USE HER ARTWORK WITHOUT THE APPROPRIATE LICENCE**
WSL_Mask218 by Chelle available from her blog
Fonts of choice - TangledUp and PegsannaHMK
Plugins: Xero > Improver
Xero > Radiance
Eye Candy 4000 > Gradient Glow (optional)
Let's begin....
Open a new 750 x 600 blank canvas flood-filled white
Paste Frame3 as new layer
Resize by 50%
Resize by 50%
With your Freehand Tool draw just along the inside of the Frame
Add new raster layer
Paste Paper of choice INTO selection
Deselect
Add new raster layer
Paste Paper of choice INTO selection
Deselect
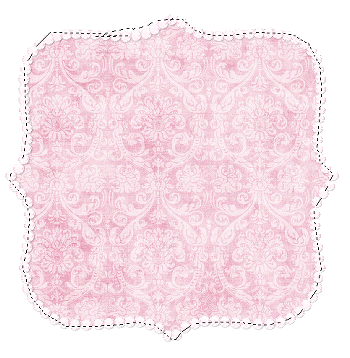
Select your Preset Shape Tool and set to Rectangle
Foreground - #FFFFFF
Background - null
Width - 10.00
Foreground - #FFFFFF
Background - null
Width - 10.00
Hide your Background layer so we can see what we're doing
Draw a thin rectangle toward the top of Frame
Objects > Align > Horizontal Centre in Canvas
Convert to raster layer
Duplicate, then Image > Flip
Layers > Merge > Merge Down
Objects > Align > Horizontal Centre in Canvas
Convert to raster layer
Duplicate, then Image > Flip
Layers > Merge > Merge Down
Select inside each rectangle with your Magic Wand
Selections > Modify > Expand by 5
Add new raster layer
Paste another Paper of choice INTO selection
Deselect
Selections > Modify > Expand by 5
Add new raster layer
Paste another Paper of choice INTO selection
Deselect
Apply a drop shadow of choice to the Rectangles and Frame
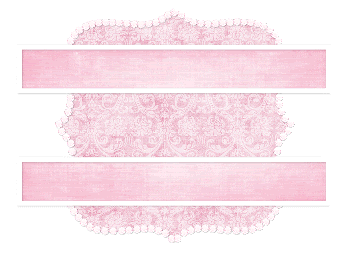
Paste Ribbon2 as new layer
Resize by 85%
Position beneath top Rectangle frame over paper
Duplicate, then Image > Flip
Layers > Merge > Merge Down
Resize by 85%
Position beneath top Rectangle frame over paper
Duplicate, then Image > Flip
Layers > Merge > Merge Down
Activate paper layer and select the outside with your Magic Wand
On your Ribbon layer press delete
Deselect
On your Ribbon layer press delete
Deselect
Set blend mode to Soft Light then duplicate again
Paste Roses as new layer
Resize by 55%
No need to position - they should do so when you resize
Resize by 55%
No need to position - they should do so when you resize
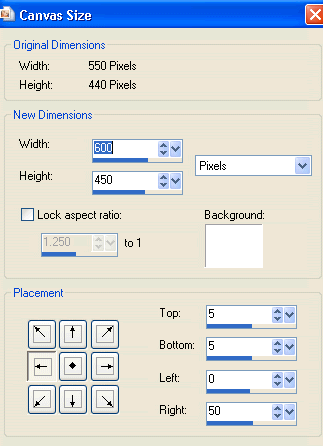
Resize canvas down to 500 wide
Image > Canvas Resize to 600 x 450 with the following settings:
Hide Roses and activate layer below
Paste Leaves as new layer
Resize by 35%
Place to the far right of canvas
Duplicate then Image > Mirror
Position slightly upwards adjoining the first set of Leaves
Resize by 35%
Place to the far right of canvas
Duplicate then Image > Mirror
Position slightly upwards adjoining the first set of Leaves
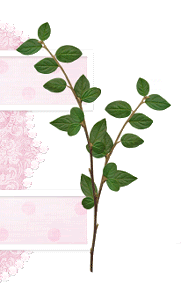
Layers > Merge > Merge Down
Unhide Roses again
Paste Tube of choice as new layer
Resize as necessary and position to the right
Resize as necessary and position to the right
Effects > Plugins > Xero > Improver with default settings
Duplicate tube
Effects > Plugins > Xero > Radiance with default settings
Lower opacity to around 65
Apply a drop shadow of choice
Paste a paper of choice as new layer
Layers > Arrange > Send to Bottom
Adjust > Blur > Gaussian Blur with a Radius of 5.00
Layers > Arrange > Send to Bottom
Adjust > Blur > Gaussian Blur with a Radius of 5.00
Layers > New Mask Layer > From Image
Apply WSL_Mask218
OK
Layers > Merge > Merge Group
Lower opacity to 70
Apply WSL_Mask218
OK
Layers > Merge > Merge Group
Lower opacity to 70
Crop and resize to liking
Select your Text Tool and font of choice
I am using TangledUP
Text Colour to match tag - I am using:
Foreground - #dd99b1
Background - #FFFFFF
Stroke width - 2.00
I am using TangledUP
Text Colour to match tag - I am using:
Foreground - #dd99b1
Background - #FFFFFF
Stroke width - 2.00
Kerning - 125
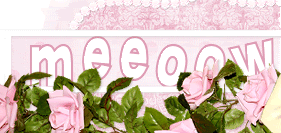
Type out MEEOOW each letter separately
Position in top rectangle BENEATH frame
Apply a drop shadow of choice
Position in top rectangle BENEATH frame
Apply a drop shadow of choice
Select another font of choice
I am using PegsannaHMK
Background - #f4c2c4
I am using PegsannaHMK
Background - #f4c2c4
Type out your name
Position in bottom rectangle
Convert to raster layer
Apply drop shadow of choice
Position in bottom rectangle
Convert to raster layer
Apply drop shadow of choice
Finally, add your © copyright, licence and watermark, then save as a GIF or JPG and you're done!
** IF YOU WISH TO ANIMATE PLEASE FOLLOW THESE NEXT STEPS **
Activate your MEEOOW letters layer
Rename M, E1, E2, O1, 02 AND W
Rename M, E1, E2, O1, 02 AND W
Activate M and hide the other letters
Edit > Copy Merged
Edit > Copy Merged
Open Animation Shop
Edit > Paste as New Animation
Edit > Paste as New Animation
Back to PSP
NOw zctivate E1
Edit > Copy Merged
NOw zctivate E1
Edit > Copy Merged
In Animation Shop
Edit > Paste after Current Frame
Edit > Paste after Current Frame
Back to PSP
Activate E2
Edit > Copy Merged
Activate E2
Edit > Copy Merged
In Animation Shop
Edit > Paste after Current Frame
Edit > Paste after Current Frame
Back to PSP
Activate O1
Edit > Copy Merged
Activate O1
Edit > Copy Merged
In Animation Shop
Edit > Paste after Current Frame
Edit > Paste after Current Frame
Back to PSP
Activate O2
Edit > Copy Merged
Activate O2
Edit > Copy Merged
In Animation Shop
Edit > Paste after Current Frame
Edit > Paste after Current Frame
Back to PSP
Activate W
Edit > Copy Merged
Activate W
Edit > Copy Merged
In Animation Shop
Edit > Paste after Current Frame
Edit > Paste after Current Frame
Back to PSP
Hide all letters
Edit > Copy Merged
Hide all letters
Edit > Copy Merged
In Animation Shop
Edit > Paste after Current Frame
Edit > Paste after Current Frame
Back to PSP
Unhide and activate ALL letters once more
Edit > Copy Merged
Unhide and activate ALL letters once more
Edit > Copy Merged
In Animation Shop
Edit > Paste after Current Frame
Edit > Paste after Current Frame
You should now have 8 Frames
Select All, and change Frame Properties to 50
Then change Frame Properties of LAST Frame to 100
Now save as a GIF and you're done!
Then change Frame Properties of LAST Frame to 100
Now save as a GIF and you're done!
Thanks for trying my tutorial!
::st!na::
Here is a non-animated version:
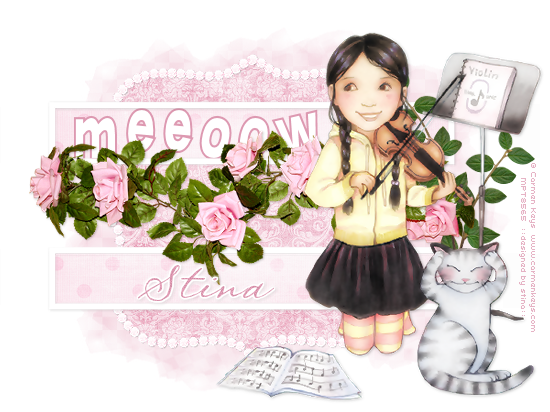
© Tutorial written by Stina on 26th August 2009
All rights reserved

OMG, this one is absolutely gorgeous!!! wooohooo!!! Love what you did Stina, it's awesome :)) xoxoxo
ReplyDelete