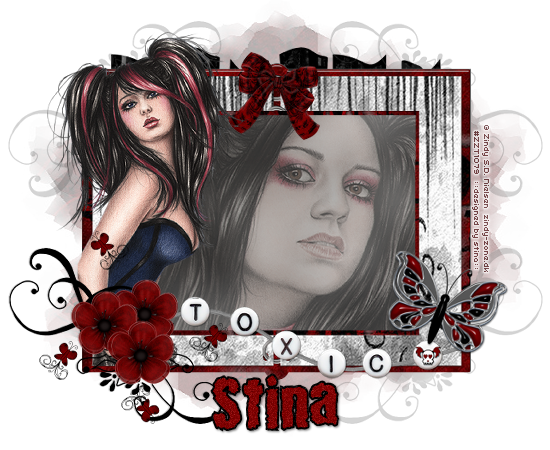
Supplies
Scrap kit of choice - I am using "Toxic" by Soxsational Scraps
Tubes of choice - I am using the lovely artwork of Zindy Nielsen which is availble from her store
WSL_Mask220 by Chelle available from her blog
Plugin: Simple > 4 Way Average
Font of choice - I am using 2Peas Bad Attitude
Let's begin!!
Open a new 700 x 600 blank canvas flood-filled white
Paste FrameBook as new layer
Select your Pick Tool and use the nodes to pull sides in to the inside edge
Select your Pick Tool and use the nodes to pull sides in to the inside edge
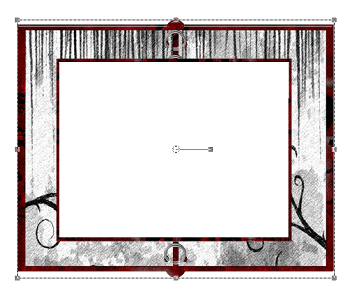
Select the inner area of Frame with your Magic Wand
Selections > Modify > Expand by 10
Selections > Modify > Expand by 10
Paste Bg8 as new layer
Layers > Arrange > Move Down
Resize by 80%
Adjust > Blur > Gaussian Blur with a radius of 20.00
Delete
Layers > Arrange > Move Down
Resize by 80%
Adjust > Blur > Gaussian Blur with a radius of 20.00
Delete
KEEP SELECTED!!
Paste tube as new layer
Resize if needed
Position to your liking
Delete excess then deselect
Set blend mode to Soft Light
Resize if needed
Position to your liking
Delete excess then deselect
Set blend mode to Soft Light
Paste DoodleFlower as new layer
Resize by 50%
Position in lower left
Resize by 50%
Position in lower left
Duplicate, then Image > Flip
Layers > Arrange > Send to Bottom
Layers > Arrange > Send to Bottom
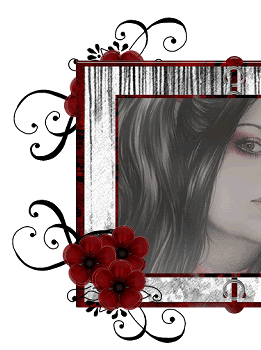
Effects > Plugins > Simple > 4 Way Average
This will turn them a bluish colour in each corner
Keep this layer activated and go to
Adjust > Hue & Saturation > Colourise and set the Hue & Saturation to 0
Keep this layer activated and go to
Adjust > Hue & Saturation > Colourise and set the Hue & Saturation to 0
Then position the DoodleFlower on top layer over the background one so it covers it
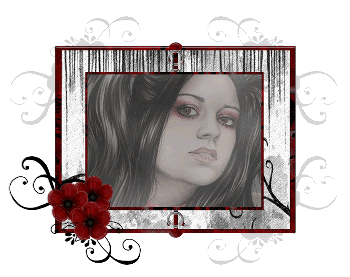
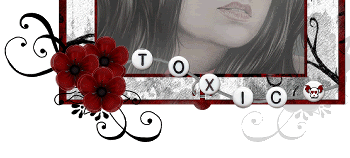
Paste Beads as new layer
Resize by 80%
Position along bottom and move down a layer to tuck under Flower
Resize by 80%
Position along bottom and move down a layer to tuck under Flower
Paste Butterfly as new layer
Image > Rotate by 20 to the right
Resize by 30%
Position in lower right
Image > Rotate by 20 to the right
Resize by 30%
Position in lower right
Paste Bow4 as new layer
Resize by 40% and place in top centre of Frame
Resize by 40% and place in top centre of Frame
Paste GrungedButterfly as new layer
Image > Rotate by 40 to the left
Resize by 10%
Position near DoodleFlower
Duplicate several times and position to your liking
Image > Rotate by 40 to the left
Resize by 10%
Position near DoodleFlower
Duplicate several times and position to your liking
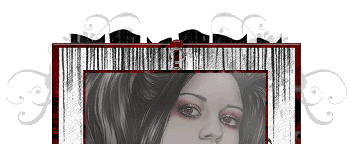
Paste Fence as new layer
Resize by 80%
Position near the top of the Frame
Layers > Arrange > Send to Bottom
Resize by 80%
Position near the top of the Frame
Layers > Arrange > Send to Bottom
Paste Bg2 as new layer
Layers > Arrange > Send to Bottom
Layers > Arrange > Send to Bottom
Layers > New Mask Layer > From Image
Locate WSL_Mask220
OK
Layers > Merge > Merge Group
Resize by 90%
Lower opacity to 40
Locate WSL_Mask220
OK
Layers > Merge > Merge Group
Resize by 90%
Lower opacity to 40
Crop and resize
Paste your second tube as new layer
Resize if needed
Place the layer below your DoodleFlower just above the Frame
Resize if needed
Place the layer below your DoodleFlower just above the Frame
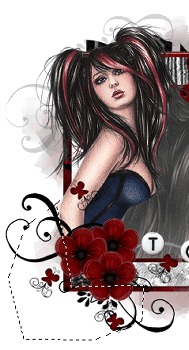
With your Freehand Tool draw around parts of the tube and along the edge of the Frame
Delete excess then deselect
Delete excess then deselect
Add drop shadows to your layers
Choose a colour from your tube/tag
Select your Text Tool and font of choice
I am using 2Peas Bad Attitude
I am using 2Peas Bad Attitude
Set your Material Properties:
Foreground - #000000
Background - #800000
Foreground - #000000
Background - #800000
Stroke widrh - 2.00
Type out your name
Objects > Align > Horizontal Centre in Canvas
Convert to raster layer
Add some noise then a drop shadow of choice
Add some noise then a drop shadow of choice
Finally, add your © copyright, licence and watermark, then save as a GIF or JPG and you're done!
Thanks for trying my tutorial!
::st!na::
© Tutorial written by Stina on 21st April 2009
All rights reserved
All rights reserved

No comments:
Post a Comment