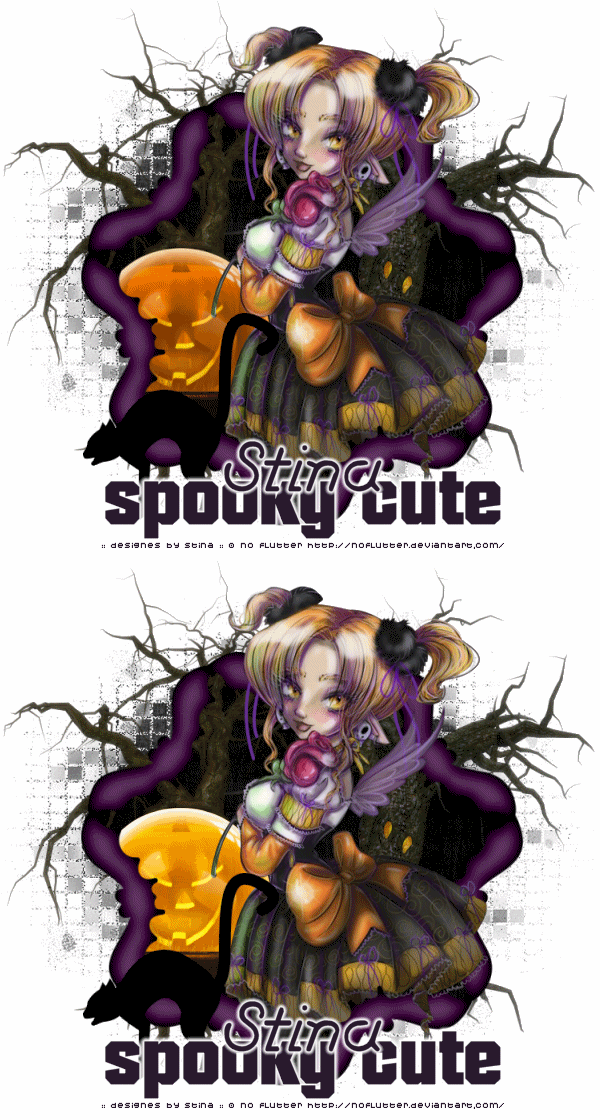
Supplies
Scrap kit of choice - I am using my own "Halloween Haunts" which is available exclusively to Aussie Scrap Designs
Tube of choice - I am using the delightful artwork of NoFlutter
Fonts of choice - I am using Autumn and Tarantula Script RR
Mask of choice - I am using Yezmask067
Plugins:
Xero Porcelain
Alien Skin Skin Eye Candy 5: Impact Gradient Glow
Open DBS_Frame04 or DBS_Frame05
Shift + D to duplicate it then close the original
Image / Canvas Size
700 x 700
Centred
Resize Frame by 85%
Select the inside of the frame with your Magic Wand
Selections / Modify / Expand by 10
Paste a paper of choice as new layer
Selections / Invert
Delete
KEEP SELECTED!!
Duplicate paper layer and set blend mode to Multiply
Layers / Merge / Merge Down
KEEP SELECTED!!
Paste DBS_CrystalBall02 as new layer
Resize by around 40% and position to the lower left to your liking
Delete the outside excess
KEEP SELECTED!!
Paste your tube of choice as new layer
I am using the awesome artwork of NoFlutter
Position to your liking
Duplicate and move layer to top
Turn of visibility and return to layer below Frame
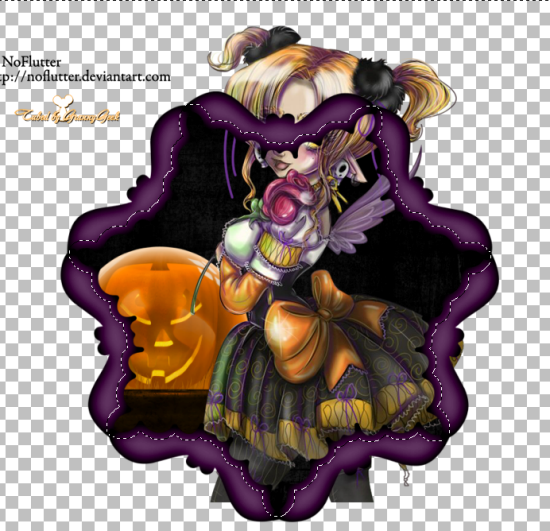
Delete excess then deselect
Now turn the visibility back on the top layer
Grab your Freehand Selection Tool on Point to Point
Feather = 0
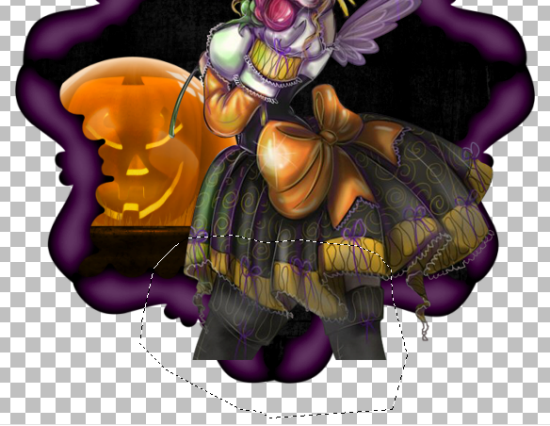
Draw a small selection around the bottom that overhangs
Don't worry about taking too much off - that's why we made the duplicate beneath the frame *s*
Duplicate the top layer again
Effects / Plugins / Xero / Porcelain with default settings
Lower the opacity of this layer to around 80, then
Layers / Merge / Merge Down
Repeat this process with the tube layer beneath the frame also so it blends with the main tube layer
Paste DBS_CatSilhouette as a new layer
Resize by 40% and position in the lower left
Paste DBS_SpookyTree01 as new layer
Position to the right and place a layer above the paper layer
Paste DBS_SpookyTree02 and position to the left
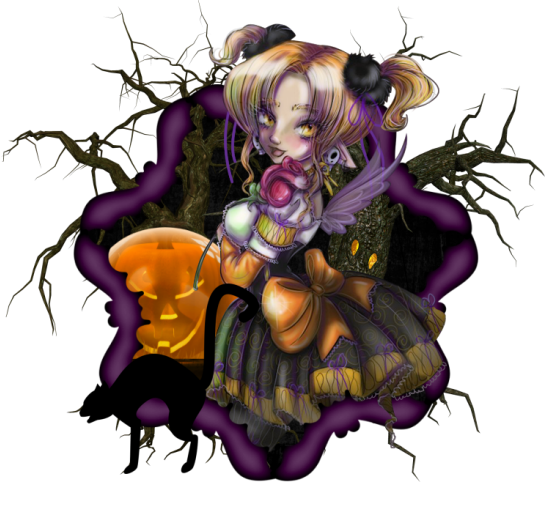
You should now have something like this:
Now we need a background...I usually do these last because it depends on how the tag looks as to which mask looks best. lol
Paste a paper of choice as a new layer
Layers / Load/Save Mask / Load Mask from Disk
Select your mask of choice - I am using Yezmask067
Layers / Merge / Merge Group
Select a font and type out some words of choice
Effects / Plugins / Alien Skin Eye Candy 5: Impact / Gradient Glow
Choose a slight subtle white glow - there is one in the presets there
Select another font of choice and type out your name and add the Gradient Glow again, then add your credits
ANIMATION
This is a simple animation
First of all give your tag a white background
Whenever you have a transparent tag you are animating you need a white background or the optimisation blackens your background
Select your JackOLantern Crystal Ball
Duplicate it and set the blend mode to Screen
Now turn the visibility off
Edit / Copy Merged
Open Animation Shop
Paste as new animation
In PSP
Activate the second Crystal Ball layer
Edit / Copy Merged
In Animation Shop
Paste after current Frame
Select all
ALT + Enter to open the Frame Properties
Change to 35
That's it!
Now save as a GIF and you're done!
Thank you for trying my tutorial!
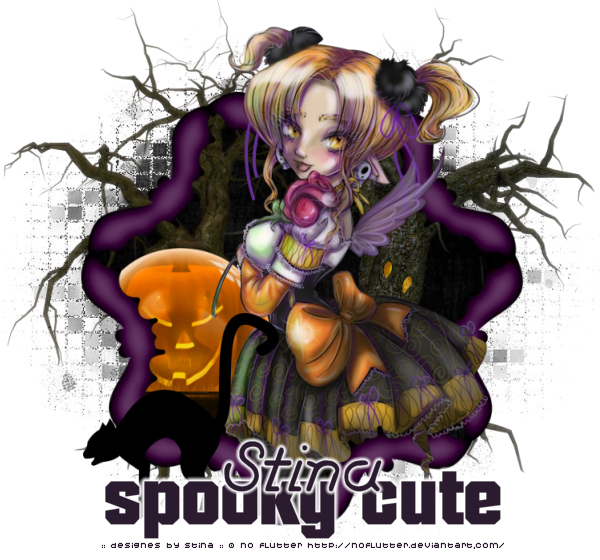
© Tutorial written by Stina on 28th October 2011

No comments:
Post a Comment