Supplies
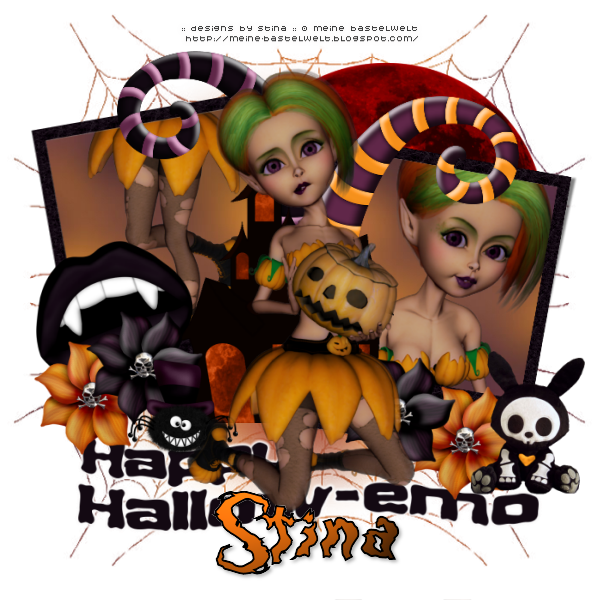
Scrap kit of choice - I am using my part of the collab with Tootypup Scraps "Happy Hallow-Emo (Part 1)" available from my stores listed on my blog
Tubes included in the kit © Meine Bastelwelt
Mask of choice - I am using WSL_HalloweenMask1
Font of choice - I am using Darkwood
Plugins:
Xero Porcelain
Xero Radiance
Alien Skin Eye Candy 5: Impact Gradient Glow
Open a new 700 x 600 transparent image
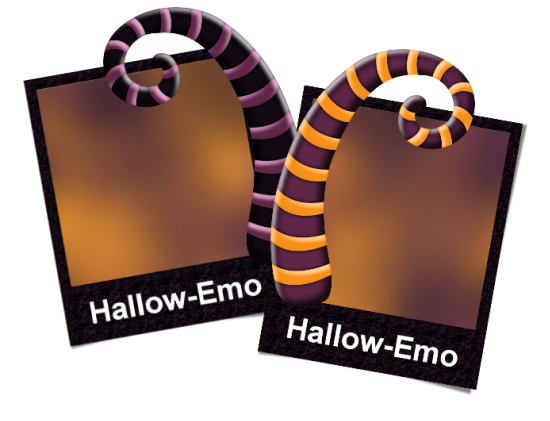
Paste DBS_Frame08 as new layer
Resize by 40%
Duplicate
Image / Free Rotate to the left by 10 on one and to the right by 10 with the other
Position to your liking
Paste a paper of your choice as new layer and move beneath the Frames
Select inside each frame with your Magic Wand
Selections / Modify / Expand by 10
Selections / Invert
Delete then deselect
Paste a CandyCane as a new layer
Image / Mirror
Resize by 40% and position toward the centre left
Paste another CandyCane of choice as new layer
Resize by 40% and position toward the centre right opposite the first CandyCane

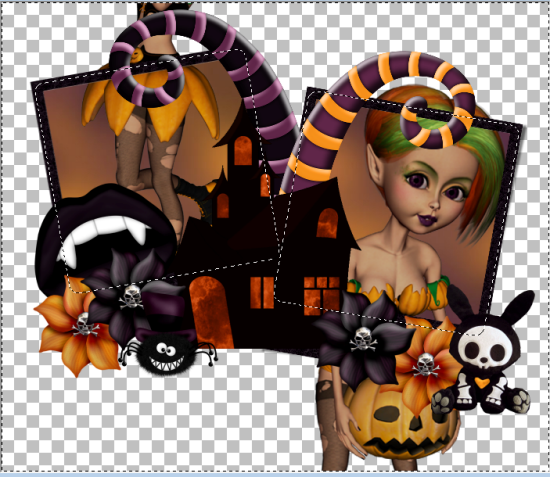
Paste DBS_HauntedHouse as new layer
Resize by 50% and position near the centre
Oaste a flower of choice as new layer
Resize by 25% and duplicate
Position both on either side of the Haunted House
Paste another flower of choice
Resize by 35% and duplicate
Position both on either side
Paste one of the VampireLips as new layer
Image / Free Rotate to the left by 10
Resize by 30% ad position BEHIND the flowers and house to the left
Paste an EmoSkelly as a new layer
Image / Mirror
Resize by 35% and position to the far lower right
Paste a Spider as a new layer
Resize by 20% and position in front of the house to your liking
Now let's select the frames again with your Magic Wand
Selections / Modify / Expand by 10
Paste one of the posers included in the kit and position to your liking
(we are doing this AFTER the elements so we can position them best in the frames)
Selections / Invert
Now repeat for the other frame
Delete excess of both poser tubes and deselect
Effects / Plugins / Xero / Porcelain with default settings

Paste the DBS_WordArt01 as new layer
Resize by 80% and position at the bottom
Paste one of the poser tubes as a new layer
Resize by around 80% and position to your liking
Effects / Plugins / Xero / Porcelain with default settings
Paste the DBS_Moon as new layer
Resize by around 57% and position behind the frame layers
Duplicate, then
Effects / Plugins / Xero / Radiance with the default settings
Lower the opacity to around 80
Layers / Merge / Merge Down
Paste paper of choice as new layer
Apply mask of choice - I am using WSL_HalloweenMask1
Layers / Merge /Merge Group
Select a font of choice - I am using Darkwood
Choose colours from your tag and type out your name
Apply a drop shadow and any effects you wish
Add your credits etc. and you're done!
Thank you for trying my tutorial!
© Tutorial written by Stina on 29th October 2011

No comments:
Post a Comment