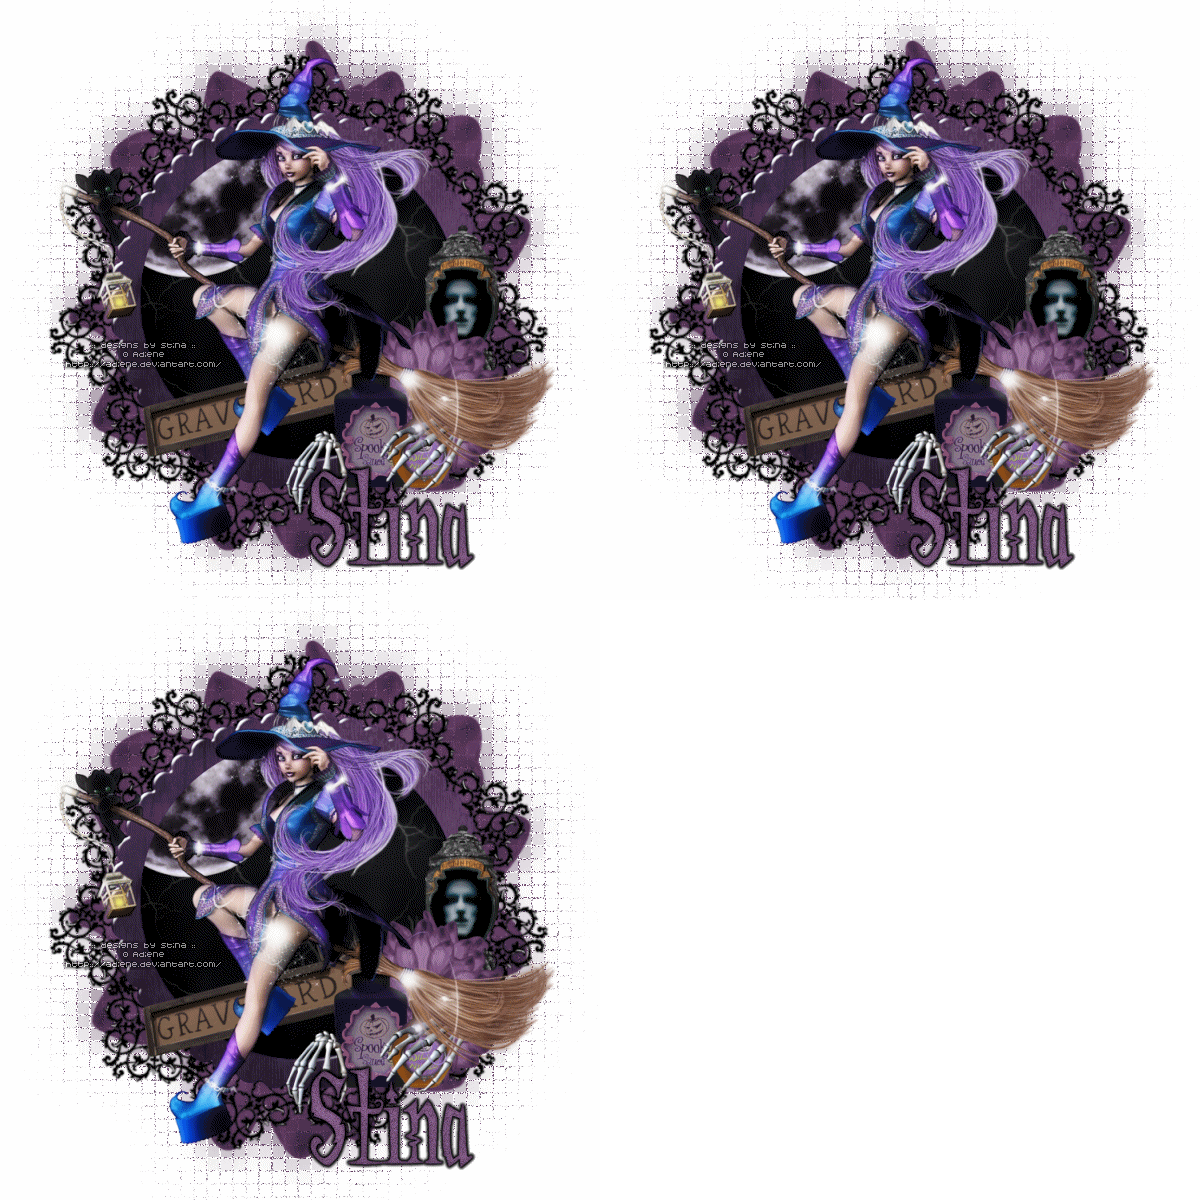
Supplies
Scrap kit of choice - I am using one of my own "Something Wicked" which is available at all my stores listed on my blog
Tube of choice - I am using the lovely artwork of Adiene
Font of choice - I am using Addams
Plugins:
Xero Porcelain
Alien Skin Eye Candy 5 Impact Gradient Glow
Open DBS_Frame05
Shift + D to duplicate then close original
Image / Canvas Resize
750 x 750
Centred
Paste DBS_Flower06 as new layer
Move below frame layer
Duplicate once
Adjust / Gaussian Blur / Radius - 20.00
Duplicate blurred layer twice
Rename to Blur1, Blur2 and Blur3
We'll come back to these for the animation
Select inside the frame with your Magic Wand
Selections / Modify / Expland by 10
Paste a paper of choice as a new layer and move below frame layer
Resize by 50%
Selections / Invert
Delete
KEEP SELECTED!
Paste DBS_Moon as new layer
Resize by 40% and position in the upper left of frame
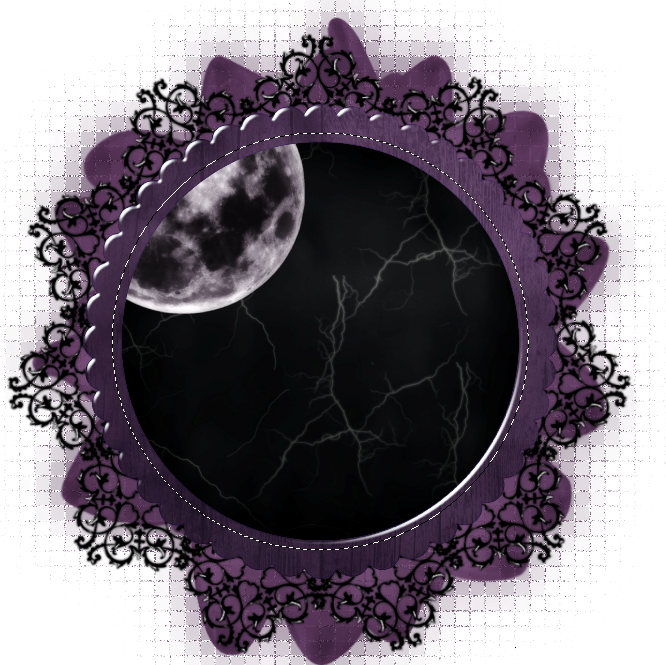
Effects / Xero / Porcelain with default settings
Activate top layer
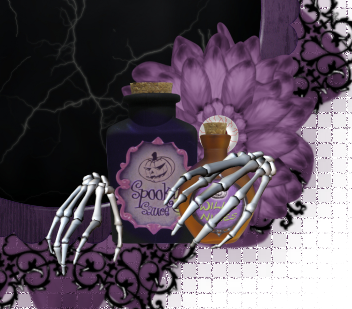
Paste DBS_Bottles as new layer
Resize by 25% and position to the right
Pick a colour from your tube and place it in the foreground of your materials palette
Select your Change to Target brush with the following settings:
Carefully colour over the green part of the Spooky Juice bottle
Paste DBS_Bones as new layer
Resize by 40% and position over and around the bottles
Paste DBS_Flower as new layer again
Resize by 35%
Position behind the bottles to the right
Paste the DBS_Ghostie and resize by 45%
Position Behind Flower to the right
Paste DBS_Sign01 as new layer
Image / Free Rotate by 15 degrees to the left
Resize by 50%
Position towards the bottom, partially tucked behind the bottles
Paste tube of choice as new layer
Resize and position to your liking
Resize your tag before you add any text or it will soften
Select a colour from one of your elements in the Background of the materials palette
Type your name out with a font of choice
I am using Addams
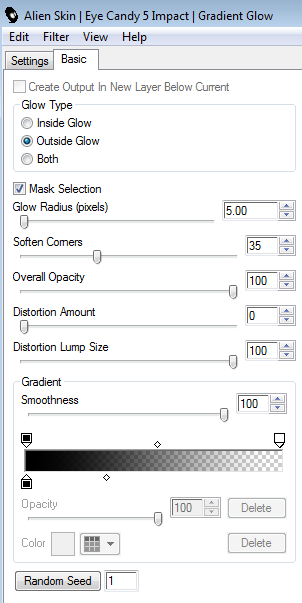
I also added a Gradient Glow to my name
Add your credits etc.
ANIMATION
OK let's go back to the Blur layers we did at the beginning
Hide Blur2 and Blur3 layers
Activate Blur1
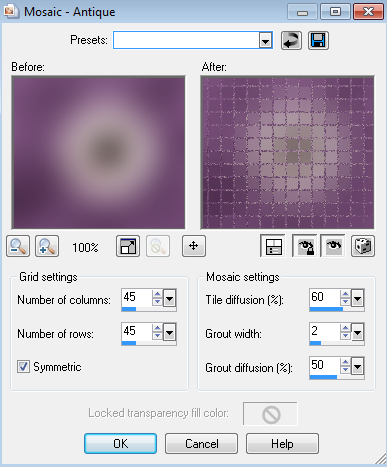
Effects / Texture Effects / Mosaic - Antique with the following settings:
Activate Blur2
Repeat the effect, changing the Grout Diffusion to 52
Activate Blur3
Repeat the effect again, changing the Grout Diffusion to 54
Now hide Blur2 and Blur3 again
Activate Blur1
Edit / Copy Merged
In Animation Shop
Paste as new animation
Back to PSP
Hide Blur1 and acitvate Blur2
Edit / Copy Merged
In Animation Shop
Paste after Current frame
Repeat the process with Blur3 and paste after current frame in Animation Shop again
Save as a GIF and you're done
Thank you for trying my tutorial!
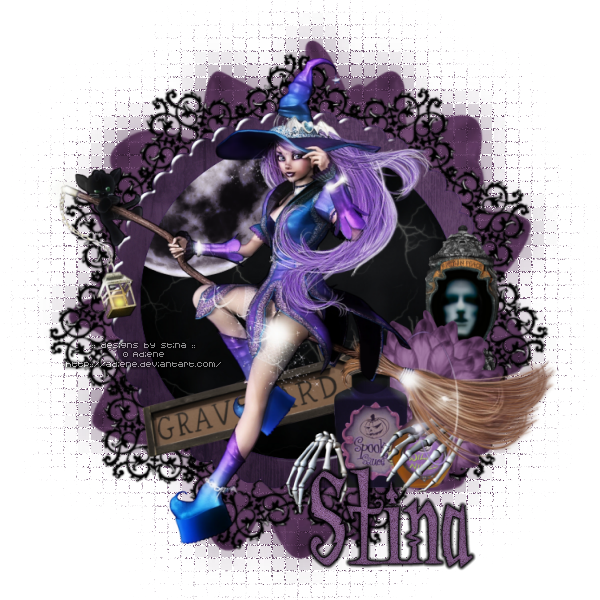
© Tutorial written by Stina on 27th October 2011

No comments:
Post a Comment