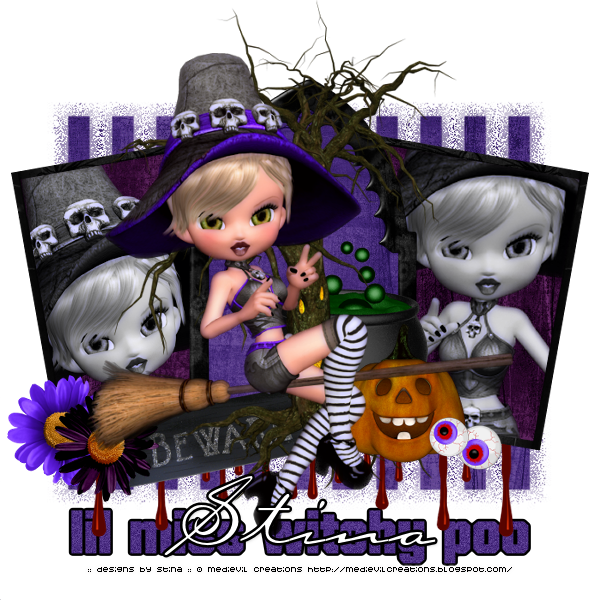
Supplies
Scrap kit of choice - I am using my "Halloween Haunts" kit which is available exclusively to Aussie Scrap Designs
Tubes of choice - I used those supplied in the kit © Medievil Creations
Fonts of choice - I am using Autumn and Carpenter Script
Mask of choice - I am using WSL_Mask185
Plugins:
Xero Porcelain
Alien Skin Eye Candy 5: Impact Gradient Glow
Open a new transparent image 700 x 700
Open the DBS_Paper09 and minimise it
Select your Preset Shapes tool to Rectangle
Set the width to 10.00
Click on your foreground in your materials palette
Select the Patterns tab
Find your paper in the preview pane
Angle - 0
Size - 100
On your canvas draw out a rectangle towards the left
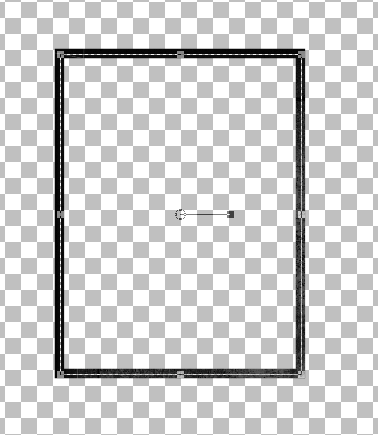
Image / Free Rotate to the left by 10
Convert to raster layer
Ensure you have the rectangle positioned to your liking
Duplicate, then Image / Mirror
Layers / Merge / Merge Down
Select inside the two frames with your Magic Wand
Selections / Modify / Expand by 5
Paste paper of choice as new layer and move below frames
Selections / Invert
Delete then deselect
Paste DBS_Frame06 as new layer
Resize by 60%
Position between the two rectangle frames
Select inside the Frame with your Magic Wand
Selections / Modify / Expand by 10
Delete the excess of the two rectangle frames
Layers / Merge / Merge Down
The frames should now me merged as one layer
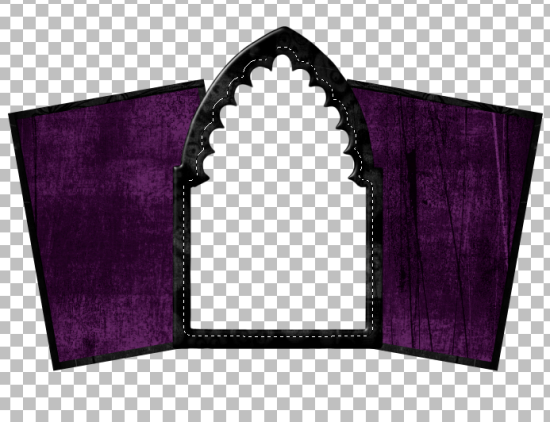
KEEP SELECTED!!
Paste Paper of choice as new layer
Resize by 50% and position in frame
Selections / Invert
Delete then deselect
Choose two of the Cookie posers from the kit - - I used DBS_Magda_on_Jacko and DBS_medi_magda2
Select inside the two side frames with your Magic Wand
Selections / Modify / Expand by 5
Paste the Posers in either side of the frames and position to your liking
You may even resize them up if you wish
Selections / Invert
Delete excess then deselect
Now on each of the poser tubes
Adjust / Hue and Saturation / Colourise
Set both to 0
Effects / Plugins / Xero / Porcelain with default settings
Back to top layer
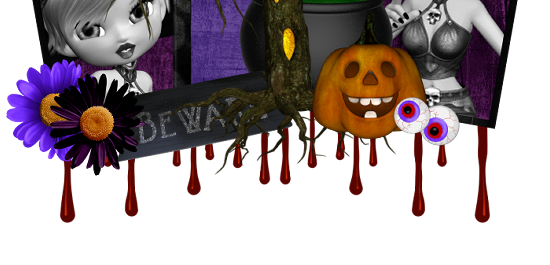
Paste DBS_Sign02 as new layer
Image / Free Rotate to the left by 10
Resize by 35%
Position along the bottom between the left and middle frames
Paste two flowers of choice as new layers
Resize each by 20% and position to the left of the frame and sign
Paste DBS_SpookyTree02 as new layer
Resize by about 90%
Position in centre
Paste one of the JackOLantern pumpkins as a new layer
Resize by 35%
Position to the right between the middle and right frames
Paste an eyeball as a new layer
Image / Mirror
Resize by 8%
Position beside the Pumpkin
Duplicate
Image / Flip
Resize by 90%
Position with other eyeball
Paste a Cauldron as a new layer
Resize by 30%
Position behind Pumpkin and Spooky tree
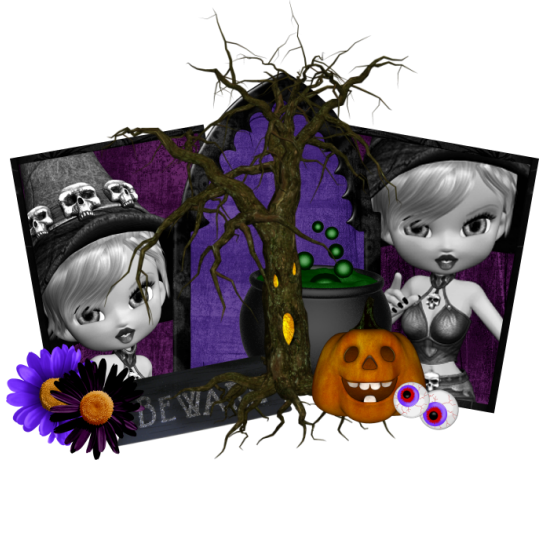
Paste DBS_Blood as new layer
Resize by 75%
Position on the bottom layer beneath your elements
Duplicate, then Image / Mirror
Layers / Merge / Merge Down
Paste a paper of choice as new layer
Layers / Load/Save Mask / Load Mask from Disk
Select your mask of choice - I am using WSL_Mask185
Layers / Merge / Merge Group
Paste another Cookie poser tube of choice as a new layer
Resize and position to your liking
Effects / Plugins / Xero / Porcelain with default settings
Choose a colour from your tag - I'm using #4e3185
Select a bold font (I am usign Autumn) and type out a few words
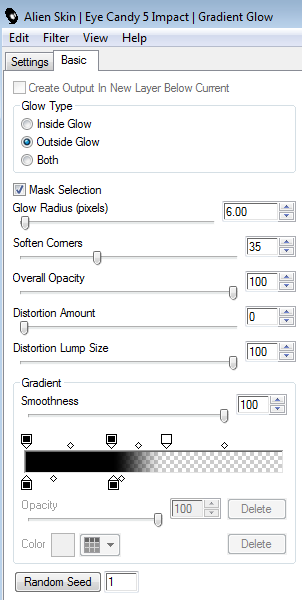
Effects / Plugins / Alien Skin Eye Candy 5: Impact / Gradient Glow with the following settings:
Select another font of choice and type out your name in white
I am using Carpenter Script
Apply the Gradient Glow again
Add your credits and you're done!
Thank you for trying my tutorial!
© Tutorial written by Stina on 29th October 2011

No comments:
Post a Comment