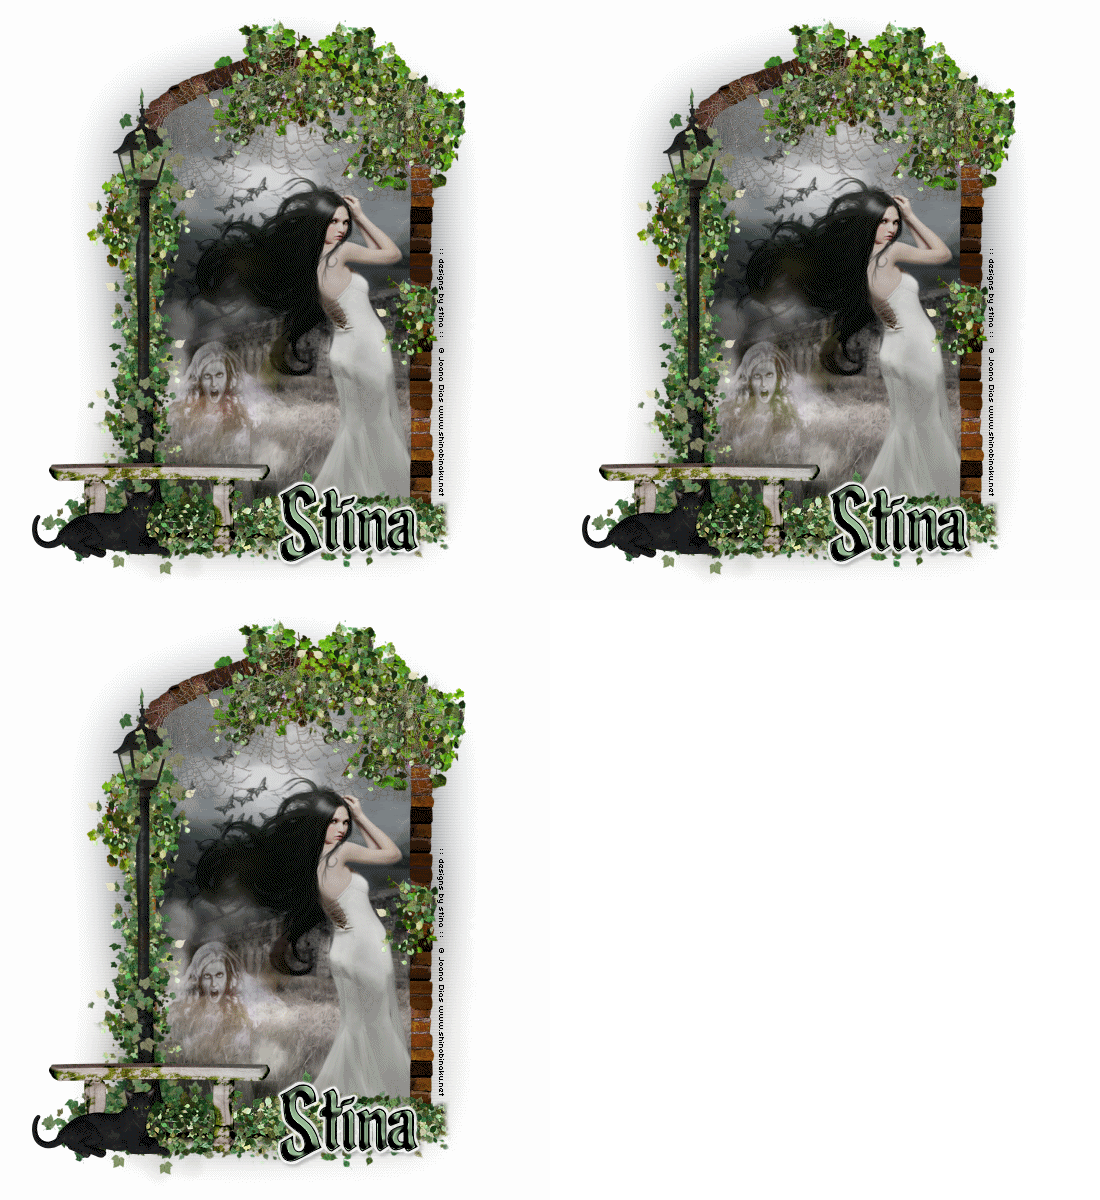
Supplies
Scrap kit - "What Lies in the Ruins" by Tootypup Scraps available from Twilight Scraps
Image of choice
Fonts of choice
Plugins: Scanlines > Photo Effex
Eye Candy > HSB Noise
Open a new transparent image 600 x 600
Flood fill white
Paste Brick Arch as new layer
Resize by 50%
Paste an image of choice as a new layer
Layers > Arrange > Send to Bottom
With your Lasso Tool set to Point to Point
Feather: 1
Draw around the inside of the bricks of Arch
Selections > Invert
Delete
Paste OldChurch1 as new layer
Position along bottom of Arch below image
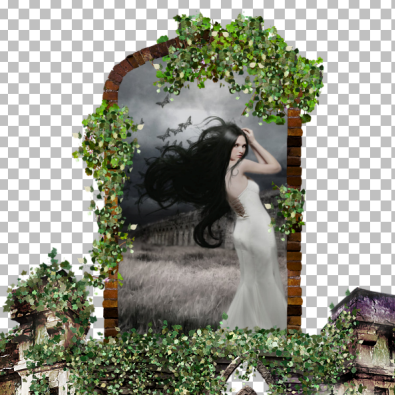
With your Eraser Tool carefully erase the church leaving only part of the Ivy along the bottom of your new Frame
Now we need to remove any unseen excess from the church
So select your Arch layer again
Selections > Select All
Then Image > Crop to Selection
Now when we move or flip the Ivy layer we won't get the rest of the church that exceed the outside of the canvas
So back to your Ivy layer
Duplicate
Image > Flip, then Image > Mirror
Position Duplicate with first Ivy layer, then
Image > Arrange > Move Down
Merge these two layers as one
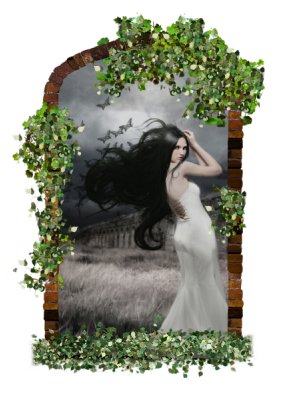 Paste one of the Lamps as a new layer
Resize by 37%
Position to the left
Paste a Stone Seat as new layer
Resize by 33%
Position at the bottom of Lamp
I then moved the Ivy layer over the bottom of the Lamppost
Paste one of the Cats as a new layer
Resize by 18%
Position in front of the Stone Bench to your liking
Now paste Cobwebs as a new layer
Resize by 25% and position to the top of your Arch
(you can move them below the arch if you wish or just below the lamp)
With your Eraser Tool carefully erase the excess cobwebs from the outside of the arch frame
Paste a Graveyard Ghost as a new layer
Resize by 70%
Position to the lower left partially behind the Lamppost and the Bench
Lower opacity to 50
Activate your image layer again
Duplicate
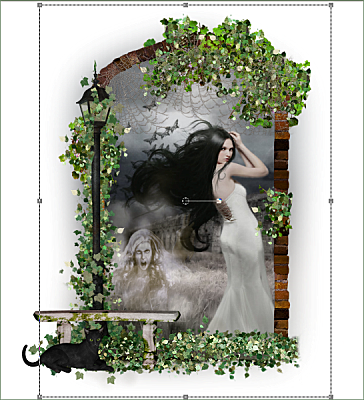
On your bottom image layer select the Pick Tool
Using the nodes drag the left and right to your liking
Effects > Plugins > Photo Effex > Scanlines (default settings)
Enter your copyright and licencing if required
Type out your name and apply any effects you wish
NOW....for the animation (optional)
Activate the Ghost layer
Duplicate twice and rename Ghost1, Ghost2 and Ghost3
Hide Ghost2 and 3 and Activate Ghost1
Effects > Plugins > Eye Candy 4000 > HSB Noise with the following settings:
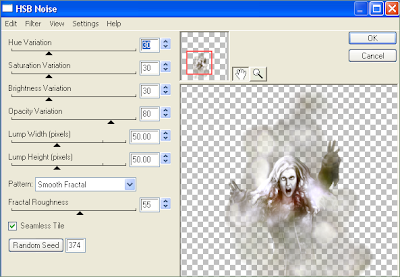
Hide Ghost1 and activate Ghost2
Repeat the effect, altering the Random Seed
Hide Ghost2 and activate Ghost3
Repeat effect once again, altering the Random Seed
Now hide Ghost2 and 3 once more
Edit > Copy Merged
Paste as new image
Hide Ghost1 and activate Ghost2
Edit > Copy Merged
Paste as new layer (on the new image)
Hide Ghost2 and activate Ghost3
Edit > Chopy Merged
Paste as new layer (on the new image)
You should now have THREE full layers
Save as a PSP animation shop image
Open Animation Shop and browse for the image you just saved
Image will open in THREE frames
CTRL + A to Select All
ALT + Enter to open Frame Properties
Change to 25
Save as animation and you're done!
© Tutorial written by Stina 29th August 2010
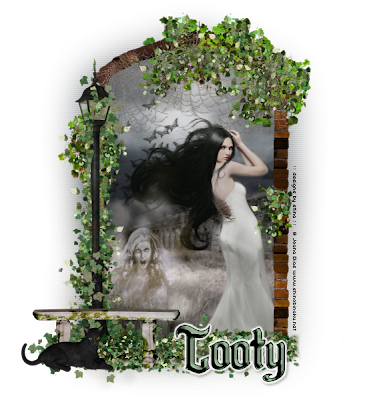
Below is a still version of the tag:

No comments:
Post a Comment