Supplies
Scrap kit "Wrathchild" by me (Designs by Stina) available from all my stores
Poser by Butterfly Web Graphics (included in the kit)
Mask of choice
Fonts of choice
Plugins: dsb Fluxx > Linear Transmission
Eye Candy 4000 > Drip
Open a new 800 x 800 transparent image
Flood fill white
Paste a paper of choice as new layer
Paste one of the round Frames as a new layer
With your Selection Tool set to Ellipse carefully draw out a circle around the confines of the frame

Selections > Invert
Delete
KEEP SELECTED!!
Paste a "scene" of choice as a new layer
Position to the far left
Delete to remove excess
Paste any other elements you wish to the background
Resize as necessary
Then delete once more to remove excess
Repeat those steps till you have everything in place inside the Frame
Then Deselect

Still beneath the Frame layer
Paste one of the Wrathchild posers as a new layer
Resize only slightly by around 90%
Position EXACTLY where you want it
Duplicate,
Then Layers > Arrange > Move Up
(to the layer above the frame)
With your Eraser Tool carefully erase the top of the girl's head where the roses on the frame are
Paste a paper of choice as a new layer
Layers > Arrange > Send to Bottom
Apply a Mask of choice
Then Merge Group
Effects > Plugins > dsb Fluxx > Linear Transmission with the following settings:

Lower opacity to around 45
Resize image to 600 x 600
Now back to the top layer
Paste one of the Cleavers as a new layer and rotate so that it is lengthways
Then select your Pick Tool
In the Mode, select Shear (shift)
Using the top nodes bring the top part of the image in and down
This will allow you to distort it to perspective (see below)

Position the cleaver to your liking
Select your Pen Tool
Set your Foreground colour in your materials palette to a red colour
Line width: 5.00
Select the Draw Lines and Polylines button
Connect Segments: checked
Create on Vector: checked
Show Nodes: checked
Now along the edge of your blade draw short point to points with your Tool till you get to the end of the blade
The shorter the points between nodes, the smoother the curve

Layers > Convert to Raster Layer
Duplicate these lines THREE times, rename them Blood1, Blood2 and Blood2
Now to apply the blood
On first Blood layer (Blood1)
Effects > Plugins > Eye Candy 4000 > Drip with the following settings:

Hide Blood1 and activate Blood2
Repeat the drip effect, changing the Random Seed
Hide Blood2 and activate Blood3
Repeat the drip effect again, changing the Random Seed
Now before we animate, let's apply our credits and any licencing
Then add your name in a font of your choice
Now....let's animate!
Hide Blood2 and Blood2
Edit > Copy Merged
Paste as a new image
Hide Blood1 and activate Blood2
Edit > Copy Merged
On the new image paste as a new layer
Hide Blood2 and activate Blood3
Edit > Copy Merged
Again on the new image paste as a new layer
Now save as PSP animation file somewhere handy
Open Animation Shop, then open the animation image you just saved
You will have THREE frames
CTRL + A to Select All
ALT + Enter to open Frame Properties
Change to 35
Then save through Optimisation
You're done!!
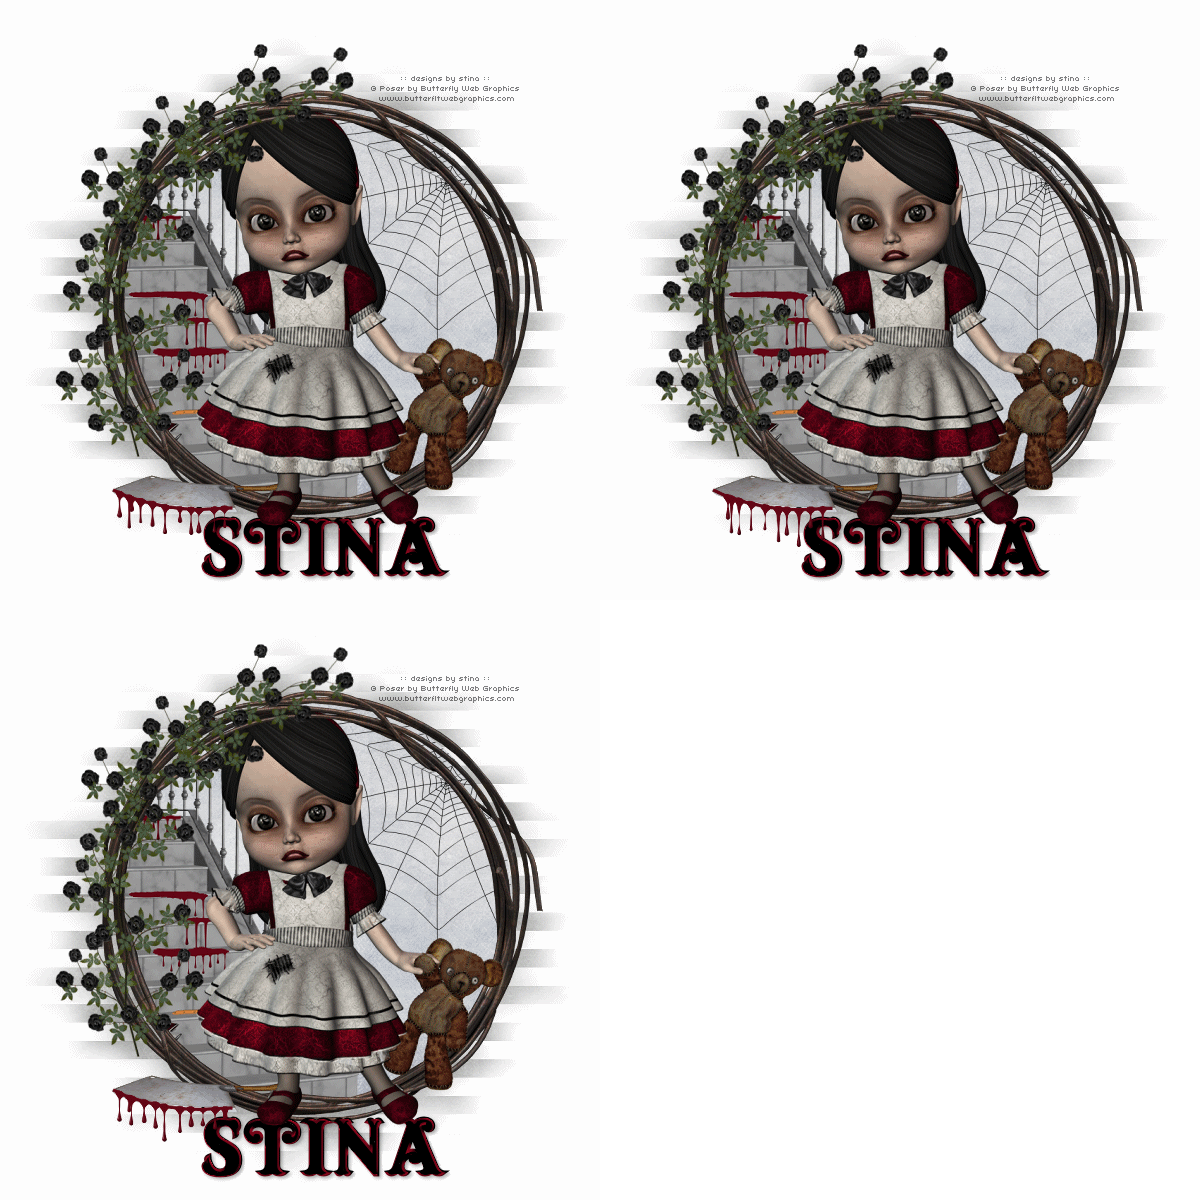
Here is a still version of the tag:

© Tutorial written by Stina
30th August 2010

No comments:
Post a Comment