Supplies
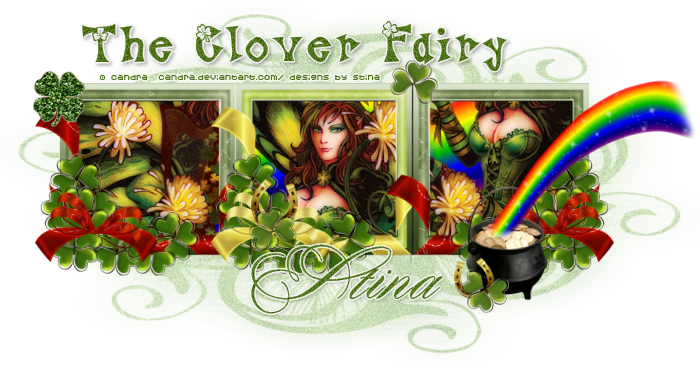
Scrap kit of choice - I am using my own "The Clover Fairy" available from all my stores listed on my blog
Tube of choice - I am using the FTU artwork of Candra
Fonts of choice - I am using LD Clover and Portfolio
Mask of Choice - I am using WSL_Mask327
Plugins:
Xero Porcelain
Xero Radiance
Alien Skin Eye Candy Impact Gradient Glow
Open a blank transparent canvas
900 x 400
Paste DBS_Frame03 as new layer
Resize by 50%
Leave in centre
Paste DBS_Frame04 as new layer
Resize by 50%
Position to the left of the middle frame
Layers / Arrange / Move Down
Duplicate layer
Then Image / Mirror
Layers / Arrange / Move Up
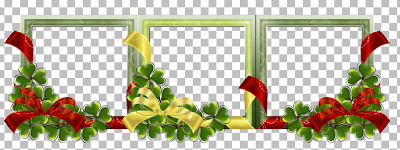
You should now have something like this:

Activate bottom layer
Paste a Paper of your choice as a new layer
With your Selection Tool set to Rectangle
Draw out a rectangle in the frames
 Now Paste your tube of choice in various positions in the three frames to your liking
Merge tube layers into one
Effects / Plugins / Xero / Porcelain
Default Settings
Duplicate layer
Effects / Plugins / Xero / Radiance
Default Settings
Lower opacity to around 40
Image / Canvas Resize
950 x 500
Placement:
Top - 50
Bottom - 50
Left - 0
Right - 50
Activate top layer
Paste DBS_PotOGold as new layer
Resize by 50%
Position to the right
Paste DBS_GlitterClover as new layer
Resize by 30%
Position in upper left or to your liking
Paste DBS_Clover02 as new layer
Resize by 10%
Position to your liking
Duplicate, Mirror and Flip to your liking
Paste DBS_Horseshoe as new layer
Resize and position to your liking
Activate bottom layer
Paste a paper of choice as new layer
Resize by 120%
Load a Mask of your choice
I am using WSL_Mask327
Layers / Merge / Merge Group
Lower opacity to around 35
Resize tag to around 600 pixels
Select a font and colour of your choice
Type out any text and your name
Apply a small Gradient Glow in white and a drop shadow
Add your credits and you're done!
Thanks for trying my tutorial!
© Tutorial written by Stina on 6th March 2012

oh wow a cute tut.. and a lovely kit
ReplyDelete