Please email me designed.by.stina@gmail.com with your creations. I'd love to see them.

Tuesday, March 15, 2011

A Birthday at Rainbow Bridge

Rainbow Bridge Tooty

This tutorial is written in honour of Tooty, Susan of Tootypup Scraps' faithful friend who went to Rainbow Bridge 6 months ago. Today marks what would have been Tooty's 18th birthday.


Supplies:

Scrap kit: "Rainbow Bridge (Part 1)" by Tootypup Scraps which can be purchased at Twilight Scraps or Aussie Scraps
Image or Tube of choice - I used one of Tooty herself by Susan of Tootypup Scraps
Fonts of choice - I used Kinkie, Valentina JF and 2 Peas Quirky
No plugins


Open a new 800 x 900 transparent image

Paste a Rainbow Bridge scene as a new layer
Resize by 80% and position it toward the bottom of your canvas

Add a drop shadow as follows:
Vertical: -5
Horizontal: 0
Opacity: 20
Blur: 30
Colour: Black

Paste a rainbow of choice as new layer and position slightly to the left
Lower opacity to your liking - I used 55

Open one of the frames and paste as new layer
Resize by around 65% or to your liking and position to the left

You should have something like this:


Now with your Freehand Selection tool set to the following:
Selection type: Point to Point
Mode: Add (Shift)
Feather: 0
Smoothing: 0
Anti Alias: checked

Draw around the inside of the frame as below:


Paste a paper of choice as new layer
Layers / Arrange / Move Down
(this will move it down one layer to just beneath the frame
Resize it to your liking
Selections / Invert
Press Delete

KEEP SELECTED!!

Now paste a tube or image of your choice
Resize and position to your liking
If you are using a tube, duplicate and turn the visibility off this layer
Press Delete to remove excess of your tube

Turn the visibility on your duplicate layer again
Layers / Arrange / Move Up
(this will move the image above the frame)

Now on the frame layer use your Magic Wand to select inside the frame
Invert Selection
Then on your top image layer with your Eraser tool carefully erase any excess you do not want overlapping the frame, and in this case to bring the greenery over the top of the tube/image
The tube is duplicated because whatever you erase on the top layer is not erased beneath

Paste Dove as new layer
Resize by 30%
Position in upper left corner

Paste one of the blue papers as a new layer
Layers / Arrange / Send to Bottom

Adjust / Blur / Motion Blur with the following settings:
Angle: 180
Strength: 100

Use your Selection Tool set to Rectangle and no feather to draw out a rectangle at the bottom of your canvas


Press delete on the bottom layer
Deselect

Layers / Merge Visible

Add a new raster layer
Flood fill with a colour of your choice
I used black

Selections / Modify / Contract by 5
Press Delete
Deselect

With your Freehand Selection tool amd using the same settings as before carefully draw out where the grass in the "scene" ends as below:


Press Delete
Deselect

Now add any text you wish, your name and credit details
Resize to your liking then save as a PNG and you're done!


© Tutorial written by Stina on 15th March 2011

Wednesday, September 1, 2010

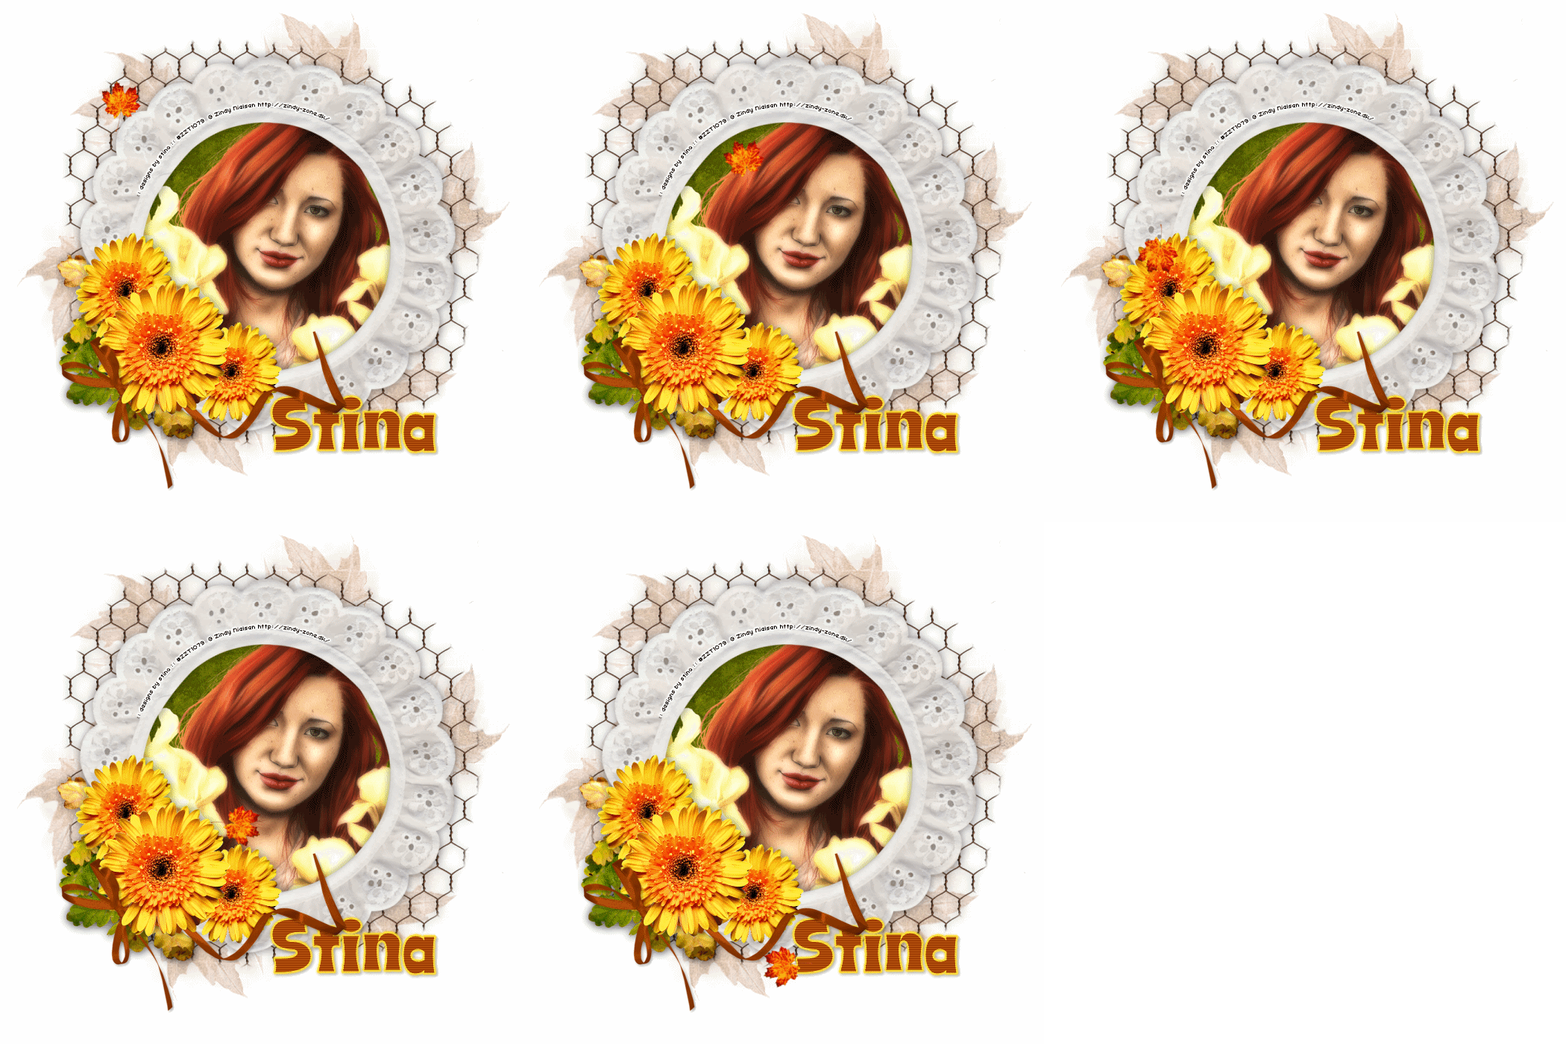
Autumn Splendor

Supplies

Scrap kit - Heartfelt Perfections part of the "Fall-Ever Friends" collab available from Twilight Scraps, Scrappin Warehouse, Aussie Scraps and Heartfelt Perfections
Tube of choice
Fonts of choice
Plugins: Xero > Soft Mood


Open Deco Frame and resize to 600 x 600

With your magic wand select inside the frame

Selections > Modify > Expand by 10
Paste a paper of your choice as a new layer
Resize to your liking, then
Layers > Arrange > Move Down

Now still on your paper layer
Selections > Invert
Then Delete

KEEP SELECTED!!

Paste a tube of choice as new layer
Resize as needed
Then press Delete again to remove excess
Deselect

On same layer
Effects > Plugins > Xero > Soft Mood
Apply default settings

Activate top layer

Paste a bow of choice as new layer
Resize by about 50% or to your liking
Position on or below the flowers on the Frame to your liking
Apply a drop shadow of choice

** Optional **

To make it look as though the bow is tucked below the flower, open "flower" element
Paste as new layer
Resize by 28%
Position over the middle flower carefully to hide the already existing one

Go to Adjust > Brightness & Contrast > Brightness/Contrast with the following settings:
Brightness - 20
Contrast - 11
OK

With your eraser, carefully erase some of the excess of the top flower

Now paste Leaves as a new layer
Resize by 50%
Position to the left and toward the top
Duplicate
Move second layer down slightly

Now Image > Canvas Size
700 x 700 centre checked

Add a new layer and move to bottom
Flood fill this white

Choose a paper of choice and paste as new layer
Apply a mask of you choice
I am using WSL_Mask328
Layers > Merge Group
Position mask directly behind frame
Lower opacity to around 50

You can either keep or delete the white background
(I prefer to remove it for a transparent background, except for animation)

Add your copyright and licence information
At this point, you can also add your name and whatever other text you choose

I used KonTikiTraderJF font at size 90
Colour - #a94605
Then I applied Photo Effex > Scanlines,
Then EC Impact > Gradient Glow
Glow Colour - #ffdf30
Then a slight drop shadow

Merge layers visible


NoW...for animation (which is entirely optional)

Paste Single Leaf as a new layer
Resize by 15%, then again by 70%
Duplicate
Image > Rotate to your liking

Duplicate again
Repeat rotation of choice (changing rotation)
Repeat another three times

You should now have FIVE leaf layers
Rename them 1, 2, 3, 4 and 5
Position them on the tag to your liking

Hide all layers but 1
Layers > Copy Merged

Paste as new image

Hide Layer 1 and unhide 2
Layers > Copy Merged
On new image, paste as new layer

Repeat till you have copied layers into a new image
You should have FIVE complete layers

Save as PSP Animation file (some versions might also call this a PSP 7 Animation file .psp) somewhere you can locate it

Minimse PSP and open Animation Shop
File > Open and browse for the image you just saved

The file will now open with FIVE frames

Press CTRL A to Select All
Then ALT + Enter to bring up the frame properties
Change to 40
OK

Then save through the Optimization Wizard and you're done!


Below is a still version of the tag also:

© Tutorial written by Stina on 29th August 2010

Monday, August 30, 2010

Wrathchild


Supplies

Scrap kit "Wrathchild" by me (Designs by Stina) available from all my stores
Poser by Butterfly Web Graphics (included in the kit)
Mask of choice
Fonts of choice
Plugins: dsb Fluxx > Linear Transmission
Eye Candy 4000 > Drip


Open a new 800 x 800 transparent image
Flood fill white

Paste a paper of choice as new layer

Paste one of the round Frames as a new layer
With your Selection Tool set to Ellipse carefully draw out a circle around the confines of the frame


Selections > Invert
Delete

KEEP SELECTED!!

Paste a "scene" of choice as a new layer
Position to the far left
Delete to remove excess

Paste any other elements you wish to the background
Resize as necessary
Then delete once more to remove excess

Repeat those steps till you have everything in place inside the Frame
Then Deselect


Still beneath the Frame layer
Paste one of the Wrathchild posers as a new layer
Resize only slightly by around 90%
Position EXACTLY where you want it
Duplicate,
Then Layers > Arrange > Move Up
(to the layer above the frame)

With your Eraser Tool carefully erase the top of the girl's head where the roses on the frame are

Paste a paper of choice as a new layer
Layers > Arrange > Send to Bottom
Apply a Mask of choice
Then Merge Group

Effects > Plugins > dsb Fluxx > Linear Transmission with the following settings:


Lower opacity to around 45

Resize image to 600 x 600

Now back to the top layer
Paste one of the Cleavers as a new layer and rotate so that it is lengthways
Then select your Pick Tool
In the Mode, select Shear (shift)

Using the top nodes bring the top part of the image in and down
This will allow you to distort it to perspective (see below)


Position the cleaver to your liking

Select your Pen Tool
Set your Foreground colour in your materials palette to a red colour
Line width: 5.00
Select the Draw Lines and Polylines button
Connect Segments: checked
Create on Vector: checked
Show Nodes: checked

Now along the edge of your blade draw short point to points with your Tool till you get to the end of the blade
The shorter the points between nodes, the smoother the curve


Layers > Convert to Raster Layer

Duplicate these lines THREE times, rename them Blood1, Blood2 and Blood2

Now to apply the blood

On first Blood layer (Blood1)
Effects > Plugins > Eye Candy 4000 > Drip with the following settings:


Hide Blood1 and activate Blood2
Repeat the drip effect, changing the Random Seed

Hide Blood2 and activate Blood3
Repeat the drip effect again, changing the Random Seed

Now before we animate, let's apply our credits and any licencing
Then add your name in a font of your choice


Now....let's animate!

Hide Blood2 and Blood2
Edit > Copy Merged
Paste as a new image

Hide Blood1 and activate Blood2
Edit > Copy Merged
On the new image paste as a new layer

Hide Blood2 and activate Blood3
Edit > Copy Merged
Again on the new image paste as a new layer

Now save as PSP animation file somewhere handy

Open Animation Shop, then open the animation image you just saved
You will have THREE frames

CTRL + A to Select All
ALT + Enter to open Frame Properties
Change to 35
Then save through Optimisation

You're done!!


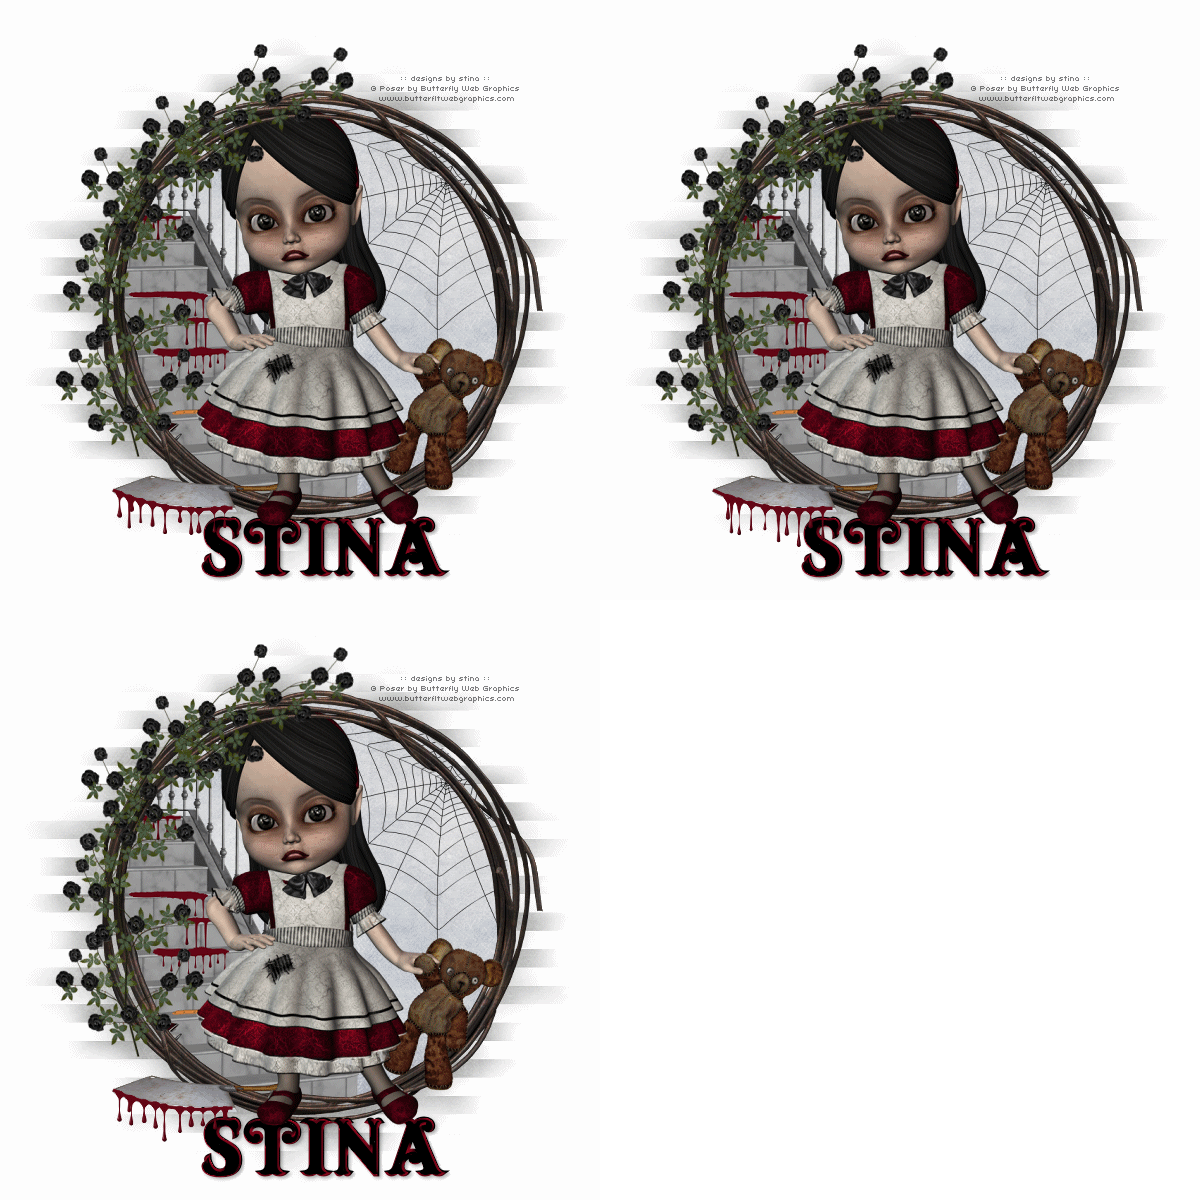
Here is a still version of the tag:


© Tutorial written by Stina
30th August 2010