
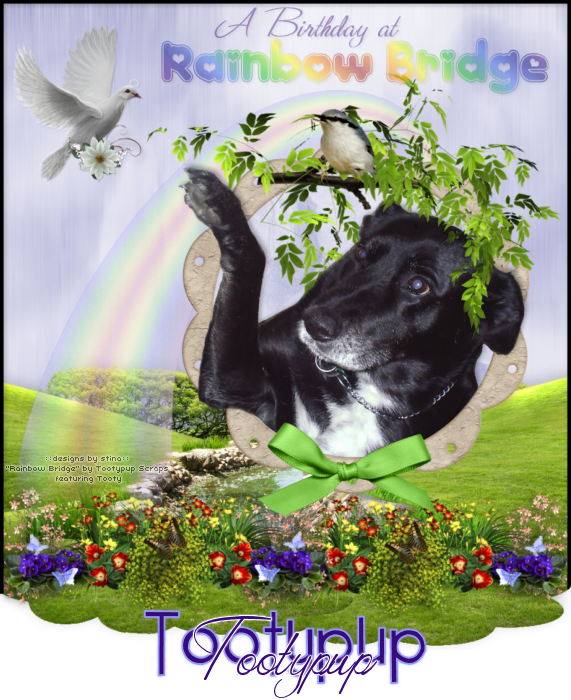
This tutorial is written in honour of Tooty, Susan of Tootypup Scraps' faithful friend who went to Rainbow Bridge 6 months ago. Today marks what would have been Tooty's 18th birthday.
Supplies:
Scrap kit: "Rainbow Bridge (Part 1)" by Tootypup Scraps which can be purchased at Twilight Scraps or Aussie Scraps
Image or Tube of choice - I used one of Tooty herself by Susan of Tootypup Scraps
Fonts of choice - I used Kinkie, Valentina JF and 2 Peas Quirky
No plugins
Open a new 800 x 900 transparent image
Paste a Rainbow Bridge scene as a new layer
Resize by 80% and position it toward the bottom of your canvas
Add a drop shadow as follows:
Vertical: -5
Horizontal: 0
Opacity: 20
Blur: 30
Colour: Black
Paste a rainbow of choice as new layer and position slightly to the left
Lower opacity to your liking - I used 55
Open one of the frames and paste as new layer
Resize by around 65% or to your liking and position to the left
You should have something like this:

Now with your Freehand Selection tool set to the following:
Selection type: Point to Point
Mode: Add (Shift)
Feather: 0
Smoothing: 0
Anti Alias: checked
Draw around the inside of the frame as below:

Paste a paper of choice as new layer
Layers / Arrange / Move Down
(this will move it down one layer to just beneath the frame
Resize it to your liking
Selections / Invert
Press Delete
KEEP SELECTED!!
Now paste a tube or image of your choice
Resize and position to your liking
If you are using a tube, duplicate and turn the visibility off this layer
Press Delete to remove excess of your tube
Turn the visibility on your duplicate layer again
Layers / Arrange / Move Up
(this will move the image above the frame)
Now on the frame layer use your Magic Wand to select inside the frame
Invert Selection
Then on your top image layer with your Eraser tool carefully erase any excess you do not want overlapping the frame, and in this case to bring the greenery over the top of the tube/image
The tube is duplicated because whatever you erase on the top layer is not erased beneath
Paste Dove as new layer
Resize by 30%
Position in upper left corner
Paste one of the blue papers as a new layer
Layers / Arrange / Send to Bottom
Adjust / Blur / Motion Blur with the following settings:
Angle: 180
Strength: 100
Use your Selection Tool set to Rectangle and no feather to draw out a rectangle at the bottom of your canvas

Press delete on the bottom layer
Deselect
Layers / Merge Visible
Add a new raster layer
Flood fill with a colour of your choice
I used black
Selections / Modify / Contract by 5
Press Delete
Deselect
With your Freehand Selection tool amd using the same settings as before carefully draw out where the grass in the "scene" ends as below:

Press Delete
Deselect
Now add any text you wish, your name and credit details
Resize to your liking then save as a PNG and you're done!
© Tutorial written by Stina on 15th March 2011